Air-gapped Single Node General Install Guide
Table of Contents
Single Node
Organizations can run Wallaroo within a single node environment. This applies to cloud or on-premise installations in:
- Virtual machines.
- Bare metal installations.
The following guide is based on installing Wallaroo Enterprise on Linux distribution Ubuntu 22.04. Before starting, verify the prerequisites are met for the target system.
For other environments and configurations, consult your Wallaroo support representative.
Prerequisites
Before starting, verify the target environment meets the Single Node Installation Prerequisites.
Environment Setup
The following provide templates and scripts for setting up a virtual machine (VM) that meets the prerequisites.
Cloud Hosted Install
The following template scripts are provided as examples on how to create single node virtual machines that meet the requirements listed above in AWS, GCP, and Microsoft Azure environments, and open the required network ports.
AWS VM Template Script
The following is required to execute the AWS VM template script.
- AWS CLI
- IAM permissions to create resources. See IAM policies for Amazon EC2.
Note that the install instructions include details on how to open the required ports to the VM once created:
# Open ports 22, 443, 30000
aws ec2 authorize-security-group-ingress --group-name $NAME --protocol tcp --port 22 --cidr $MY_IP --no-cli-pager
aws ec2 authorize-security-group-ingress --group-name $NAME --protocol tcp --port 443 --cidr $MY_IP --no-cli-pager
aws ec2 authorize-security-group-ingress --group-name $NAME --protocol tcp --port 30000 --cidr $MY_IP --no-cli-pager
# optional:  For Edge Observability
#aws ec2 authorize-security-group-ingress --group-name $NAME --protocol tcp --port 8081 --cidr $MY_IP --no-cli-pager
Download template script here: aws-single-node-vm.bash
#!/bin/bash
# Variables

# The name of the virtual machine
NAME=wallaroo-vm                            # eg bob-demo-vm

# The image used : ubuntu/images/2025.2/hvm-ssd/ubuntu-jammy-22.04-amd64-server-20230208
IMAGE_ID=ami-0557a15b87f6559cf

# Instance type meeting the Wallaroo requirements.
INSTANCE_TYPE=c6i.8xlarge # CPU only
#INSTANCE_TYPE=g4dn.4xlarge # T4 GPU
#INSTANCE_TYPE=g5.4xlarge # A10 GPU

# key name - generate keys using Amazon EC2 Key Pairs
# https://docs.aws.amazon.com/AWSEC2/latest/UserGuide/ec2-key-pairs.html
# Wallaroo people: https://us-east-1.console.aws.amazon.com/ec2/home?region=us-east-1#KeyPairs:v=3 -
MYKEY=my-key-name-keygen


# We will whitelist the source IP for maximum security -- just use 0.0.0.0/0 if you don't care.
MY_IP=$(curl -s https://checkip.amazonaws.com)/32

# Create security group in the Default VPC
aws ec2 create-security-group --group-name $NAME --description "$USER demo" --no-cli-pager

# Open port 22 and 443
aws ec2 authorize-security-group-ingress --group-name $NAME --protocol tcp --port 22 --cidr $MY_IP --no-cli-pager
aws ec2 authorize-security-group-ingress --group-name $NAME --protocol tcp --port 443 --cidr $MY_IP --no-cli-pager
aws ec2 authorize-security-group-ingress --group-name $NAME --protocol tcp --port 30000 --cidr $MY_IP --no-cli-pager

# Launch instance with a 750 GB Boot device.
aws ec2 run-instances --image-id $IMAGE_ID --count 1 --instance-type $INSTANCE_TYPE \
    --no-cli-pager \
    --key-name $MYKEY \
    --block-device-mappings '[{"DeviceName":"/dev/sda1","Ebs":{"VolumeSize":750,"VolumeType":"gp2"}}]'  \
    --tag-specifications "ResourceType=instance,Tags=[{Key=Name,Value=$NAME}]" \
    --security-groups $NAME
Azure VM Template Script
The following is required to execute the Azure template script.
Note that the install instructions include details on how to open the required ports to the VM once created:
# SSH port is open by default. This adds an application port.
az vm open-port --resource-group $RESOURCEGROUP --name $NAME --port 443
az vm open-port --resource-group $RESOURCEGROUP --name $NAME --port 30000
# optional - for Edge observability
# az vm open-port --resource-group $RESOURCEGROUP --name $NAME --port 8081
Download template script here: azure-single-node-vm.bash
#!/bin/bash

# Variables list.  Update as per your organization's settings
NAME=$USER-YOUR VM NAME HERE                                            # eg bob-demo-vm
RESOURCEGROUP=YOURRESOURCEGROUP
LOCATION=eastus
IMAGE=Canonical:0001-com-ubuntu-server-jammy:22_04-lts:22.04.202301140

# Pick a location
az account list-locations  -o table |egrep 'US|----|Name'

# Create resource group
az group create -l $LOCATION --name $USER-demo-$(date +%y%m%d)

# Create VM. This will create ~/.ssh/id_rsa and id_rsa.pub - store these for later use.
az vm create --resource-group $RESOURCEGROUP --name $NAME --image $IMAGE  --generate-ssh-keys \
   --size Standard_D32s_v4 --os-disk-size-gb 750 --public-ip-sku Standard

# Sample output
# {
#   "location": "eastus",
#   "privateIpAddress": "10.0.0.4",
#   "publicIpAddress": "20.127.249.196",    <-- Write this down as MYPUBIP
#   "resourceGroup": "mnp-demo-230213",
#   ...
# }

# SSH port is open by default. This adds an application port.
az vm open-port --resource-group $RESOURCEGROUP --name $NAME --port 443

# SSH to the VM - assumes that ~/.ssh/id_rsa and ~/.ssh/id_rsa.pub from above are availble.
# ssh $MYPUBIP

# Use this Stop the VM ("deallocate" frees resources and billing; "stop" does not)
# az vm deallocate --resource-group $RESOURCEGROUP --name $NAME

# Restart the VM
# az vm start --resource-group $RESOURCEGROUP --name $NAME
GCP VM Template Script
The following is required to execute the GCP template script.
- Gcloud CLI
- GCP Project ID
Note that ports 443 and 22 are open by default when the VM is created.
Download template script here: gcp-single-node-vm.bash
# Settings
NAME=YOUR VM NAME HERE            # For example: jcw-demo-vm
ZONE=YOUR ZONE HERE               # For a complete list, use `gcloud compute zones list | egrep ^us-`
PROJECT=YOUR PROJECT ID HERE      # Insert the GCP Project ID here. This is the one for Wallaroo.
NETWORK=default                   # default network is the default, substitute as needed
RULE_NAME=Wallaroo-admin-console  #port rule name for port 30000

# Create VM
IMAGE=projects/ubuntu-os-cloud/global/images/ubuntu-2204-jammy-v20231030

# Open port 30000. Port 22 and 443 open by default
# this can be modified to any priority as needed
gcloud compute firewall-rules create $RULE_NAME \
 --action=ALLOW \
 --direction=INGRESS \
 --network=$NETWORK \
 --priority=1000 \
 --rules=tcp:30000 \
 --source-ranges=0.0.0.0/0

# create the instance
gcloud compute instances create $NAME \
 --project=$PROJECT \
 --zone=$ZONE \
 --machine-type=e2-standard-32 \
 --network-interface=network-tier=STANDARD,subnet=default \
 --maintenance-policy=MIGRATE \
 --provisioning-model=STANDARD \
 --no-service-account \
 --no-scopes \
 --tags=https-server \
 --create-disk=boot=yes,image=${IMAGE},size=750,type=pd-standard \
 --no-shielded-secure-boot \
 --no-shielded-vtpm \
 --no-shielded-integrity-mon

# Get the external IP address
gcloud compute instances describe $NAME --zone $ZONE --format='get(networkInterfaces[0].accessConfigs[0].natIP)'
On Premise Install
Wallaroo Single Node Linux installation works with on premise installations. The procedure for setting up an on premise environment for Wallaroo differs, but are supported by any of the following.
- Bare metal installation: Any X86 device that meets the listed hardware, operating system, and network requirements above.
- Virtual Machines: Organizations that prefer hosted virtual environments can install Wallaroo in that environment provided is meets the requirements listed above. THis includes but is not limited to the following virtual machine environments:
Consult the setup procedures for the bare metal or virtual machine used to install Ubuntu 22.04 and proceed with the installation instructions below. For additional assistance, consult your Wallaroo support representative.
Connection Options
Once the VM is ready, commands are issued by opening an SSH connection and using the terminal commands. The following demonstrates how to SSH into various cloud based hosted VM services.
For on premise installations, verify that SSH services are enabled and the user installing Wallaroo has sudo administrative access. For more details on enabling SSH Server on Ubuntu, see Ubuntu Server documentation OpenSSH server.
Cloud ssh login options:
To SSH into an AWS VM on a public domain name, you’ll need:
- The private key saved to the file
/path/key-pair-name.pem. - The AWS assigned IP address for the VM set to the environment variable
$IPADDRESS.
IPADDRESS={YOUR AWS ASSIGNED IP ADDRESS HERE}
ssh -i /path/key-pair-name.pem ubuntu@$IPADDRESS
For more details, see Connect to your Linux instance from Linux or macOS using SSH.
For air-gapped installations, port forwarding may be necessary to connect to ports 443 and 30000 in the target VM. The command for this process is:
ssh -i /path/key-pair-name.pem ubuntu@$IPADDRESS -L 443:$MYPUBIP:443
ssh -i /path/key-pair-name.pem ubuntu@$IPADDRESS -L 30000:$MYPUBIP:30000
To SSH into an Azure VM on a public domain name, you’ll need:
- The SSH key pair is generated from the Azure VM Template Script step.
- The VM’s IP address generated from the Azure VM Template Script step.
At this point, if the SSH keys are stored as ~/.ssh/id_rsa and ~/.ssh/id_rsa.pub, the SSH connection is made with the following:
ssh -i ~/.ssh/id_rsa.pub $MYPUBIP
For air-gapped installations, port forwarding may be necessary to connect to ports 443 and 30000 in the target VM. The command for this process is:
ssh -i ~/.ssh/id_rsa.pub -L 443:$MYPUBIP:443
ssh -i ~/.ssh/id_rsa.pub -L 30000:$MYPUBIP:30000
For more details, see Connect to a Linux VM
In a GCP instance, gcloud is used to SSH connect to the VM with the following command, replacing the following:
$PROJECTwith the Google Cloud Platform project.$NAMEwith the name of the GCP instance.$ZONEwith the zone it was installed into.
gcloud compute ssh --project=$PROJECT --zone $ZONE $NAME
For air-gapped installations, port forwarding may be necessary to connect to ports 443 and 30000 in the target VM. The command for this process is:
gcloud compute ssh --project=$PROJECT --zone $ZONE $NAME -- -L localhost:{IP Address of Target Machine}:443
gcloud compute ssh --project=$PROJECT --zone $ZONE $NAME -- -L localhost:{IP Address of Target Machine}:30000
Install Wallaroo
Single node Linux installations of Wallaroo used embedded Linux installations. The following process details the following process:
- Install Embedded Wallaroo
- Configure Wallaroo
Install Embedded Wallaroo
To install Wallaroo in the prepared Linux environment, follow these steps. This requires the following:
- Admin access through the
sudocommand. - Have at least 75 GB disk space free to download the installation files.
- The Wallaroo license file provided by your Wallaroo support representative.
- The Wallaroo download and authentication link provided by your Wallaroo support representative.
Verify that the Ubuntu distribution is up to date, and reboot if necessary after updating.
Download the Embedded Wallaroo gzipped tarball file
wallaroo-2025-2.tgzthrough the Replicated link viacurl. This command is provided by your Wallaroo representative and follows this format. Note that the URL is https for secure connections. Note that the URL is https for secure connections.curl -f "https://replicated.app/embedded/wallaroo/2025-2/2025.2.5?airgap=true" \ -H "Authorization: {YOUR AUTHORIZATION CODE HERE}" \ -o wallaroo-2025-2.tgzThe download process takes approximately 30 minutes and the install file is 35 GB.
When the download process is complete, unpack the file
wallaroo-2025-2.tgz:tar -xvzf wallaroo-2025-2.tgzThe tarfile may be deleted to save space. This provides the following files:
license.yaml # the license file
wallaroo # the install executable
wallaroo.airgap # the install package
Install Wallaroo with the following command.
sudo ./wallaroo install --license license.yaml --airgap-bundle wallaroo.airgap- When prompted, set the Kots Administrative Dashboard password.
- When completed, the Kots Administrative Dashboard is available through the provided URL on port 30000.
The following is an example of this process:
sudo ./wallaroo install --license license.yaml
✔  Host files materialized!
✔  Host preflights succeeded!
✔  Node installation finished!
✔  Storage is ready!
✔  Embedded Cluster Operator is ready!
✔  Registry is ready!
✔  Admin Console is ready!
Visit the Admin Console to configure and install wallaroo-testapp: http://34.48.48.219:30000
Note that the IP address shown may not be available in an air-gapped environment; this is why the SSH port forwarding steps were specified in the step Connection Options.
With the installation complete, the next step is to configure the new Wallaroo installation.
Configure Wallaroo
Launch a browser and enter the URL provided in the Install Embedded Wallaroo process. For example:
http://{YOUR IP ADDRESS}:30000.- If using port forwarding, this will be
http://localhost:30000.
- If using port forwarding, this will be
The self-signed browser warning may need acknowledging again unless a certificate was uploaded to the first dialog in the step Install Embedded Wallaroo.
The first time Wallaroo is installed, an initial Welcome message is displayed. Select Next.
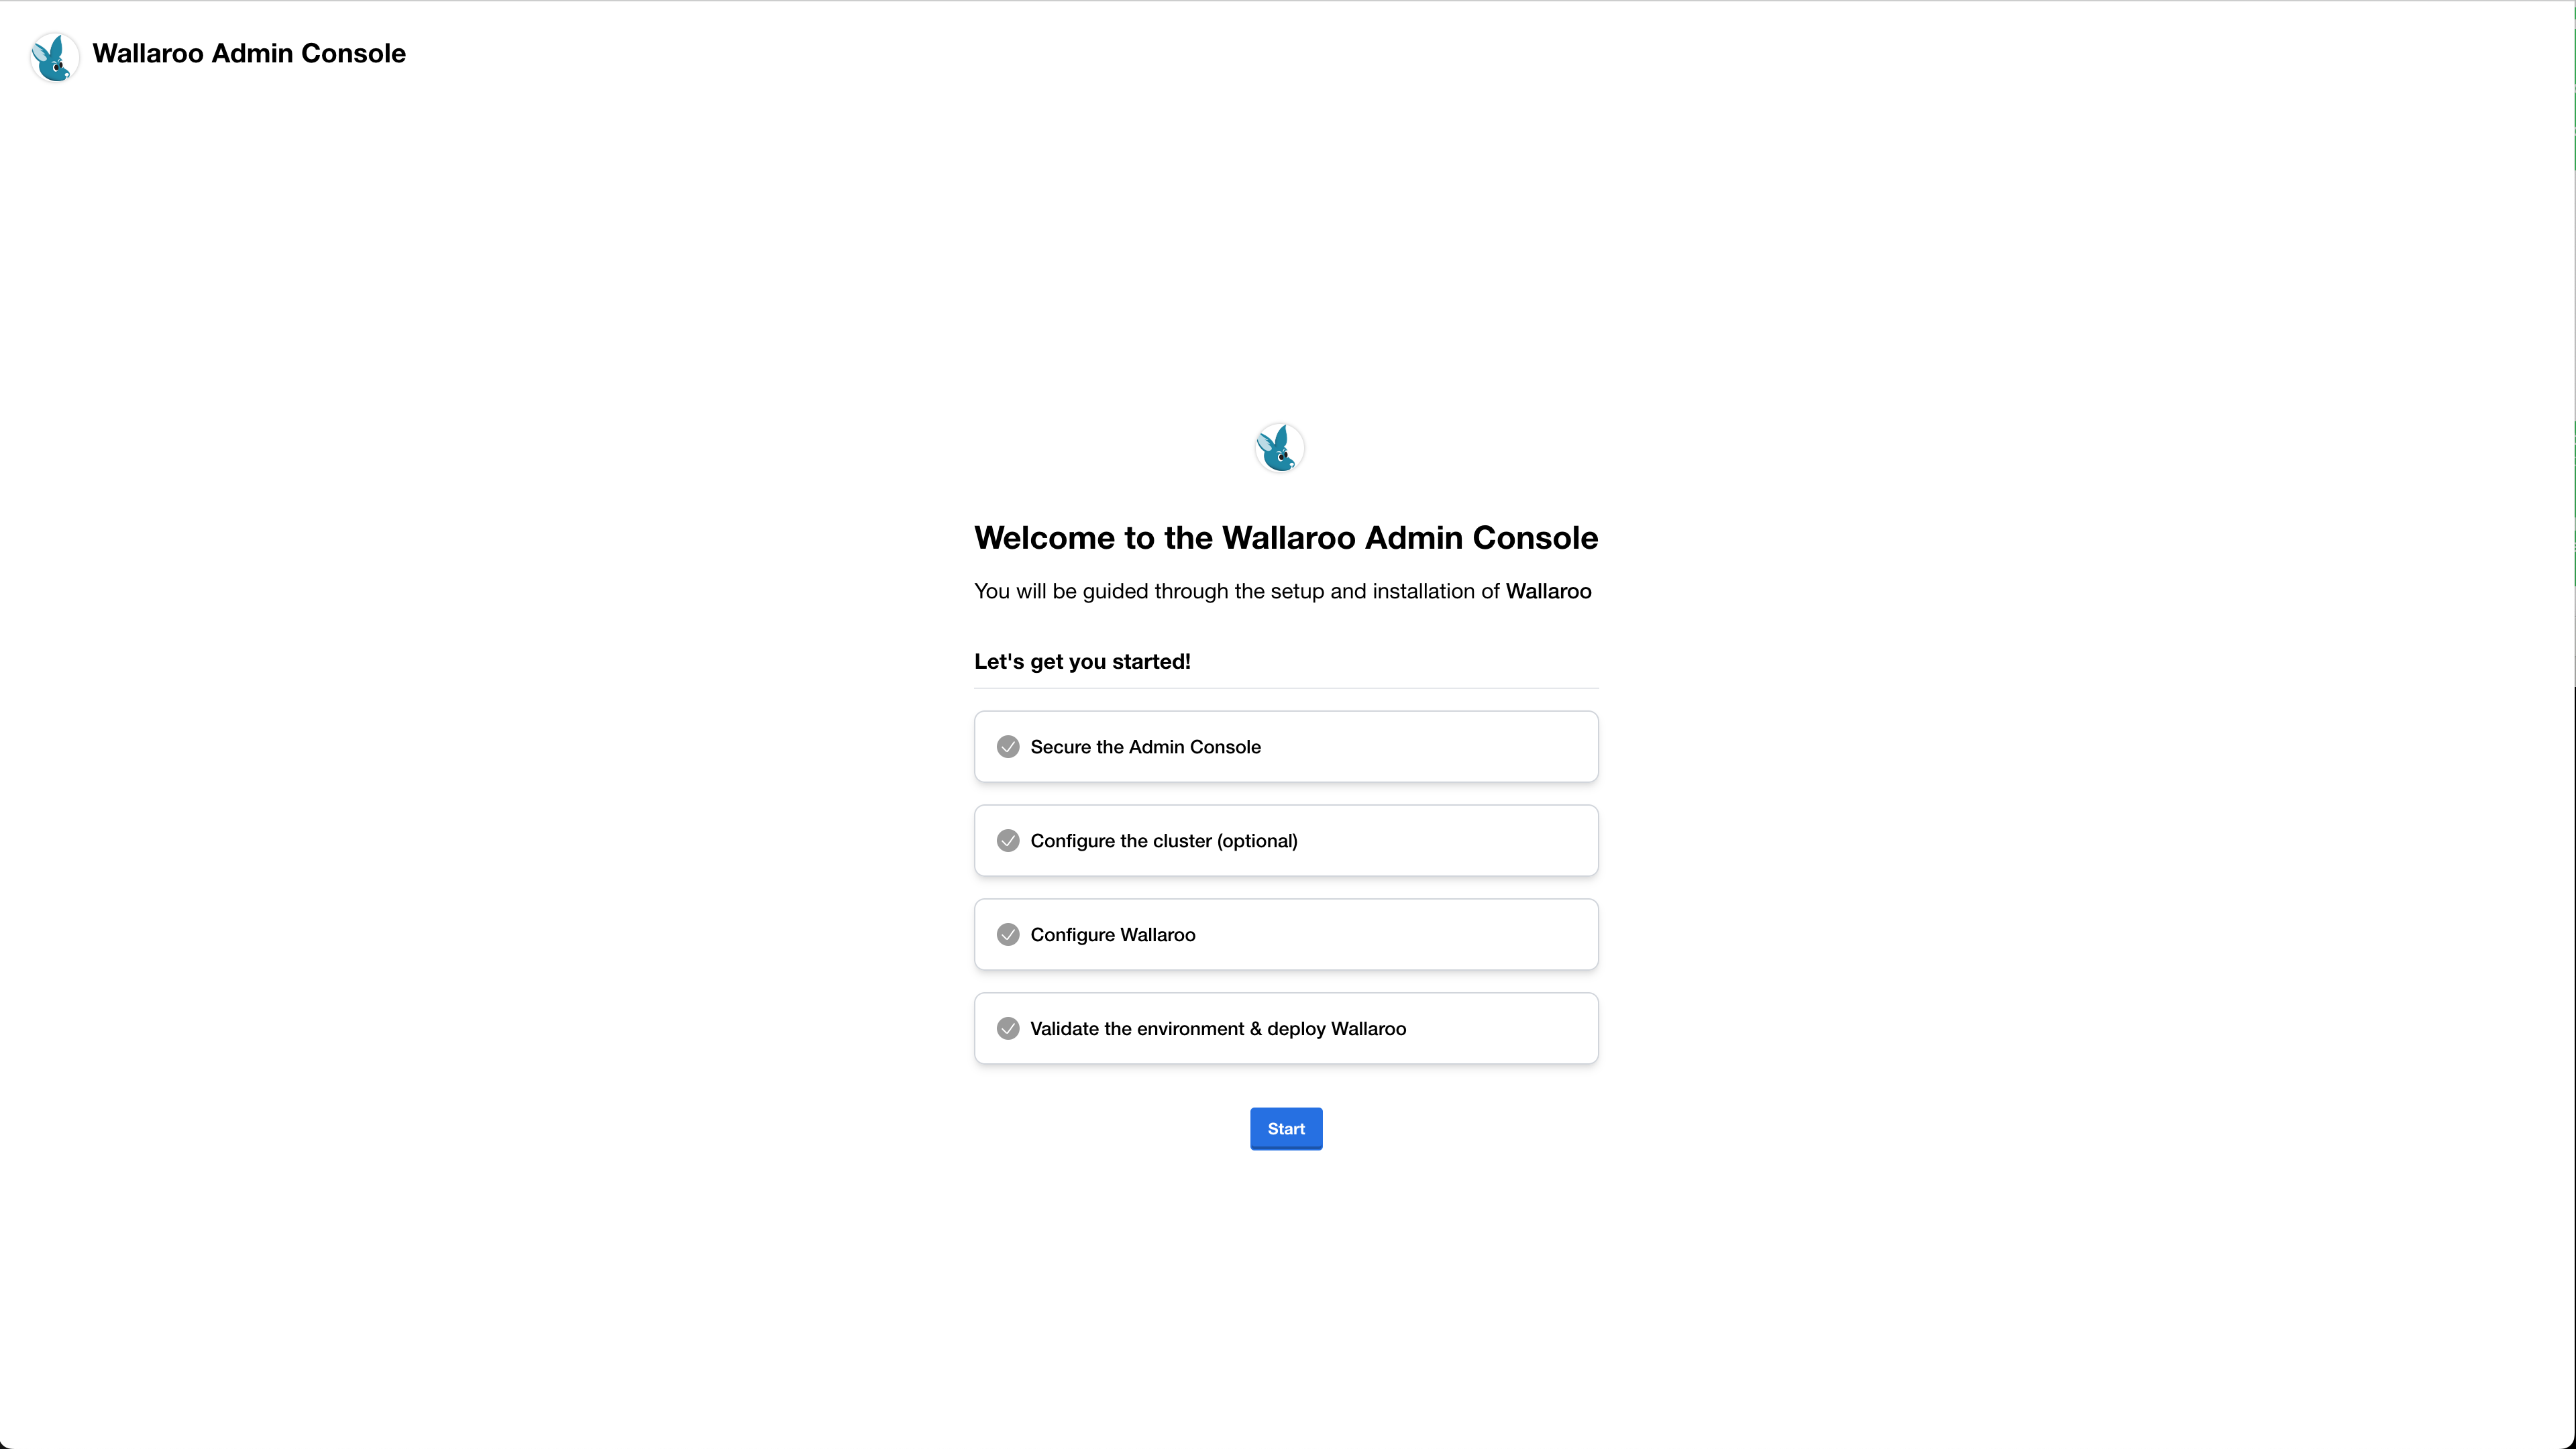
The Secure the Admin Console screen will provide a short preview of the upcoming steps. Select Continue.
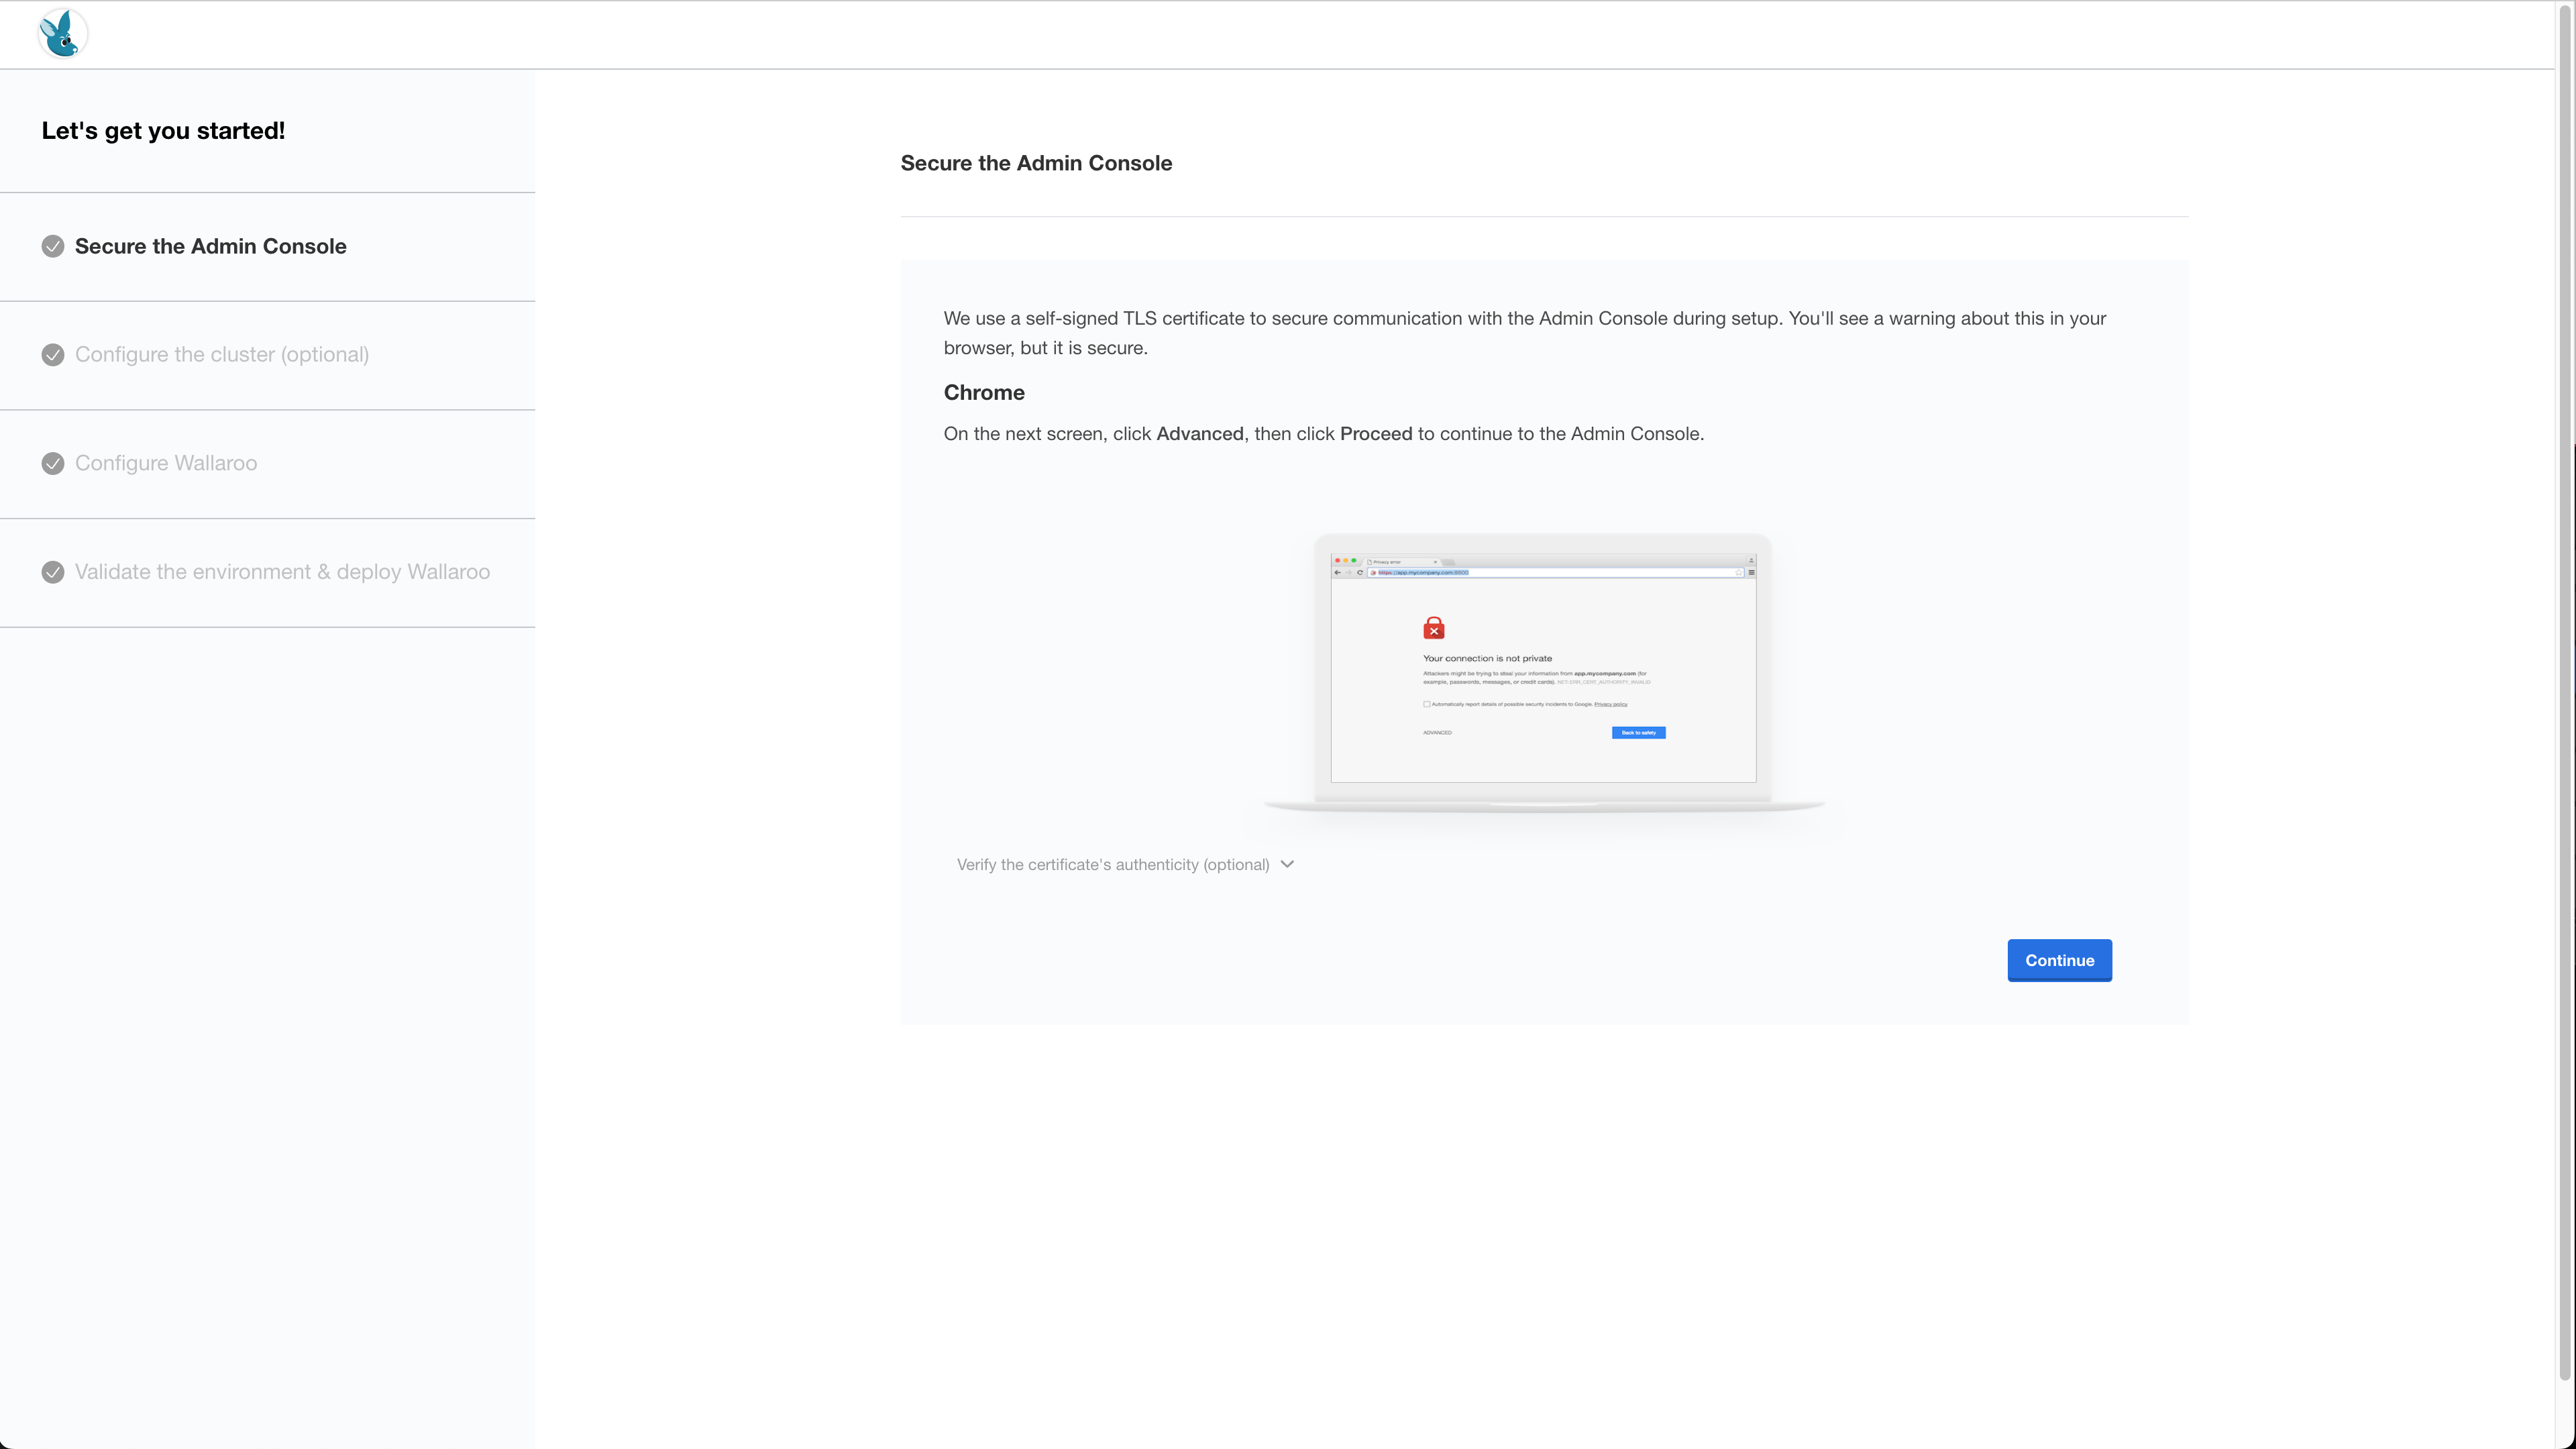
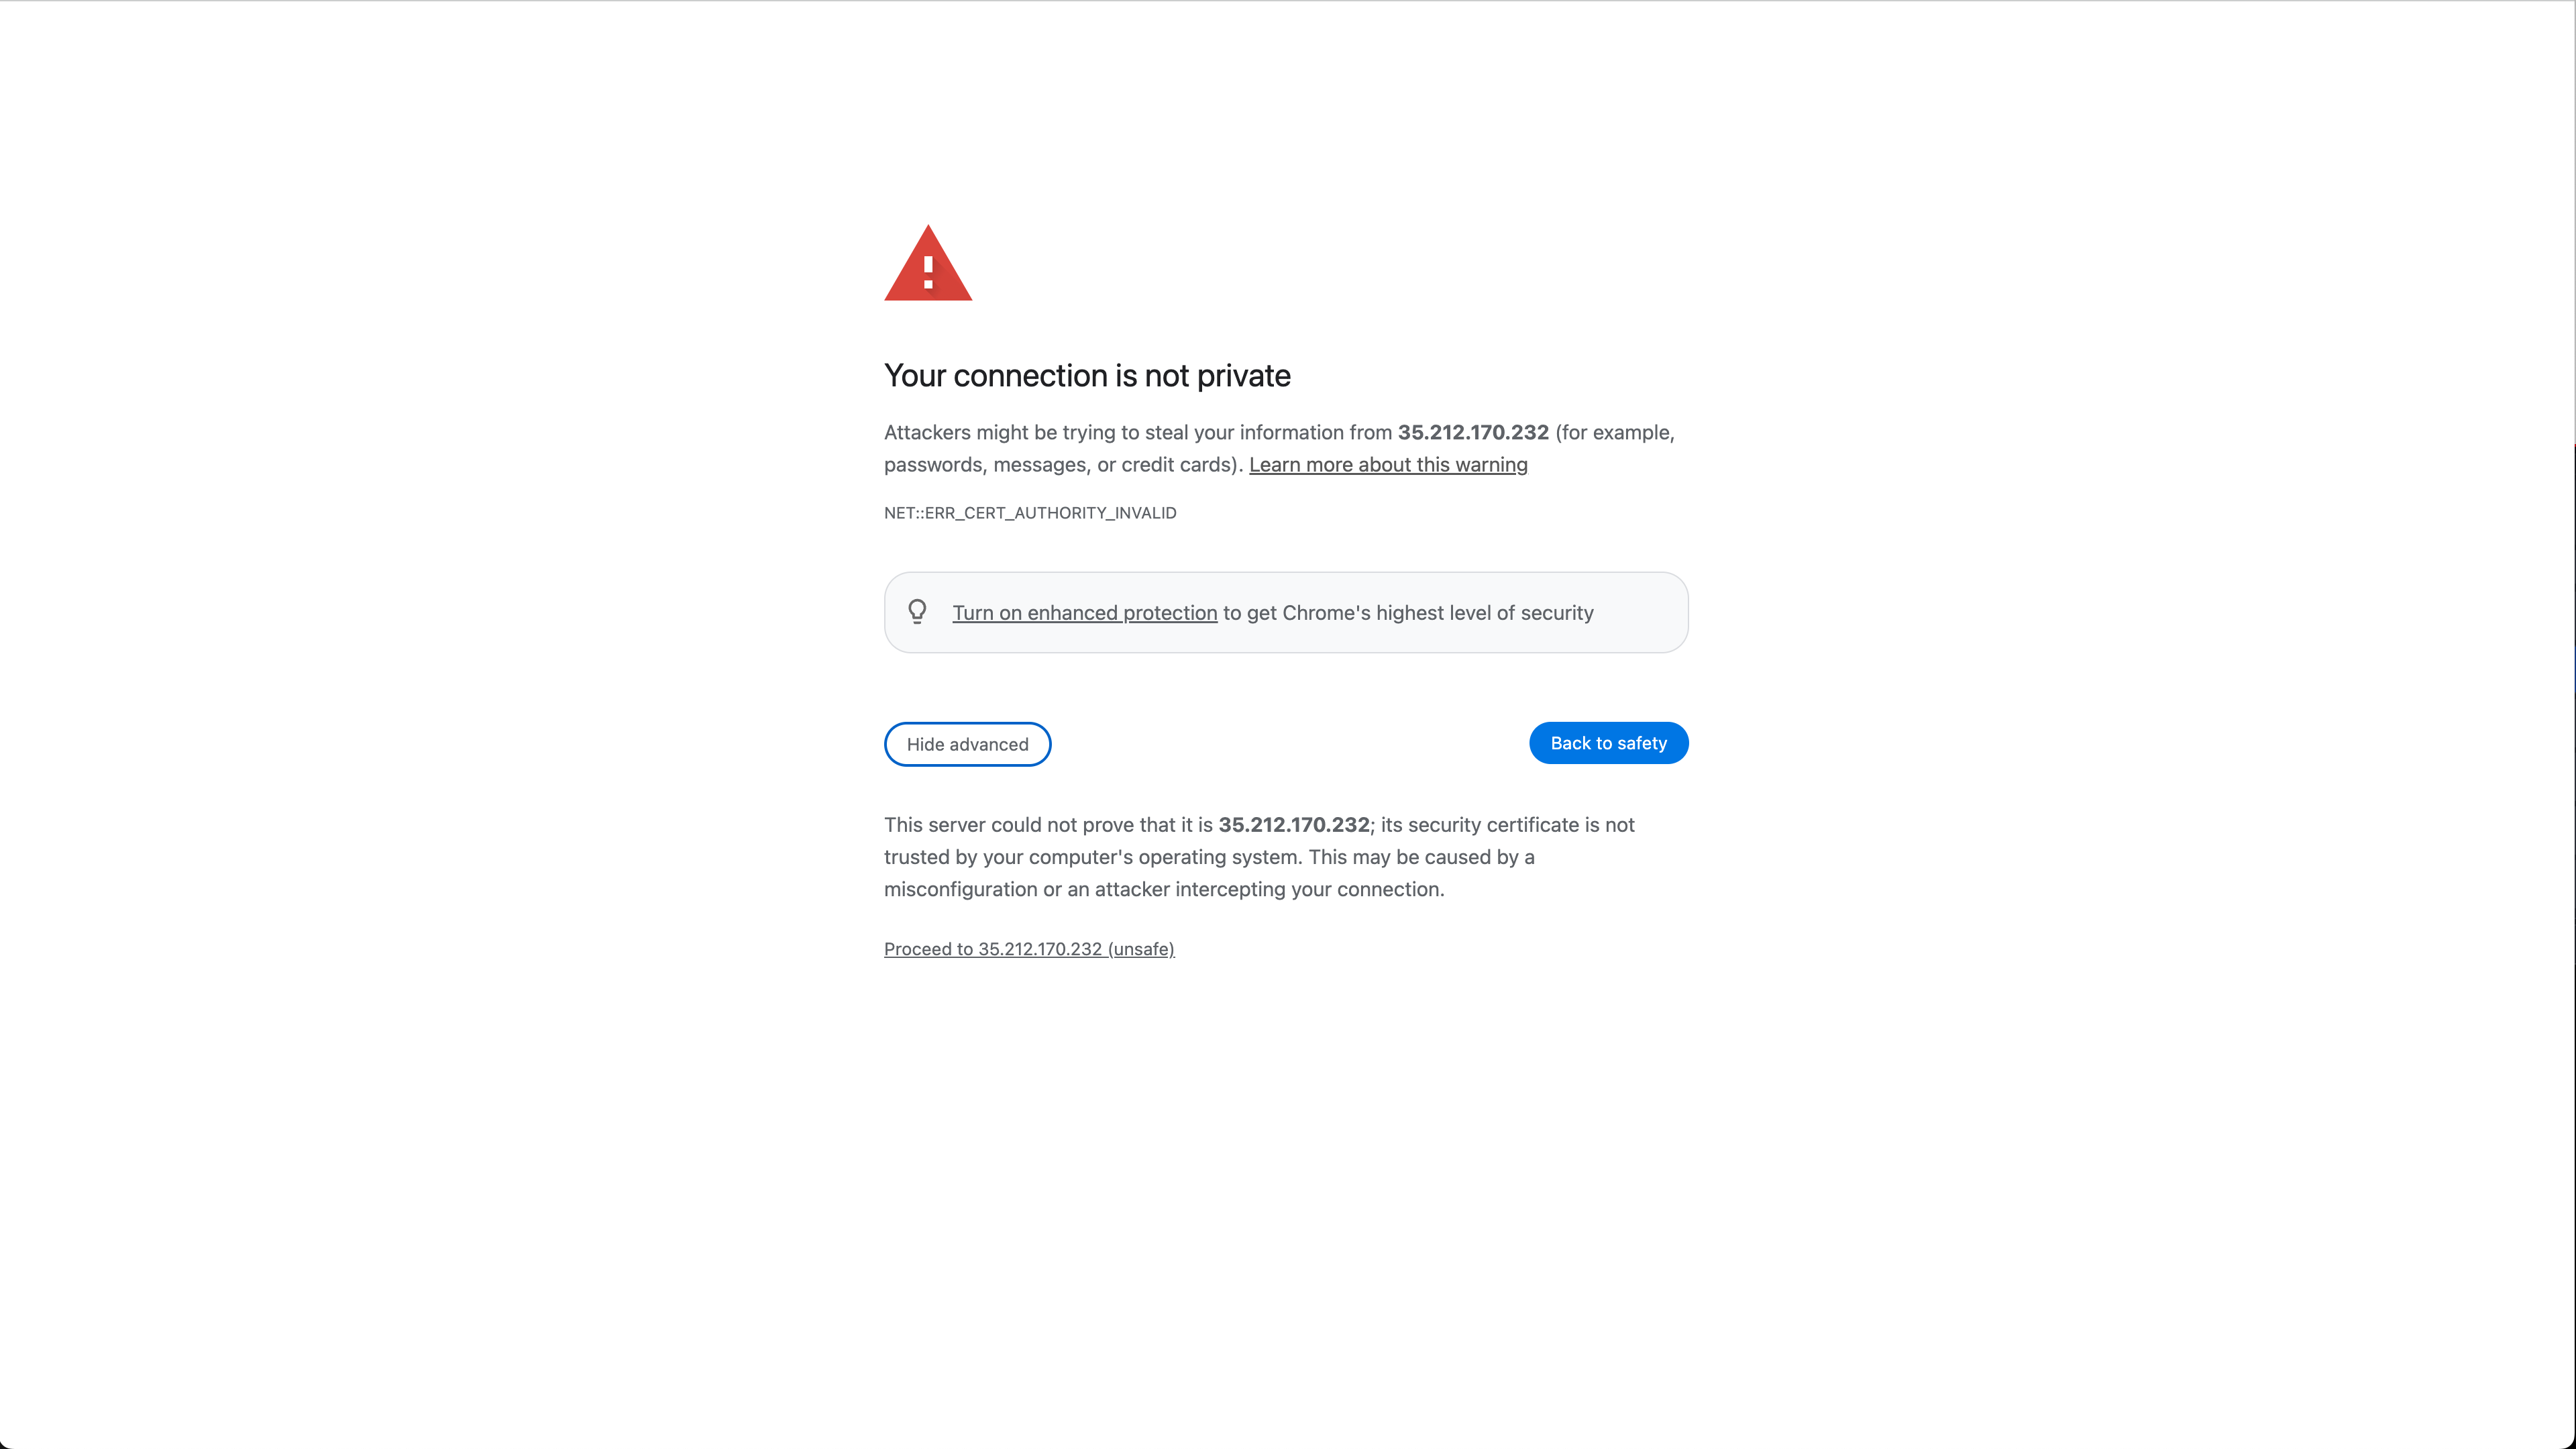
The first time Wallaroo is installed, browsers attempting to access the Kots Administrative Dashboard may show a security warning because there are no security certificates installed. Depending on the browser, override and continue. For example, with Google Chrome select Advanced then continue to the web site.
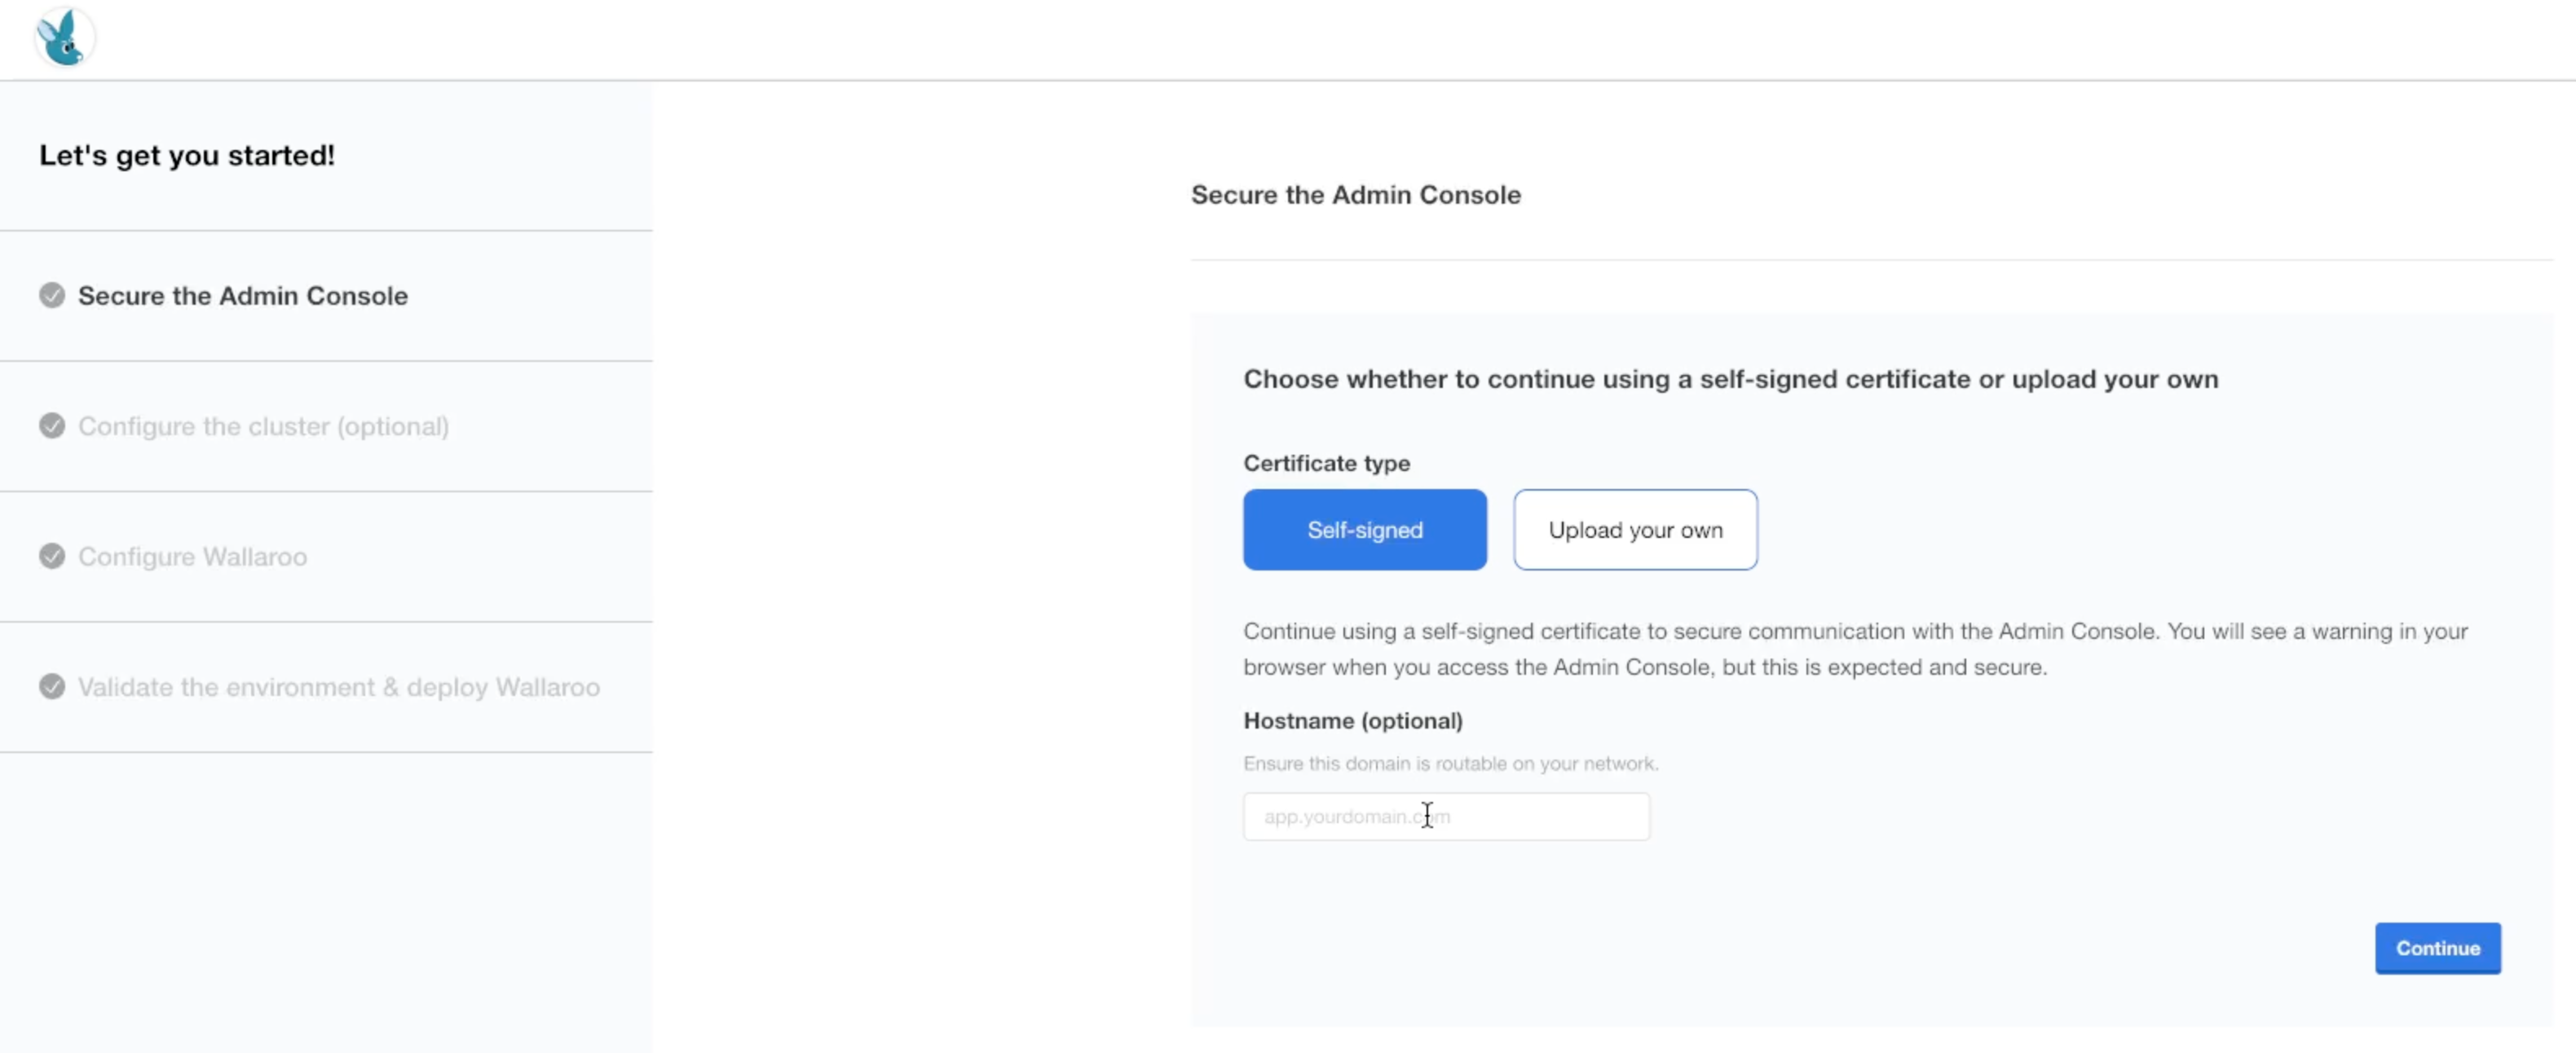
At this point, the Kots Administrative Dashboard can either generate a self-signed certificate (Default), or accept one generated by the organization. Select the relevant options and select Continue.
Enter the Kots Administrative Console address into a browser set in the Install Embedded Wallaroo process. Enter it and select Log in.
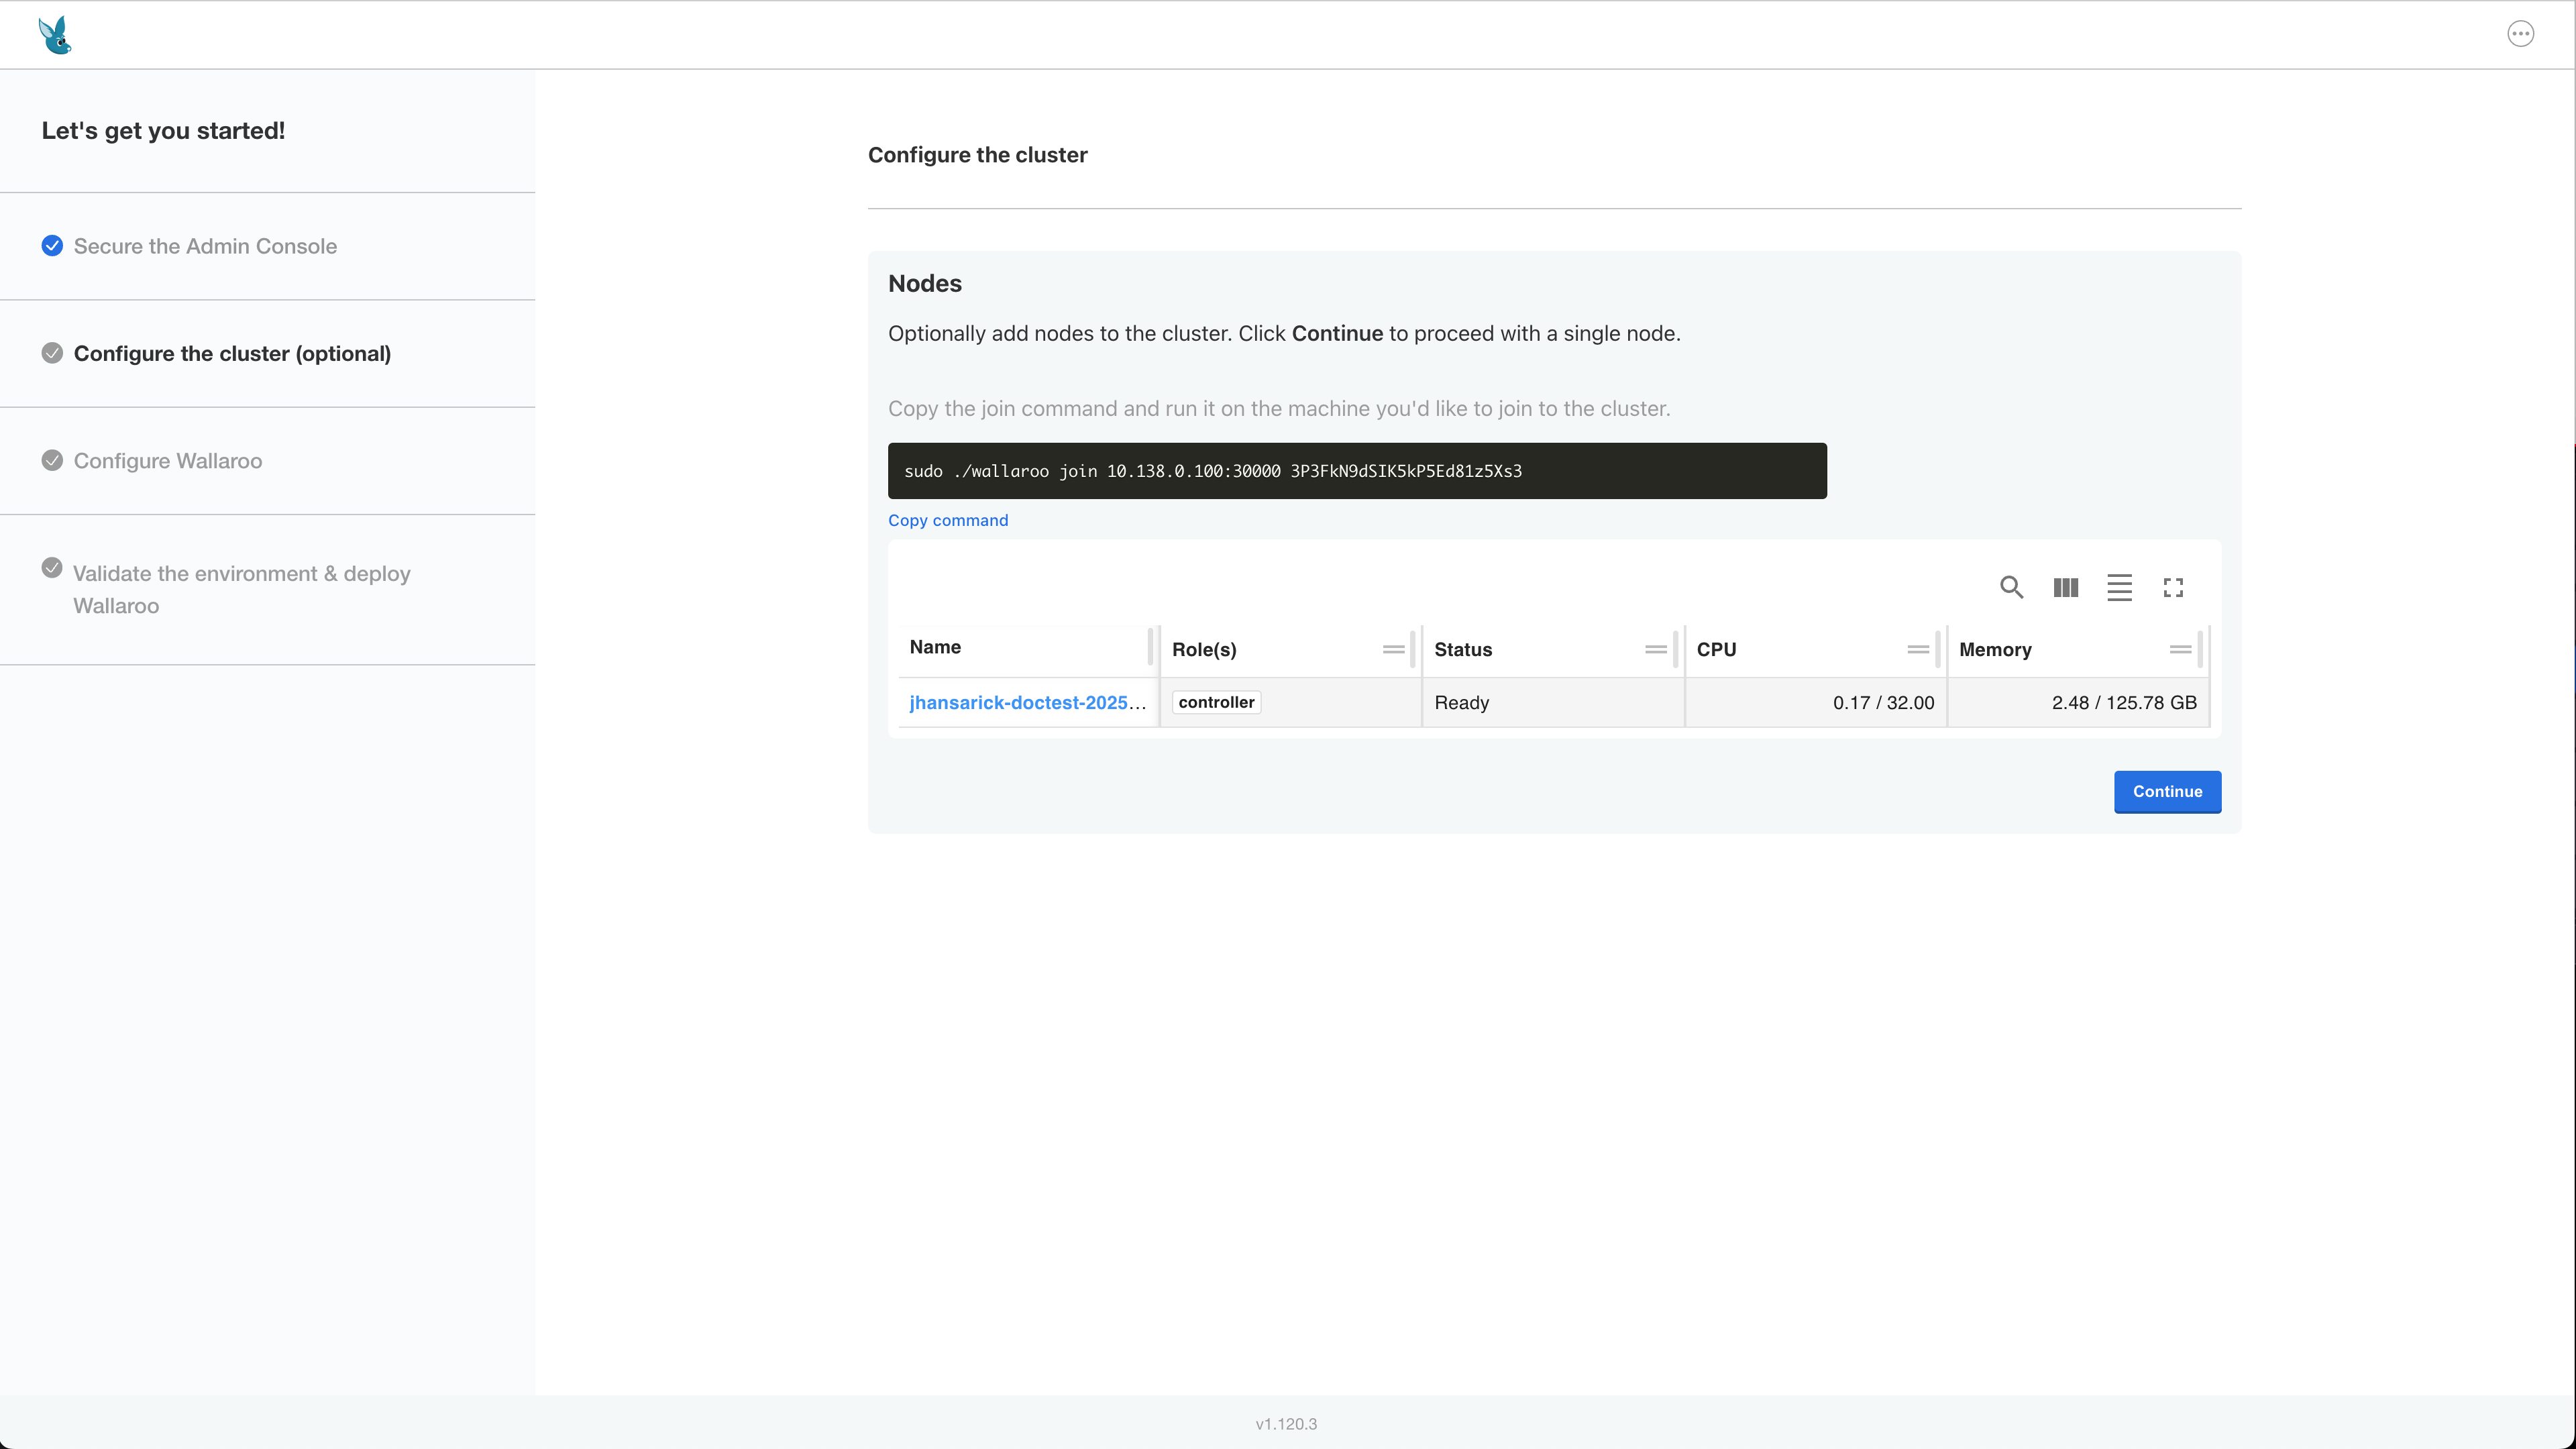
Configure the cluster provides instructions on how to add additional nodes to the cluster. Select Continue when ready.
The Configure Wallaroo page will be displayed which allows you to customize your Wallaroo environment. The following are the minimum required settings.
Networking Configuration:
- Ingress Mode for Wallaroo Endpoints: Must be Embedded.
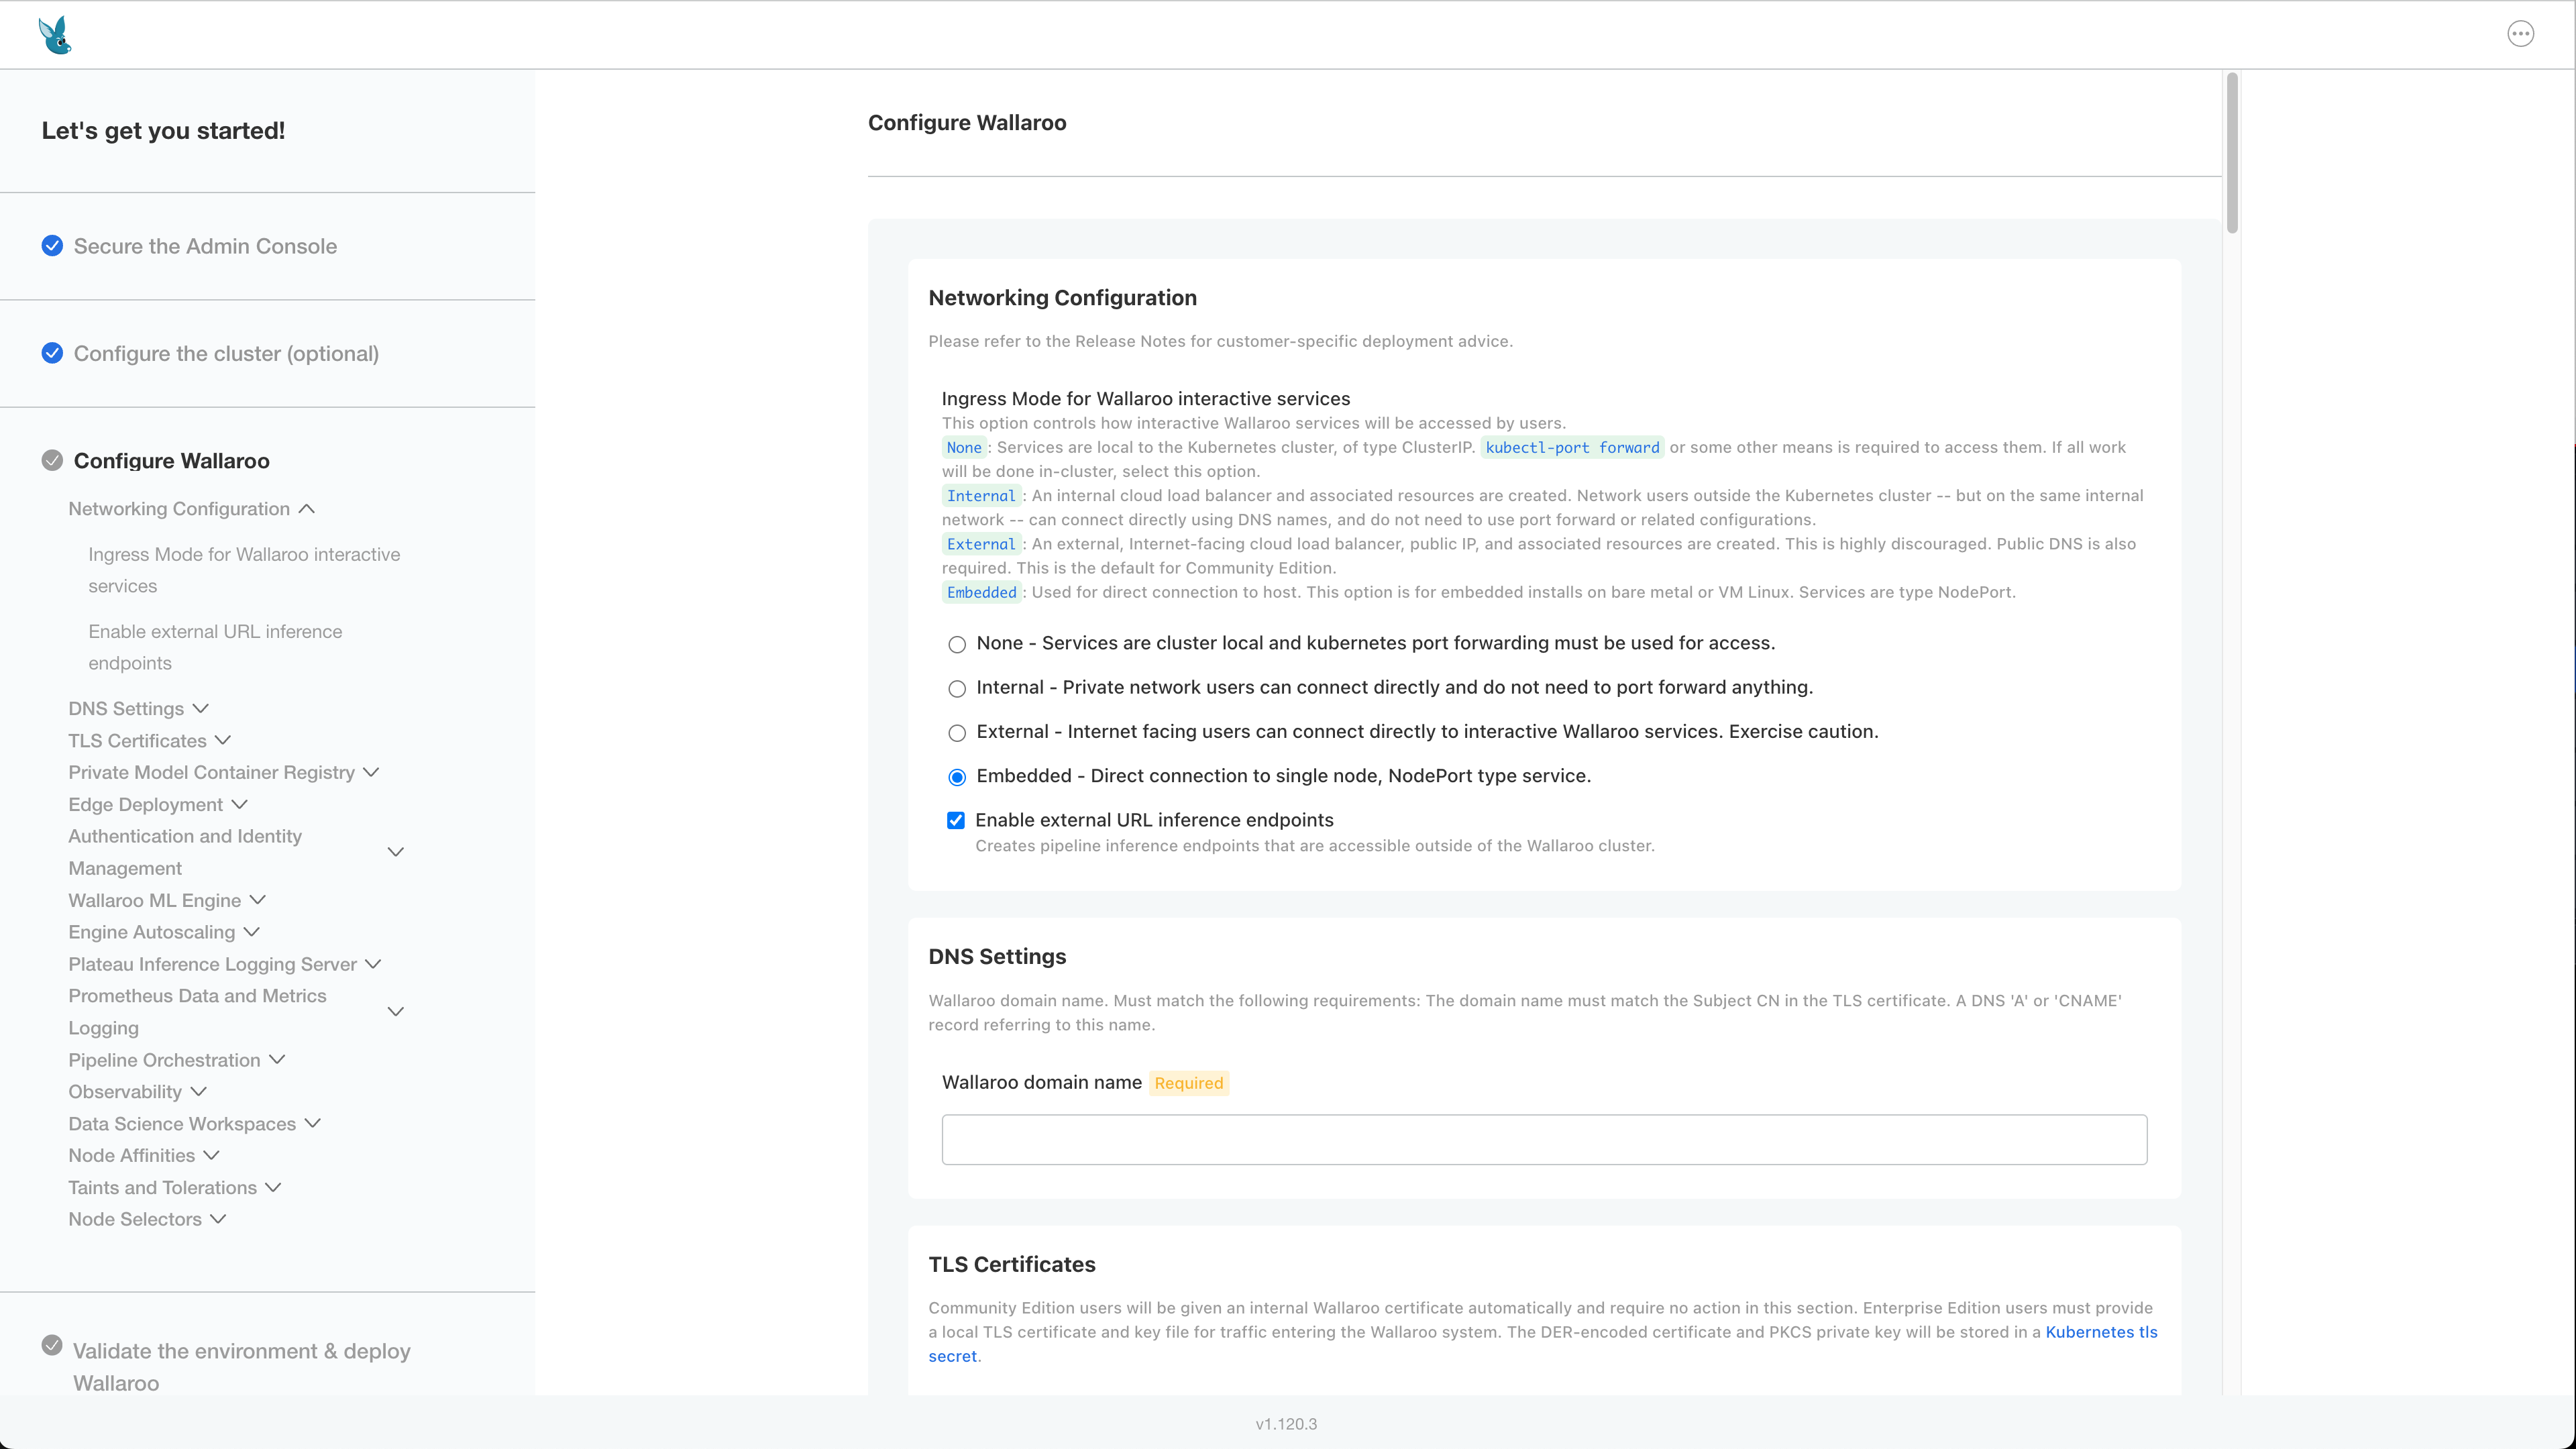
DNS Settings
- Wallaroo domain name (Required): The domain for the Wallaroo instance.
TLS Certificates
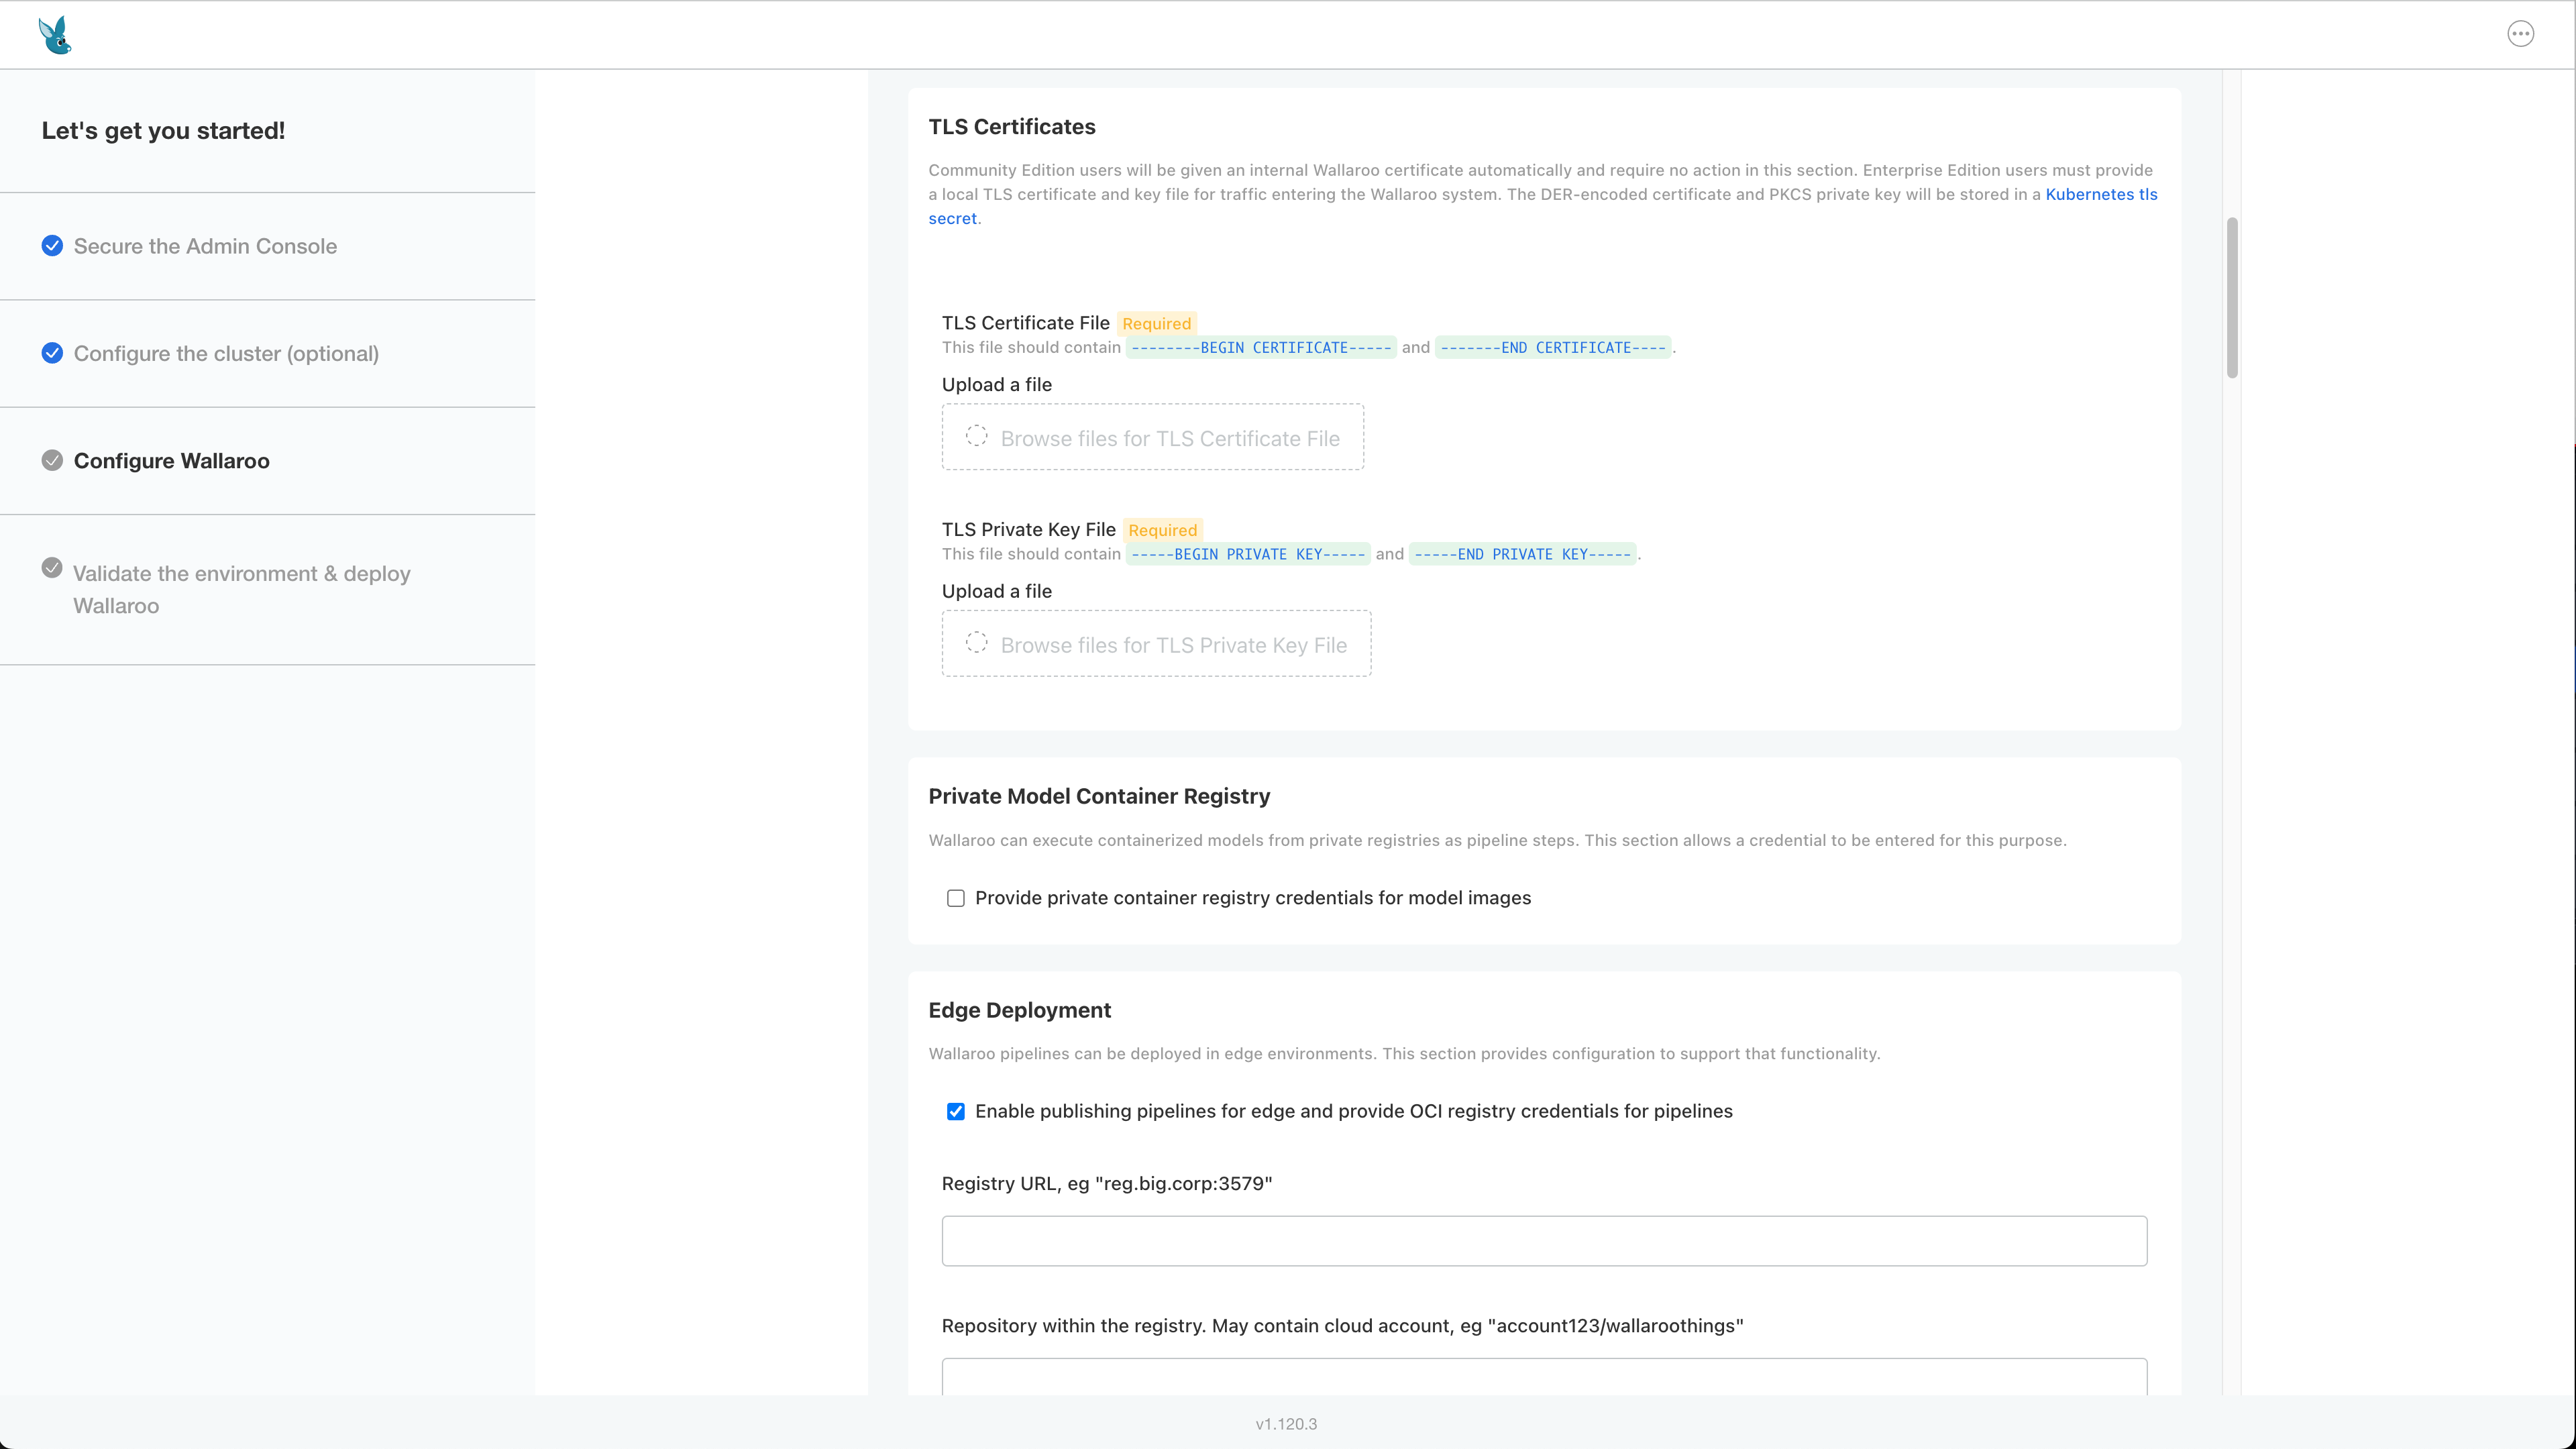
- Use custom TLS Certs: Checked
- TLS Certificate: Enter your TLS Certificate (.crt file).
- TLS Private Key: Enter your TLS private key (.key file).
Check for any additional settings in the sections below.
Once complete, scroll to the bottom of the Config page and select Deploy.
At this point, continue to Required Installation Configurations for the required configuration settings.
Edge Deployment Configuration
The following optional configurations to enable OCI Registry integration with Wallaroo for deploying models in edge and multi-cloud environments through Wallaroo. For more details, see Inference Anywhere.
To set the Edge Registry Settings through the Kots Administrative Dashboard:
Scroll to Edge Deployment.
Enable Provide OCI registry credentials for pipelines.
Enter the following:
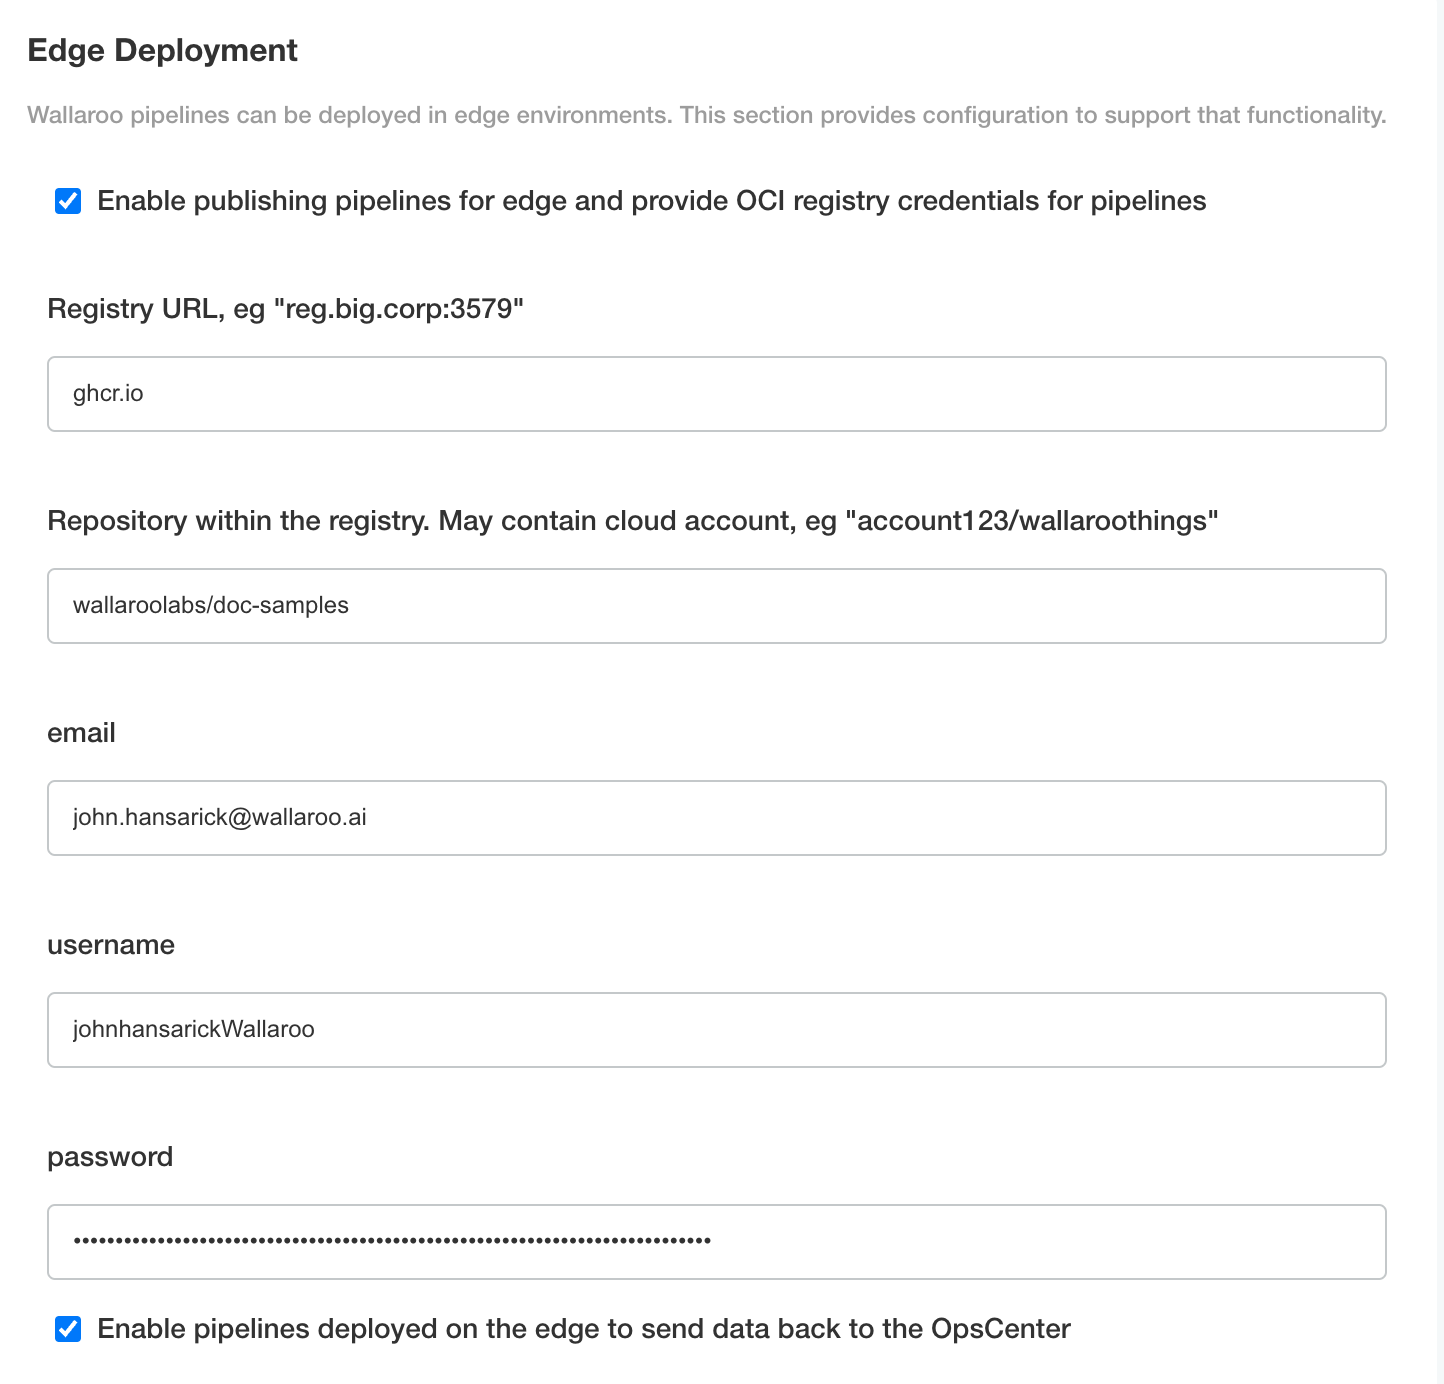
- Registry URL: The address of the registry service. For example:
us-west1-docker.pkg.dev. - email: The email address of the user account used to authenticate to the service.
- username: The account used to authenticate to the registry service.
- password: The password or token used to authenticate to the registry service.
- To enable edge observability, enable Enable pipelines deployed on the edge to send data back to the OpsCenter.
- Registry URL: The address of the registry service. For example:
Save the updated configuration, then deploy it. Once complete, the edge registry settings will be available.
Set Assay Version
To enable Wallaroo assays via kots:
From the Config page, scroll to Config -> Observability -> Enable Assays.
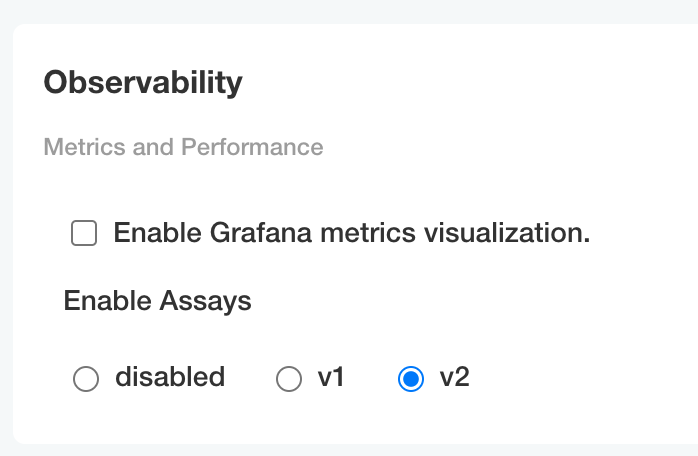
Select from one of the following options:
- Disable: Disable assays.
- v1: Enable Wallaroo Assays V1.
- v2: Enable Wallaroo Assays V2 (Default).
Complete the deployment as needed.
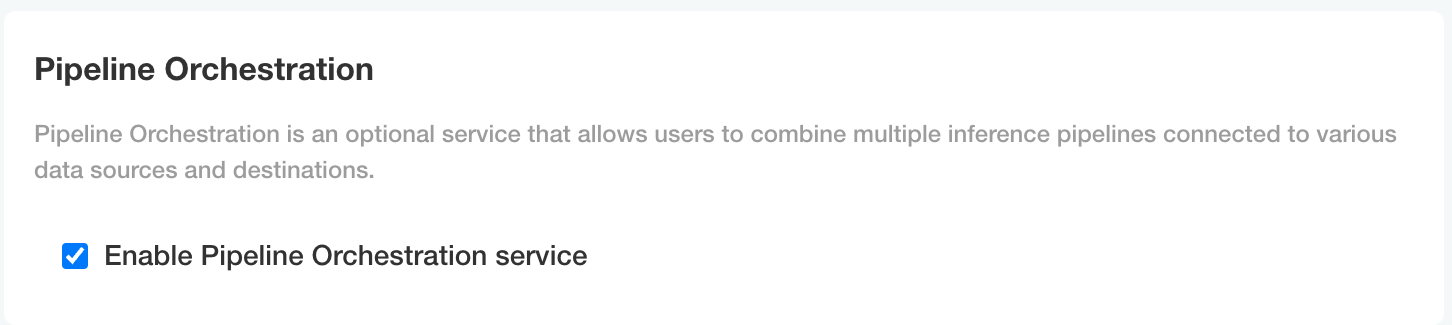
Enable ML Workload Orchestrations
To enable ML Workload Orchestrations, use the following steps.
- Scroll to Pipeline Orchestration.
- Enable Enable Pipeline Orchestration service.
Private Python Repository via Kots
Administrators can configure Wallaroo with a Python private package repository (for example, Nexus, Github) into Wallaroo from within the same local network. This is useful for providing access to custom Python libraries for:
To enable Python private model registries via kots, enable the following settings:
From the Kots Administrative Dashboard, select Config.
From the section Private PyPi Repository, set the following:
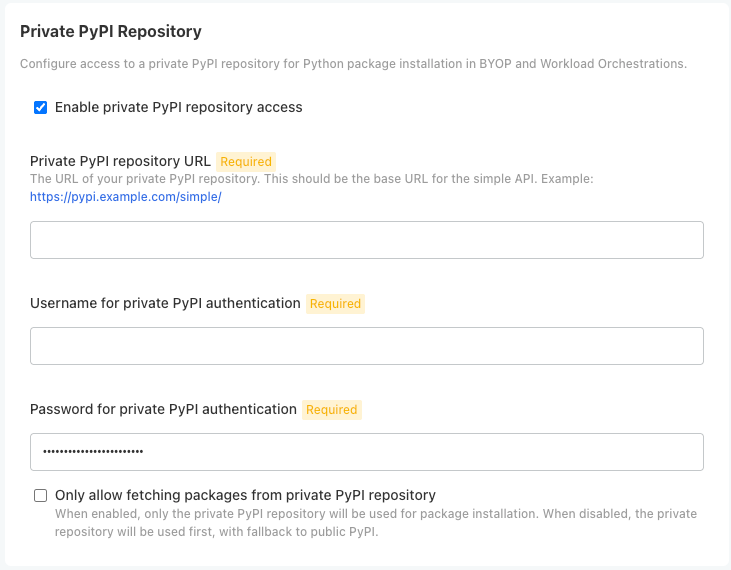
- Enable private PyPi repository access: Enables the private Python repository. If not enabled, the following settings are ignored.
- Private PyPI repository URL: The URL for the private repository in the format
https://{HOST_NAME}. - Username for private PyPI authentication: Sets the username authentication credential to the private repository.
- Password for private PyPI authentication: Sets the password authentication credential to the private repository.
- Only allow fetching packages from private PiPI repository: If enabled, only uses the defined private PyPi repository; any public PyPI links are ignored.
Required Installation Configurations
Once installed, the following actions are required to complete the setup process process.
DNS Services Integration
DNS services integration is required for Wallaroo Enterprise to provide access to the various supporting services that are part of the Wallaroo instance. These include:
- Simplified user authentication and management.
- Centralized services for accessing the Wallaroo Dashboard, Wallaroo SDK and Authentication.
- Collaboration features allowing teams to work together.
- Managed security, auditing and traceability.
The following guide is for standard DNS services.
Once integrated, users can access the following services directly from a URL starting with the Wallaroo Domain - this is the domain name the DNS enetry is set to. For example, if the Wallaroo Domain is wallaroo.example.com, then the Wallaroo Ops instance is accessed from https://wallaroo.example.com/{service}.
Note that even when accessing specific Wallaroo services directly that the user must authenticate through Wallaroo or another authorized authentication service.
| Service | Path | Description |
|---|---|---|
| Wallaroo Dashboard | wallaroo domain | Provides access to a user interface for updating workspaces, pipelines, and models. Also provides access to the integrated JupyterHub service. |
| API | v1/api | Provides access to the Wallaroo API. For example, wallaroo.example.com/v1/api. |
| Authentication | auth | Access to authentication management including SSO configurations. For example: wallaroo.example.com/auth. For details on user management, see Wallaroo User Management. For details on user management services, see Wallaroo Authentication Configuration Guides. |
| Edge Observability | edge | Optional service for edge and multicloud deployments to report inference results back to the Wallaroo Ops instance. For example: wallaroo.example.com/edge. |
DNS Prerequisites
- Install Wallaroo Enterprise into a qualified environment. For more details, see the Wallaroo Install Guides and the Wallaroo Enterprise Install Guides.
- Generate or update the the SSL Certificates
- Have access to internal corporate DNS configurations that can be updated. A subdomain for the Wallaroo instance will be created through this process.
- Have the IP address for the Wallaroo instance. Depending on the cloud platform, this is obtain in different ways.
DNS Entries
Create DNS the following entries based on the list above for the Wallaroo instance’s IP address. Select the cloud environment used for DNS services. Note that DNS services are not tied to the specific cloud platform; check with your organizations setup requirements before proceeding.
- Wallaroo Domain:
Arecord,NS(Name Server) record,SOA(Start Of Authority) record. For example:wallaroo.example.com.
Setup Users
User management is managed through the Wallaroo Dashboard, via the Platform Admin Dashboard page. See the Wallaroo User Management for full guides on setting up users, identity providers, and other user configuration options.
The following is an abbreviated guide on setting up new Wallaroo users.
IMPORTANT NOTE
At least one user must be created before using Wallaroo.The process includes the following steps:
- Obtain the User Admin Credentials
- Create a New User with the Admin Role
Obtain the User Admin Credentials
Obtaining the admin User Credentials
The standard Wallaroo installation creates the user admin by default and assigns them a randomly generated password. The admin user credentials are obtained through the following process:
To retrieve the admin user’s password:
From SSH session with the VM, enter the following command to access the Wallaroo shell.
sudo ./wallaroo shellRetrieve the Admin Password with the following:
kubectl -n kotsadm \
get secret keycloak-admin-secret \
-o go-template='{{.data.KEYCLOAK_ADMIN_PASSWORD | base64decode }}'
Create a New User with the Admin Role
Creating users is managed through the Platform Admin Dashboard. The following steps are used to create an initial user with the role admin.
- Access the Wallaroo Dashboard through the DNS name set up in the DNS Services Integration step. For example, if the DNS name of the Wallaroo Ops center is
wallaroo.example.com, the Wallaroo Dashboard is available athttps://wallaroo.example.com. - Login with the username
adminand the password retrieved in the step Obtaining the admin User Credentials. - Select Create Users and enter the following:
- User Email: The email address for the user. This must be in the valid email address format.
- Assign Type: Select Admin.
- Password: Enter the user’s password. This user password be sent to the new user.
- Temporary or Permanent:
- Temporary: The user will be forced to change their login password upon their next login (Recommended).
- Permanent: The user will keep their password.
- Create any additional users as needed. When finished, select the Wallaroo icon drop down and select Logout.
At this point, users can log in to Wallaroo Dashboard with their provided identities. For guides on setting up Single Sign-On (SSO) and other features, see Wallaroo User Management for full guides on setting up users, identity providers, and other user configuration options.
Optional Installation Configurations
The following installation configurations are only required depending on specific hardware and software configurations.
- GPU Support: Installations of with Nvidia gpus with CUDA 12 support will require installing the necessary drivers and other Kubernetes configurations.
- Add Custom GPU Label: Installations with GPUs require a GPU label for model deployment via the Wallaroo SDK and API which can use an existing label or a custom label.
GPU Support
For cloud or on-premise systems leveraging NVIDIA CUDA 12 gpus, the following steps must be followed.
SSH into the VM or on-premise installation with an account with
sudoAdministrative access.Install the Nvidia drivers as per the instructions from Installing the drivers on servers and/or for computing purposes for CUDA as follows.
sudo ubuntu-drivers --gpgpu installInstall
helmvia the following command:curl -fsSL -o get_helm.sh https://raw.githubusercontent.com/helm/helm/master/scripts/get-helm-3 && chmod 700 get_helm.sh && ./get_helm.shEnter the Wallaroo Shell:
sudo ./wallaroo shellCreate the namespace
gpu-operator:kubectl create ns gpu-operatorAdd the label
pod-security.kubernetes.io/enforce=privilegedto the new namespace:kubectl label --overwrite ns gpu-operator pod-security.kubernetes.io/enforce=privilegedAdd Nvidia support via
helm:helm repo add nvidia https://helm.ngc.nvidia.com/nvidia && helm repo updateAdd the necessary toolkit settings to enable Nvidia support:
helm install --wait --generate-name -n gpu-operator --create-namespace nvidia/gpu-operator --set driver.enabled=false --set operator.defaultRuntime=containerd --set toolkit.env[0].name=CONTAINERD_CONFIG --set toolkit.env[0].value=/etc/k0s/containerd.d/nvidia.toml --set toolkit.env[1].name=CONTAINERD_SOCKET --set toolkit.env[1].value=/run/k0s/containerd.sock --set toolkit.env[2].name=CONTAINERD_RUNTIME_CLASS --set toolkit.env[2].value=nvidia
Add Custom GPU Label
For systems with one or more GPUs, a Kubernetes label is required.
For details on model deployment with GPUs, see Deployment Configuration GPU Support.
To add a custom label to the installation:
SSH into the Linux installation as the same user that performed the installation.
Access the Wallaroo Shell by executing the following command in same directory where the Wallaroo installation script was downloaded in the step Install Embedded Wallaroo.
sudo ./wallaroo shellGet the current nodes and labels via the following command. Note the name of the single node - typically this is the same as the VM host name.
kubectl get nodes --show-labelsThis returns an output like the following:
NAME                          STATUS   ROLES           AGE     VERSION       LABELS
wallaroo-linux-install   Ready    control-plane   6d23h   v1.30.5+k0s   beta.kubernetes.io/arch=amd64,beta.kubernetes.io/os=linux,kots.io/embedded-cluster-role-0=controller,kots.io/embedded-cluster-role=total-1,kubernetes.io/arch=amd64,kubernetes.io/hostname=wallaroo-linux-install,kubernetes.io/os=linux,node-role.kubernetes.io/control-plane=true,node.k0sproject.io/role=control-plane
Add a label to the single nodes via the
kubectl label nodescommand in the following format, replacing the following:$NODENAME: The name of the node. Typically this is the same as the VM’s host name.$LABEL: The label name.$VALUE: The label value.
kubectl label nodes $NODENAME $LABEL=$VALUEFor example, for the following values, the command is:
$NODENAME:wallaroo-linux-install$LABEL:wallaroo.ai/accelerator$VALUE:gpu
label nodes wallaroo-linux-install wallaroo.ai/accelerator=gpu
Note that the deployment configuration label used by the Wallaroo SDK follows the Kubernetes Labels and Selectors format of label:value. For example, a typical deployment configuration for the above label would be:
import wallaroo

# create the deployment configuration with 4 cpus, 3 Gi RAM, and 1 GPU with the deployment label
wallaroo.DeploymentConfigBuilder()
    .cpus(4)
    .memory('3Gi')
    .gpus(1)
    .deployment_label('wallaroo.ai/accelerator:gpu')
    .build()
For more details on model deployment configurations, see Deployment Configuration with the Wallaroo SDK.
Next Steps
Ready for more? Time to deploy models and start inferencing.
- See the Wallaroo 101 for a run through of uploading, deploying, and inferencing on ML models.
- For Large Language Models, see the Large Language Models Operations guides.
- For edge and multi-cloud deployments, see the Run Anywhere Tutorials for instructions on deploying ML models in any cloud, any architecture, on any platform.
For access to these sample models and a demonstration on using LLMs with Wallaroo:
- Contact your Wallaroo Support Representative OR
- Schedule Your Wallaroo.AI Demo Today