How to update SSL Certificates for Wallaroo
Generate Certificates
The following settings are used for TLS certificates.
- Create a CA-signed TLS certificate for your Wallaroo domain with the following settings:
- Certificate Authority Options:
- Use a public Certificate Authority such as Let’s Encrypt or Verisign. In general, you would send a Certificate Signing Request to your CA and they would respond with your certificates.
- Use a private Certificate Authority (CA) to provide the certificates. Your organization will have procedures for clients to verify the certificates from the private CA.
- Use a Wallaroo certificate and public name server. Contact our CSS team for details.
- Subject Domain:
- Set the certificate’s Subject CN to your Wallaroo Domain. For example, if the Wallaroo Domain
wallaroo.example.com, then the Subject CNs would bewallaroo.example.com.
- Set the certificate’s Subject CN to your Wallaroo Domain. For example, if the Wallaroo Domain
- Save your certificates.
- You should have two files: the TLS Certificate (
.crt) and TLS private key (.key). Store these in a secure location - these will be installed into Wallaroo at a later step.
- You should have two files: the TLS Certificate (
- Certificate Authority Options:
Update SSL Certificates for Kots Installations
The following is for updating SSL certificates in Wallaroo for a Kots based installation.
Access the Kots Administrative Dashboard in your browser. This can be done either after installation, or through the following command (assuming your Wallaroo instance was installed into the namespace
wallarooorkotsadmfor Single Node installations). By default this provides the Kots Administrative Dashboard through the URLhttps://localhost:8800.kubectl kots admin-console --namespace wallarooFrom the Wallaroo Dashboard, select Config and set the following:
TLS Certificates
- Use custom TLS Certs: Checked
- TLS Certificate: Enter your TLS Certificate (.crt file).
- TLS Private Key: Enter your TLS private key (.key file).
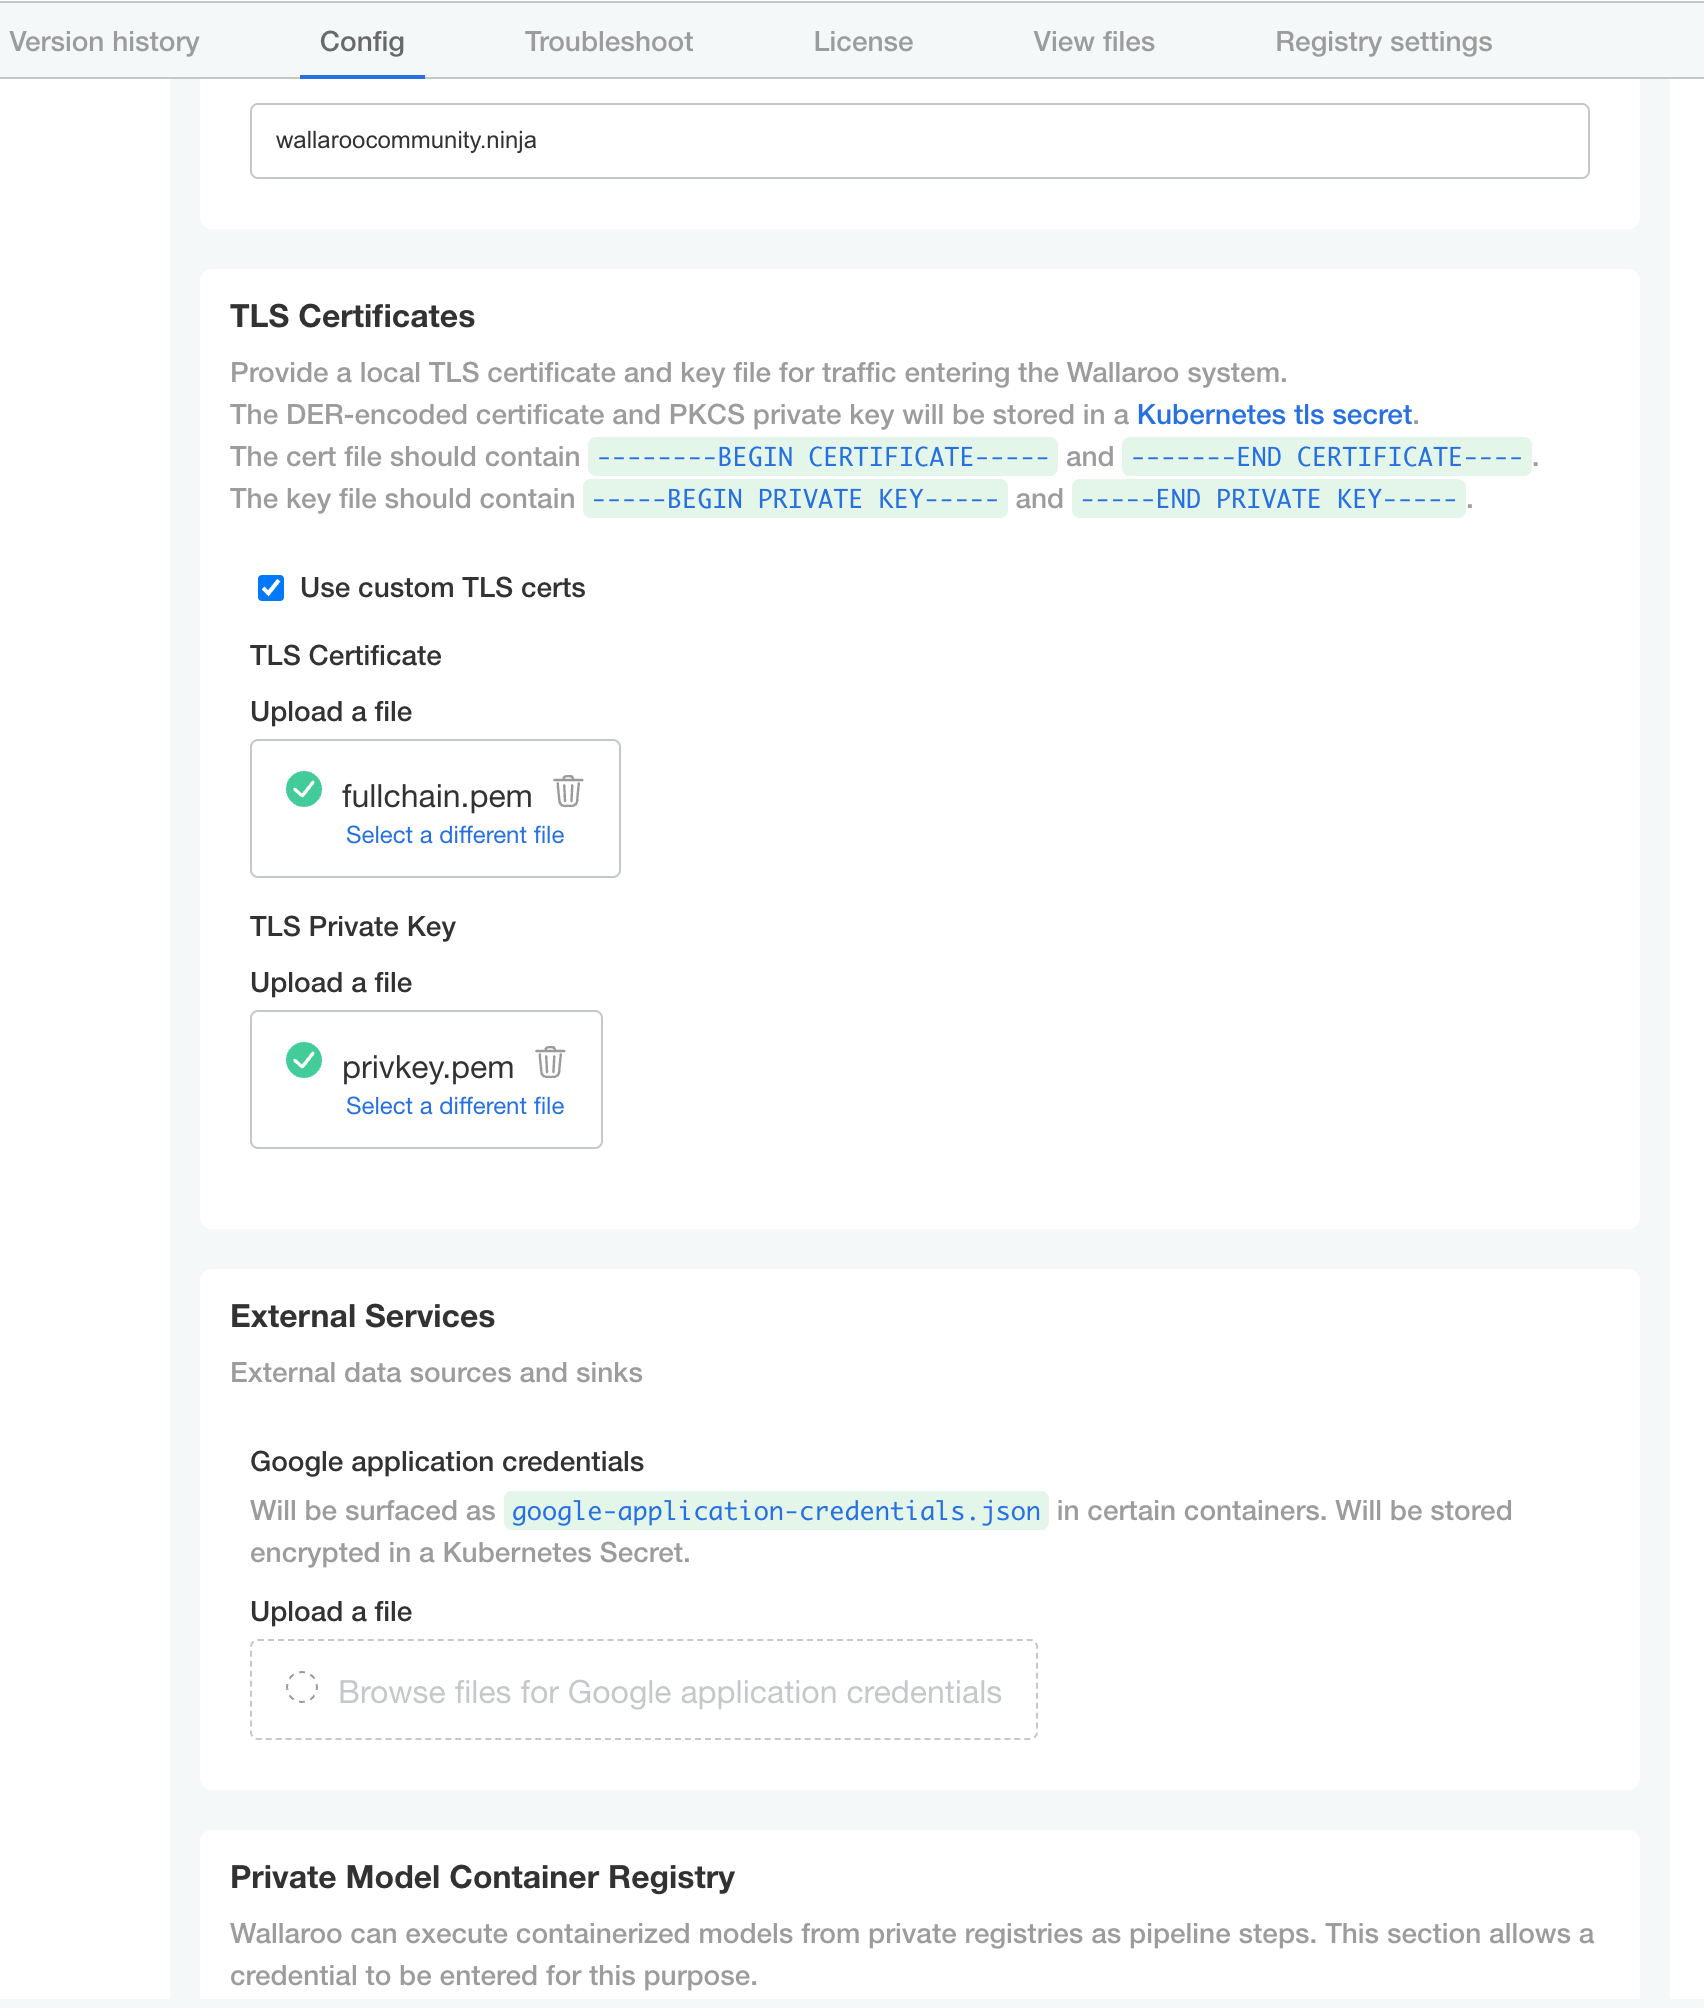
Once complete, scroll to the bottom of the Config page and select Save config.
A pop-up window will display The config for Wallaroo Enterprise has been updated.. Select Go to updated version to continue.
From the Version History page, select Deploy. Once the new deployment is finished, you will be able to access your Wallaroo services via their DNS addresses.
Update SSL Certificates for Helm Installations
SSL certificates for Helm based installations of Wallaroo are stored as Kubernetes secrets. SSL certificates are set during the Wallaroo install procedure. The following procedure defines how to update the secret key with new TLS certificates.
Set the Kubernetes Namespace
Before start, set the Kubernetes default namespace to match the ones used for Wallaroo. For example, if Wallaroo is installed in the wallaroo namespace, that command is:
kubectl config set-context --current --namespace wallaroo
Create New Kubectl Secret from Certificates
The following creates a new Kubectl secret from the SSL certificates.
- Set the TLS certificate secret in the Kubernetes environment:
Create the certificate and private key. It is recommended to name it after the domain name of your Wallaroo instance. For example:
wallaroo.example.com. For production environments, organizations are recommended to use certificates from their certificate authority. Note that the Wallaroo SDK will not connect from an external connection without valid certificates. For more information on using DNS settings and certificates, see the Wallaroo DNS Integration Guide.Convert the files to base64 encoded and store the results. For example:
The cert file:
base64 -i cert_file.pemThe key file:
base64 -i key_file.pemSet the base64 encoded files into the helm values file with the following settings:
deploymentStage: cust: This value must becust.custTlsCert: The base64 encoded certificate chain.custTlsKey: The base64 encoded key.
For example:
#> To provide TLS certificates, (1) set deploymentStage to "cust", then (2) provide base64 encoded secrets
#> in custTlsCert and custTlsKey.

deploymentStage: cust # Deployment stage, must be set to "cust" when deployed
custTlsCert: "abcdefg" # Customer provided certificate chain when deploymentStage is "cust".
custTlsKey: "zyxwvu" # Customer provided private key when deploymentStage is "cust".
- The following is a minimum
local-values.yamlfile with the Wallaroo Domain set towallaroo.example.comand sample certificate values:
wallarooDomain: "wallaroo.example.com" # change to match the domain name

deploymentStage: cust # Deployment stage, must be set to "cust" when deployed
custTlsCert: "" # Customer provided certificate chain when deploymentStage is "cust".
custTlsKey: "" # Customer provided private key when deploymentStage is "cust".

ingress_mode: internal # internal (Default), external,or none

dashboard:
  clientName: "Wallaroo Helm Example" # Insert the name displayed in the Wallaroo Dashboard

kubernetes_distribution: ""   # Required. One of: aks, eks, gke, oke, or kurl.
Update the
helmbased installation with thehelm upgradecommand in the following format:helm upgrade $RELEASE $REGISTRYURL --version $VERSION --values $LOCALVALUES.yaml --timeout 10m --wait --wait-for-jobsWhere:
$RELEASE: The name of the Helm release. By default,wallaroo.$REGISTRYURL: The URl for the Wallaroo container registry service.$VERSION: The version of Wallaroo to install. For this example,2025.2.5-6628.$LOCALVALUES: The .yaml file containing the local values overrides. For this example,local-values.yaml.
For example, for the release
wallaroothe command would be:helm upgrade wallaroo oci://registry.replicated.com/wallaroo/2025-2/wallaroo --version 2025.2.5-6628 --values local-values.yaml --timeout 10m --wait --wait-for-jobs
Once complete, the new certificates are installed and ready for use.