Wallaroo Pipeline Edge Publication Management
How to manage pipeline publications
Pipelines represent how data is submitted to your uploaded Machine Learning (ML) models. Pipelines allow you to:
Submit information through an uploaded file or through the Pipeline’s Deployment URL.
Have the Pipeline submit the information to one or more models in sequence.
Once complete, output the result from the model(s).
Pipeline names map onto Kubernetes objects, and must be DNS compliant. Pipeline names must be ASCII alpha-numeric characters or dash (-) only. . and _ are not allowed.
Pipelines can be created through the Wallaroo Dashboard and the Wallaroo SDK. For specifics on using the SDK, see the Wallaroo SDK Guide. For more detailed instructions and step-by-step examples with real models and data, see the Wallaroo Tutorials.
The following instructions are focused on how to use the Wallaroo Dashboard for creating, deploying, and undeploying pipelines.
Pipeline names are not forced to be unique. You can have 50 pipelines all named my-pipeline, which can cause confusion in determining which pipeline to use.
It is recommended that organizations agree on a naming convention and select pipeline to use rather than creating a new one each time. See the SDK guides for more information on how to select an existing pipeline.
To create a pipeline:
From the Wallaroo Dashboard, set the current workspace from the top left dropdown list.
Select View Pipelines from the pipeline’s row.
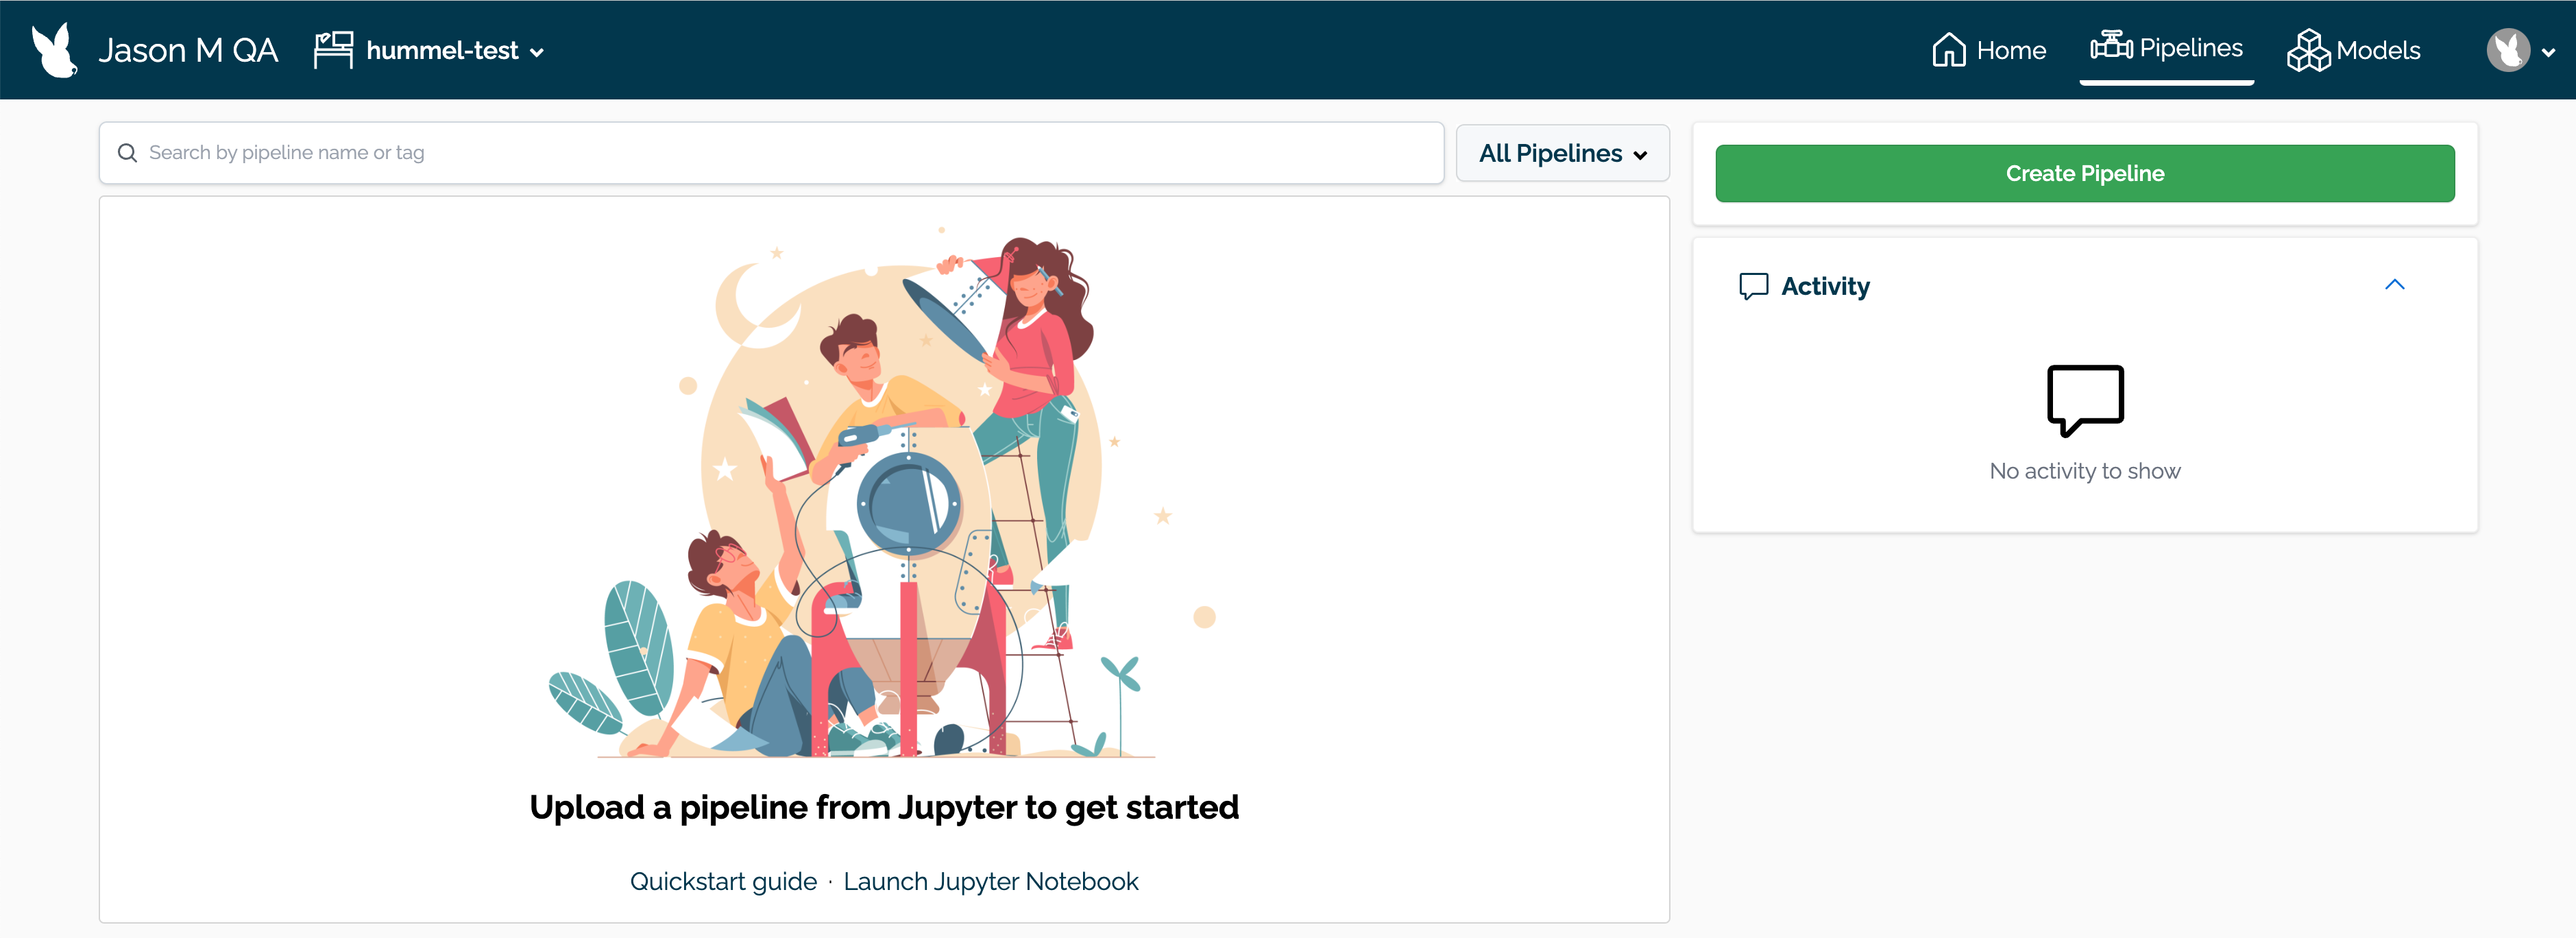
From the upper right hand corner, select Create Pipeline.
Enter the following:
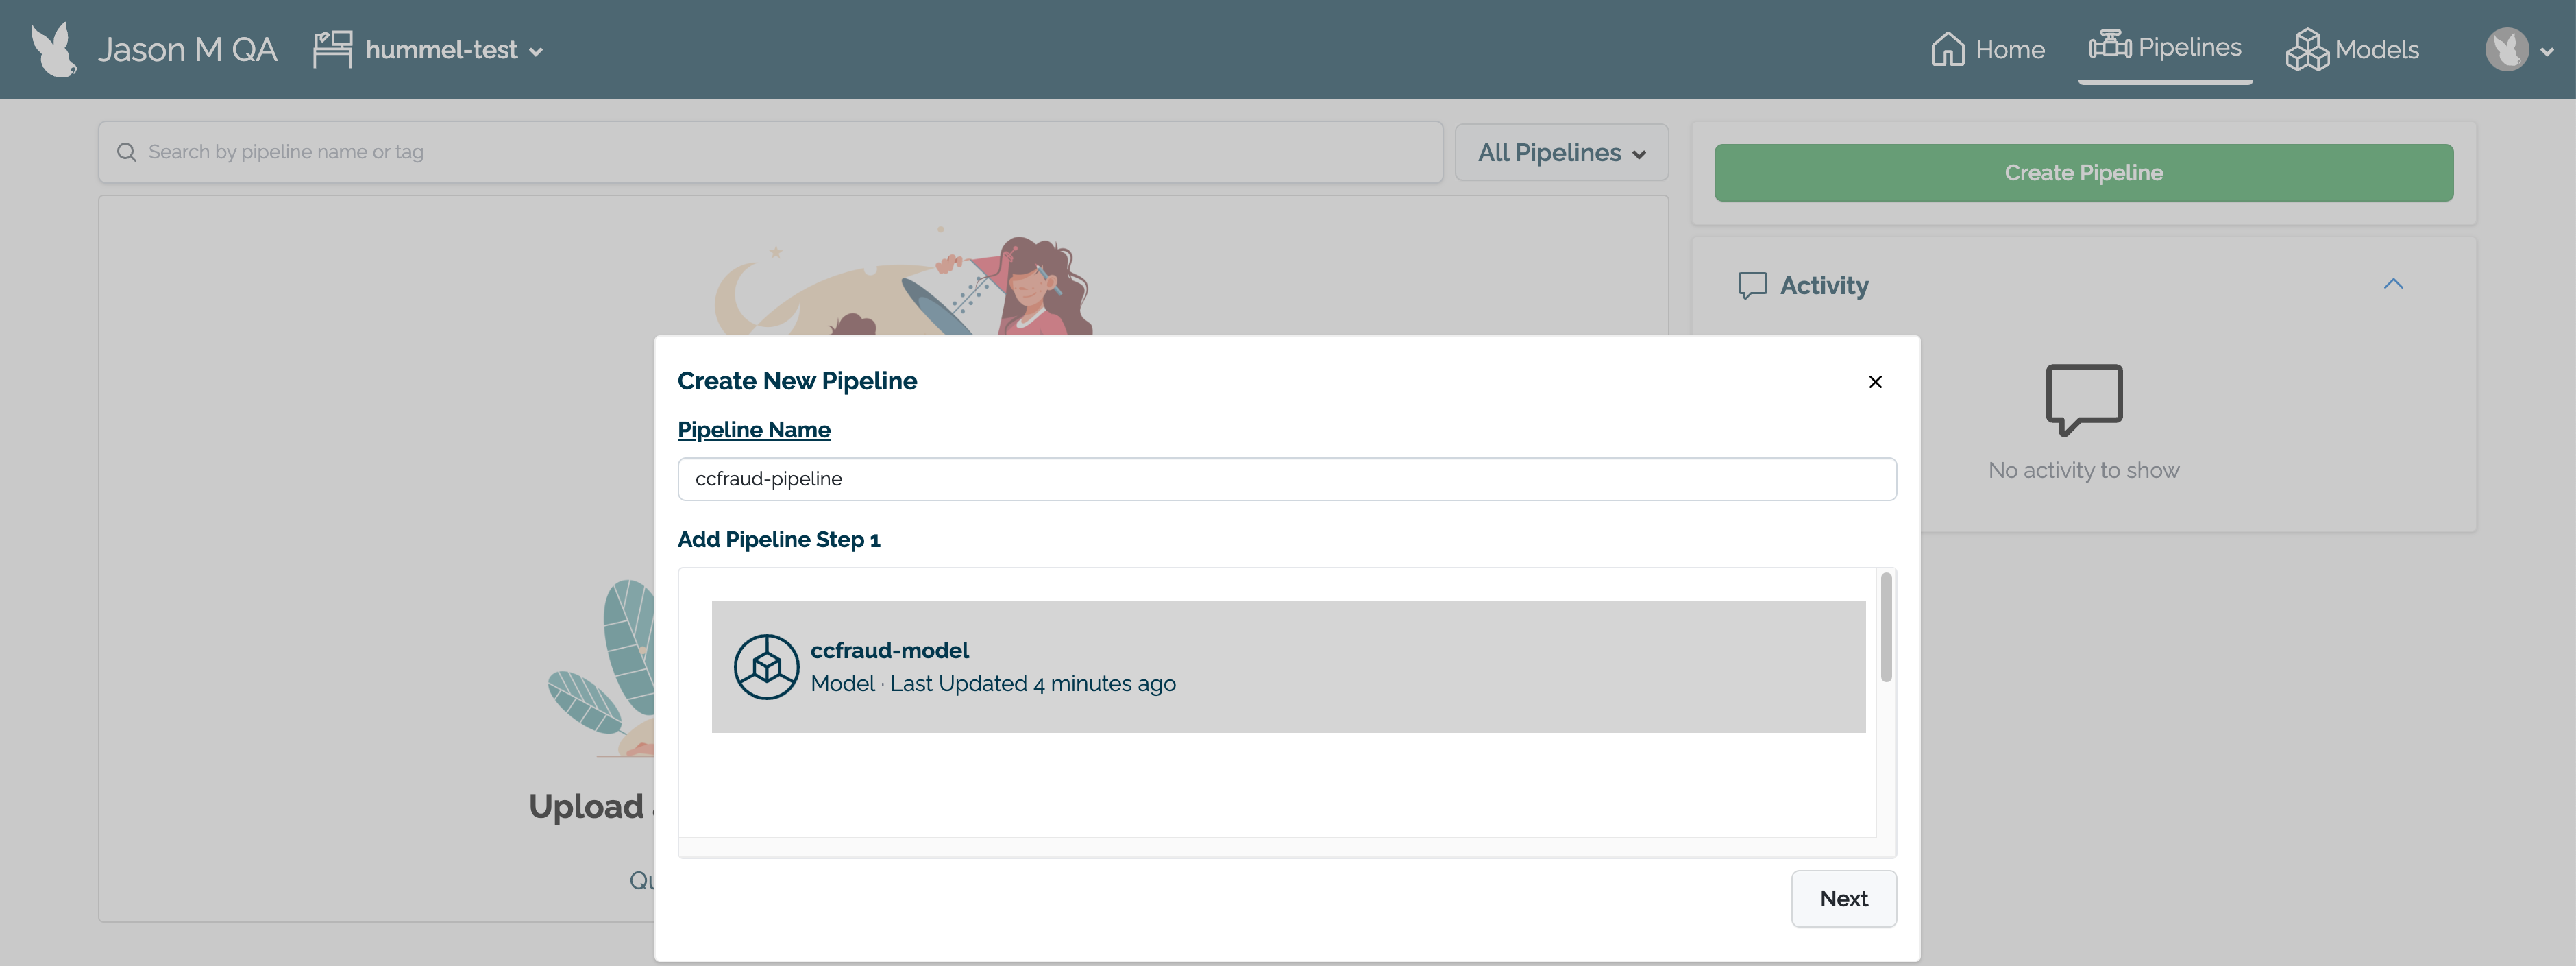
When finished, select Next.
Review the name of the pipeline and the steps. If any adjustments need to be made, select either Back to rename the pipeline or Add Step(s) to change the pipeline’s steps.
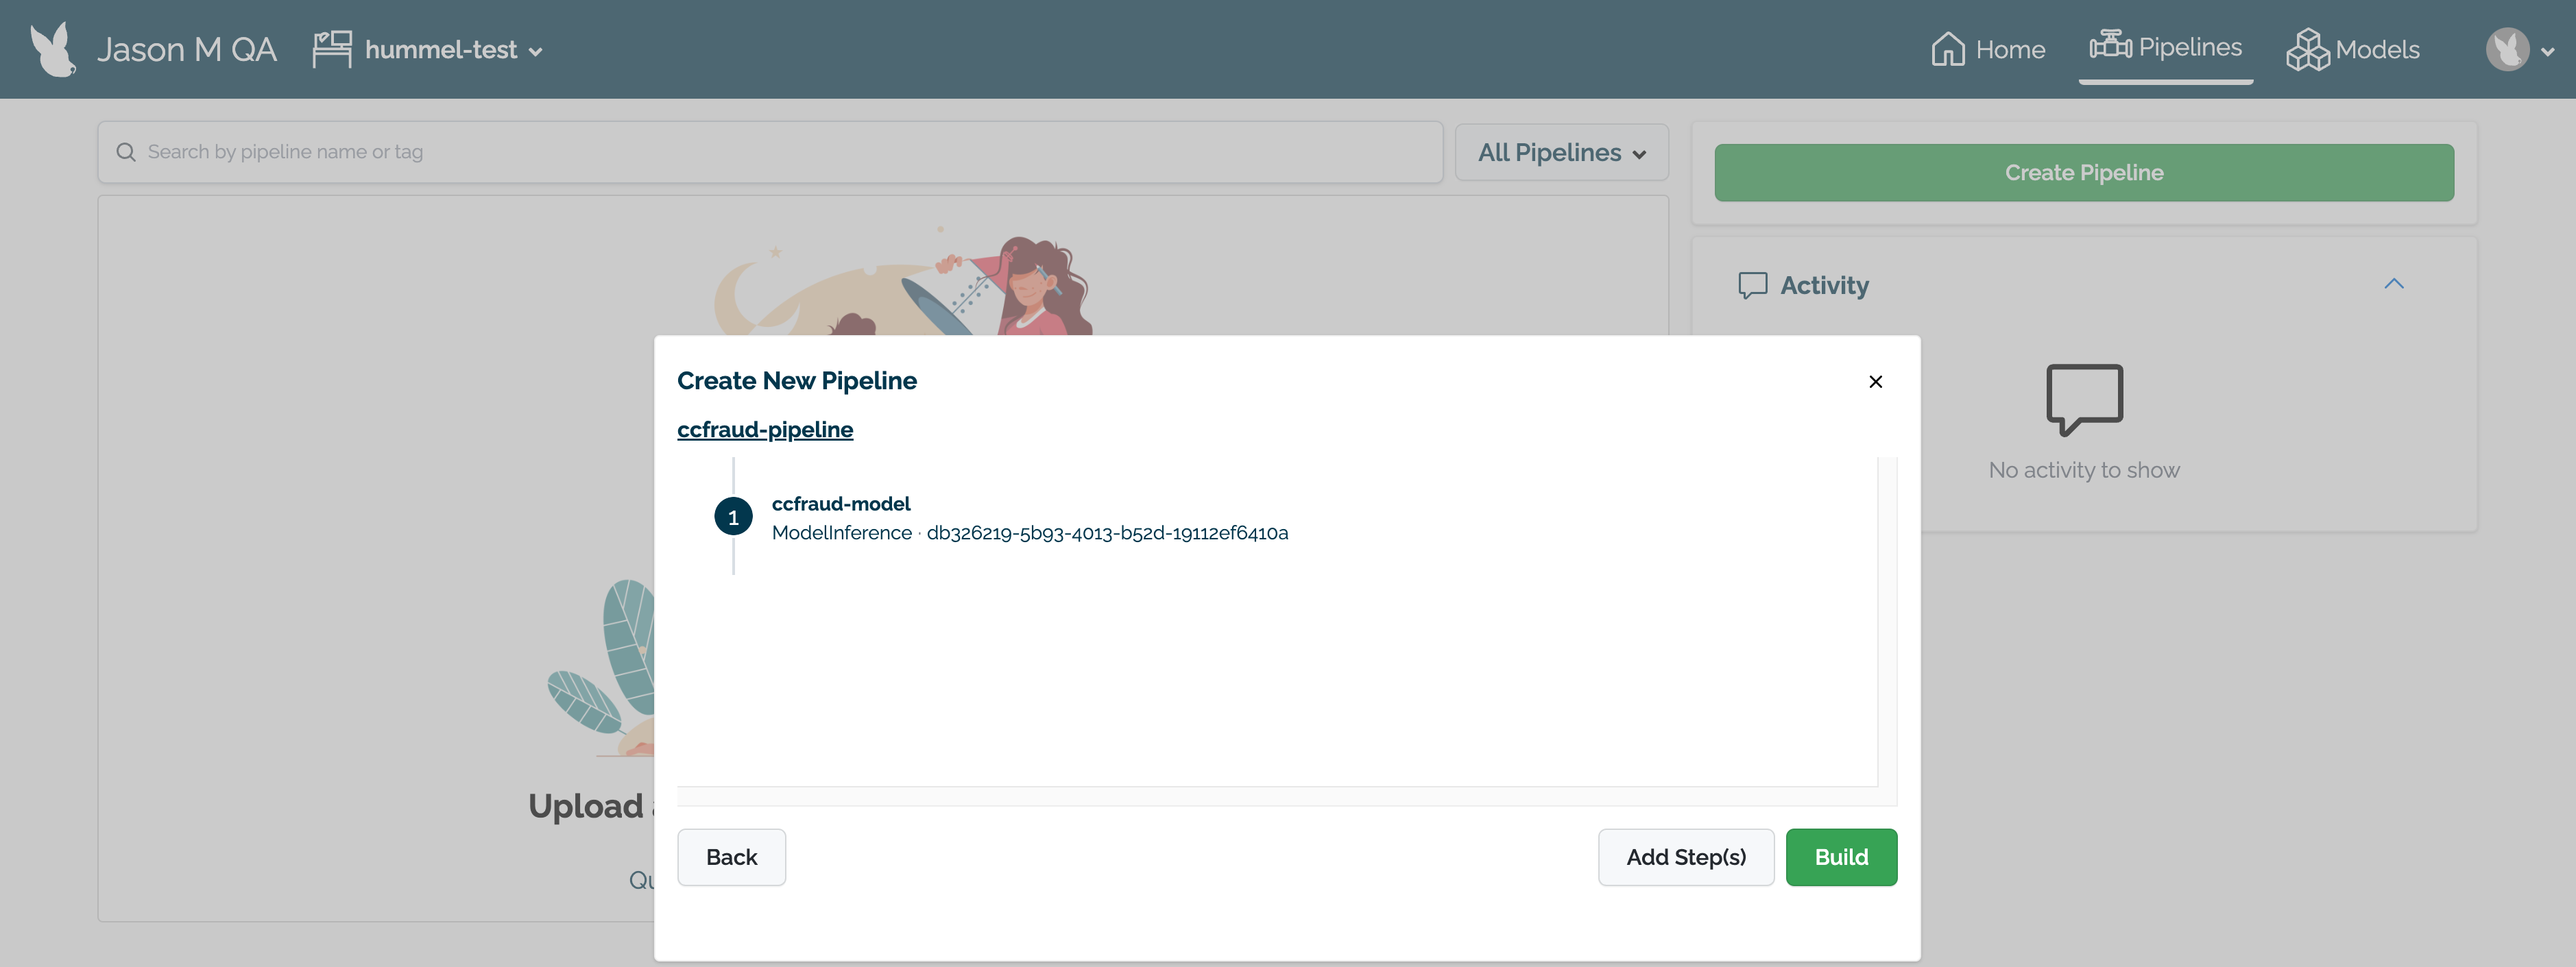
When finished, select Build to create the pipeline in this workspace. The pipeline will be built and be ready for deployment within a minute.
Deployed pipelines create new namespaces in the Kubernetes environment where the Wallaroo instance is deployed, and allocate resources from the Kubernetes environment to run the pipeline and its steps.
To deploy a pipeline:
From the Wallaroo Dashboard, set the current workspace from the top left dropdown list.
Select View Pipelines from the pipeline’s row.
Select the pipeline to deploy.
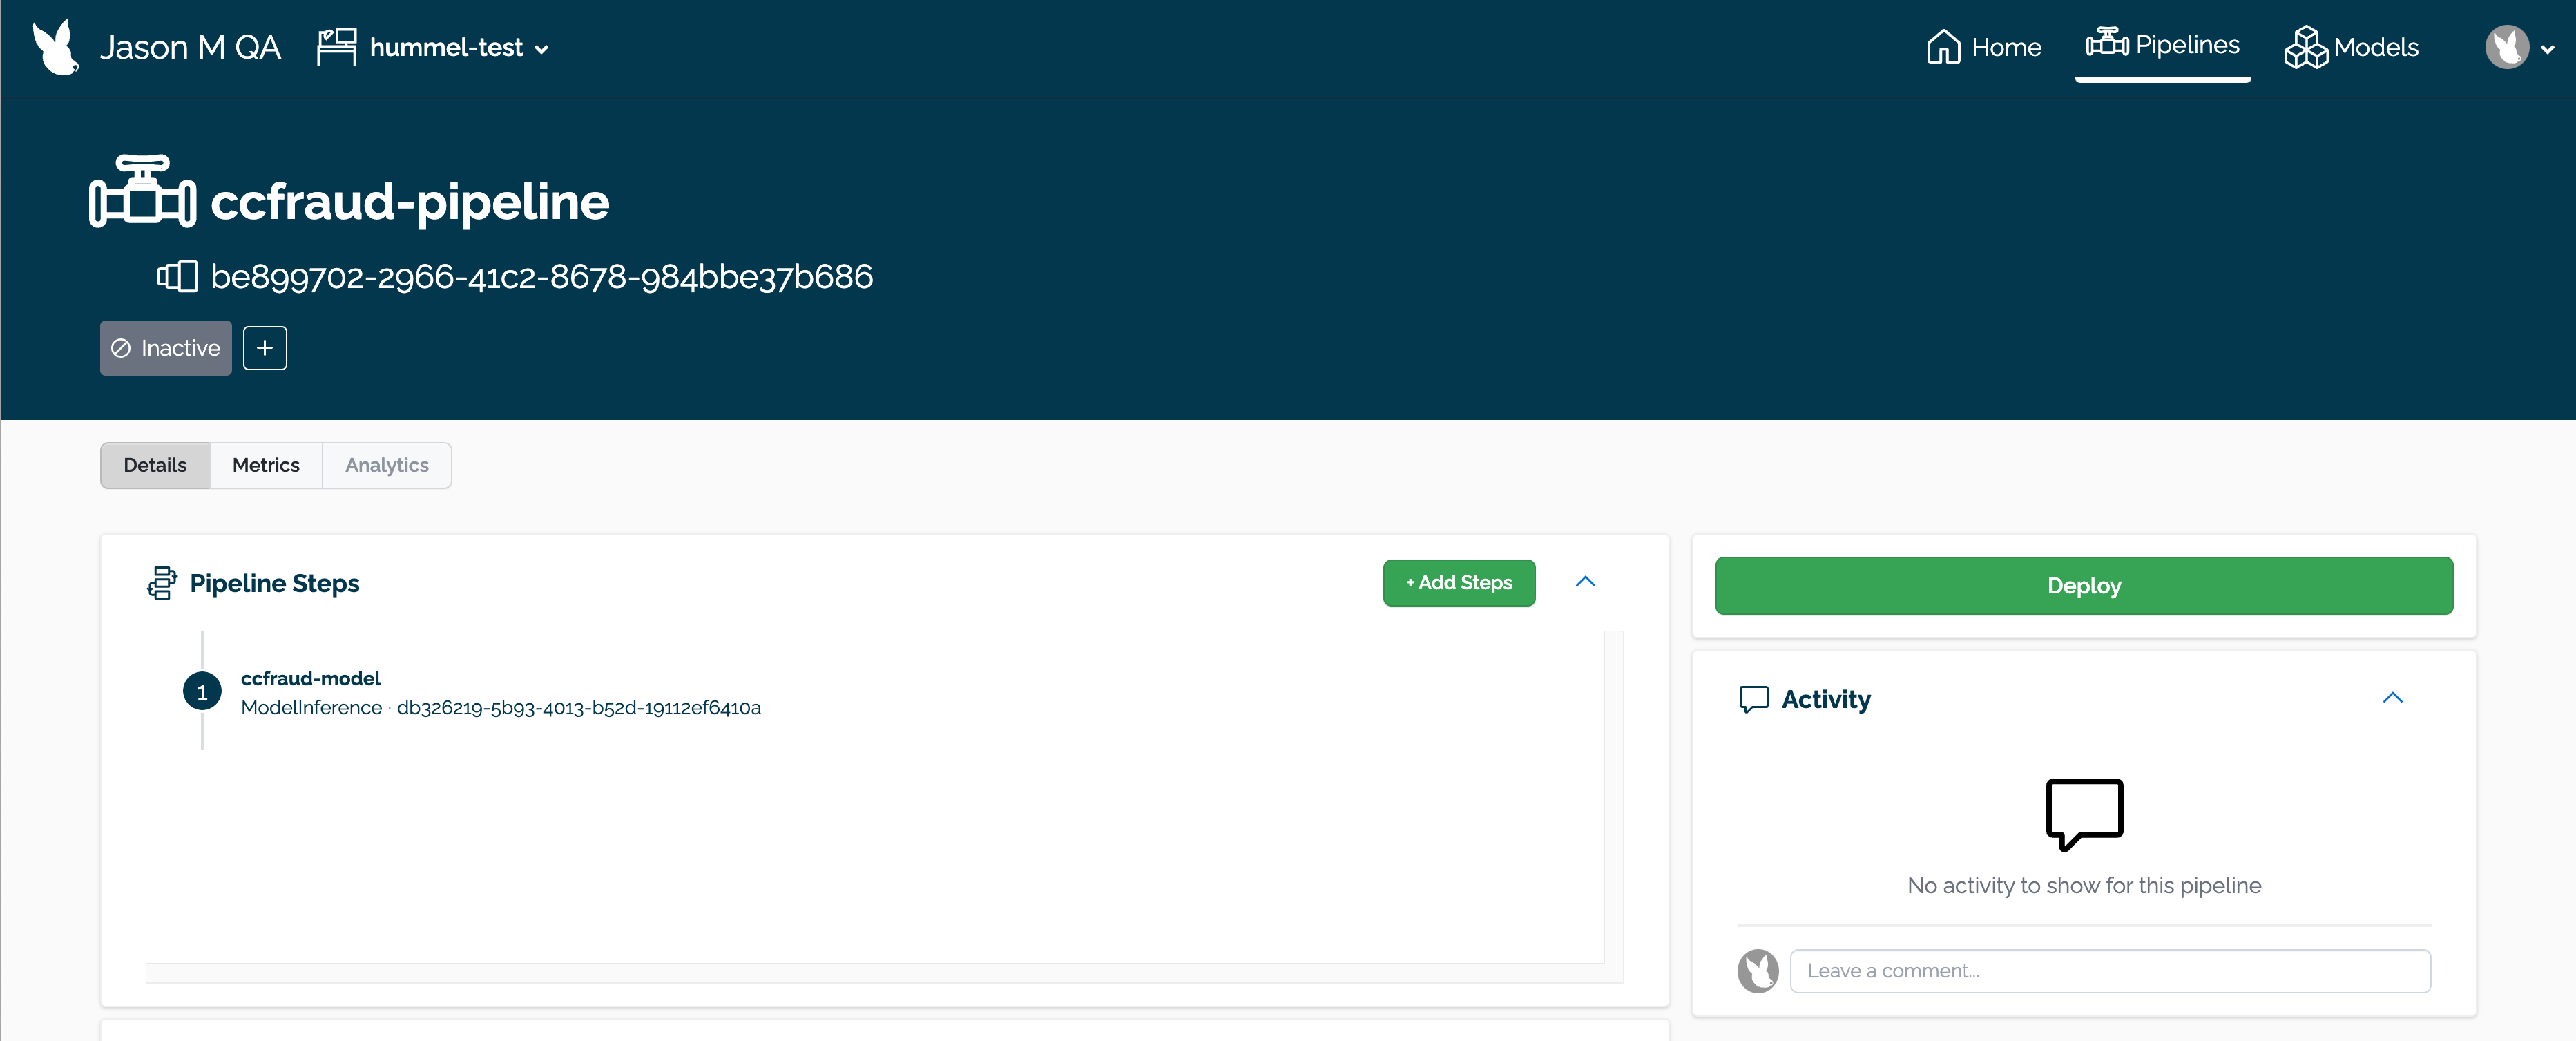
From the right navigation panel, select Deploy.
A popup module will request verification to deploy the pipeline. Select Deploy again to deploy the pipeline.
Undeploying a pipeline returns resources back to the Kubernetes environment and removes the namespaces created when the pipeline was deployed.
To undeploy a pipeline:
From the Wallaroo Dashboard, set the current workspace from the top left dropdown list.
Select View Pipelines from the pipeline’s row.
Select the pipeline to deploy.
From the right navigation panel, select Undeploy.
A popup module will request verification to undeploy the pipeline. Select Undeploy again to undeploy the pipeline.
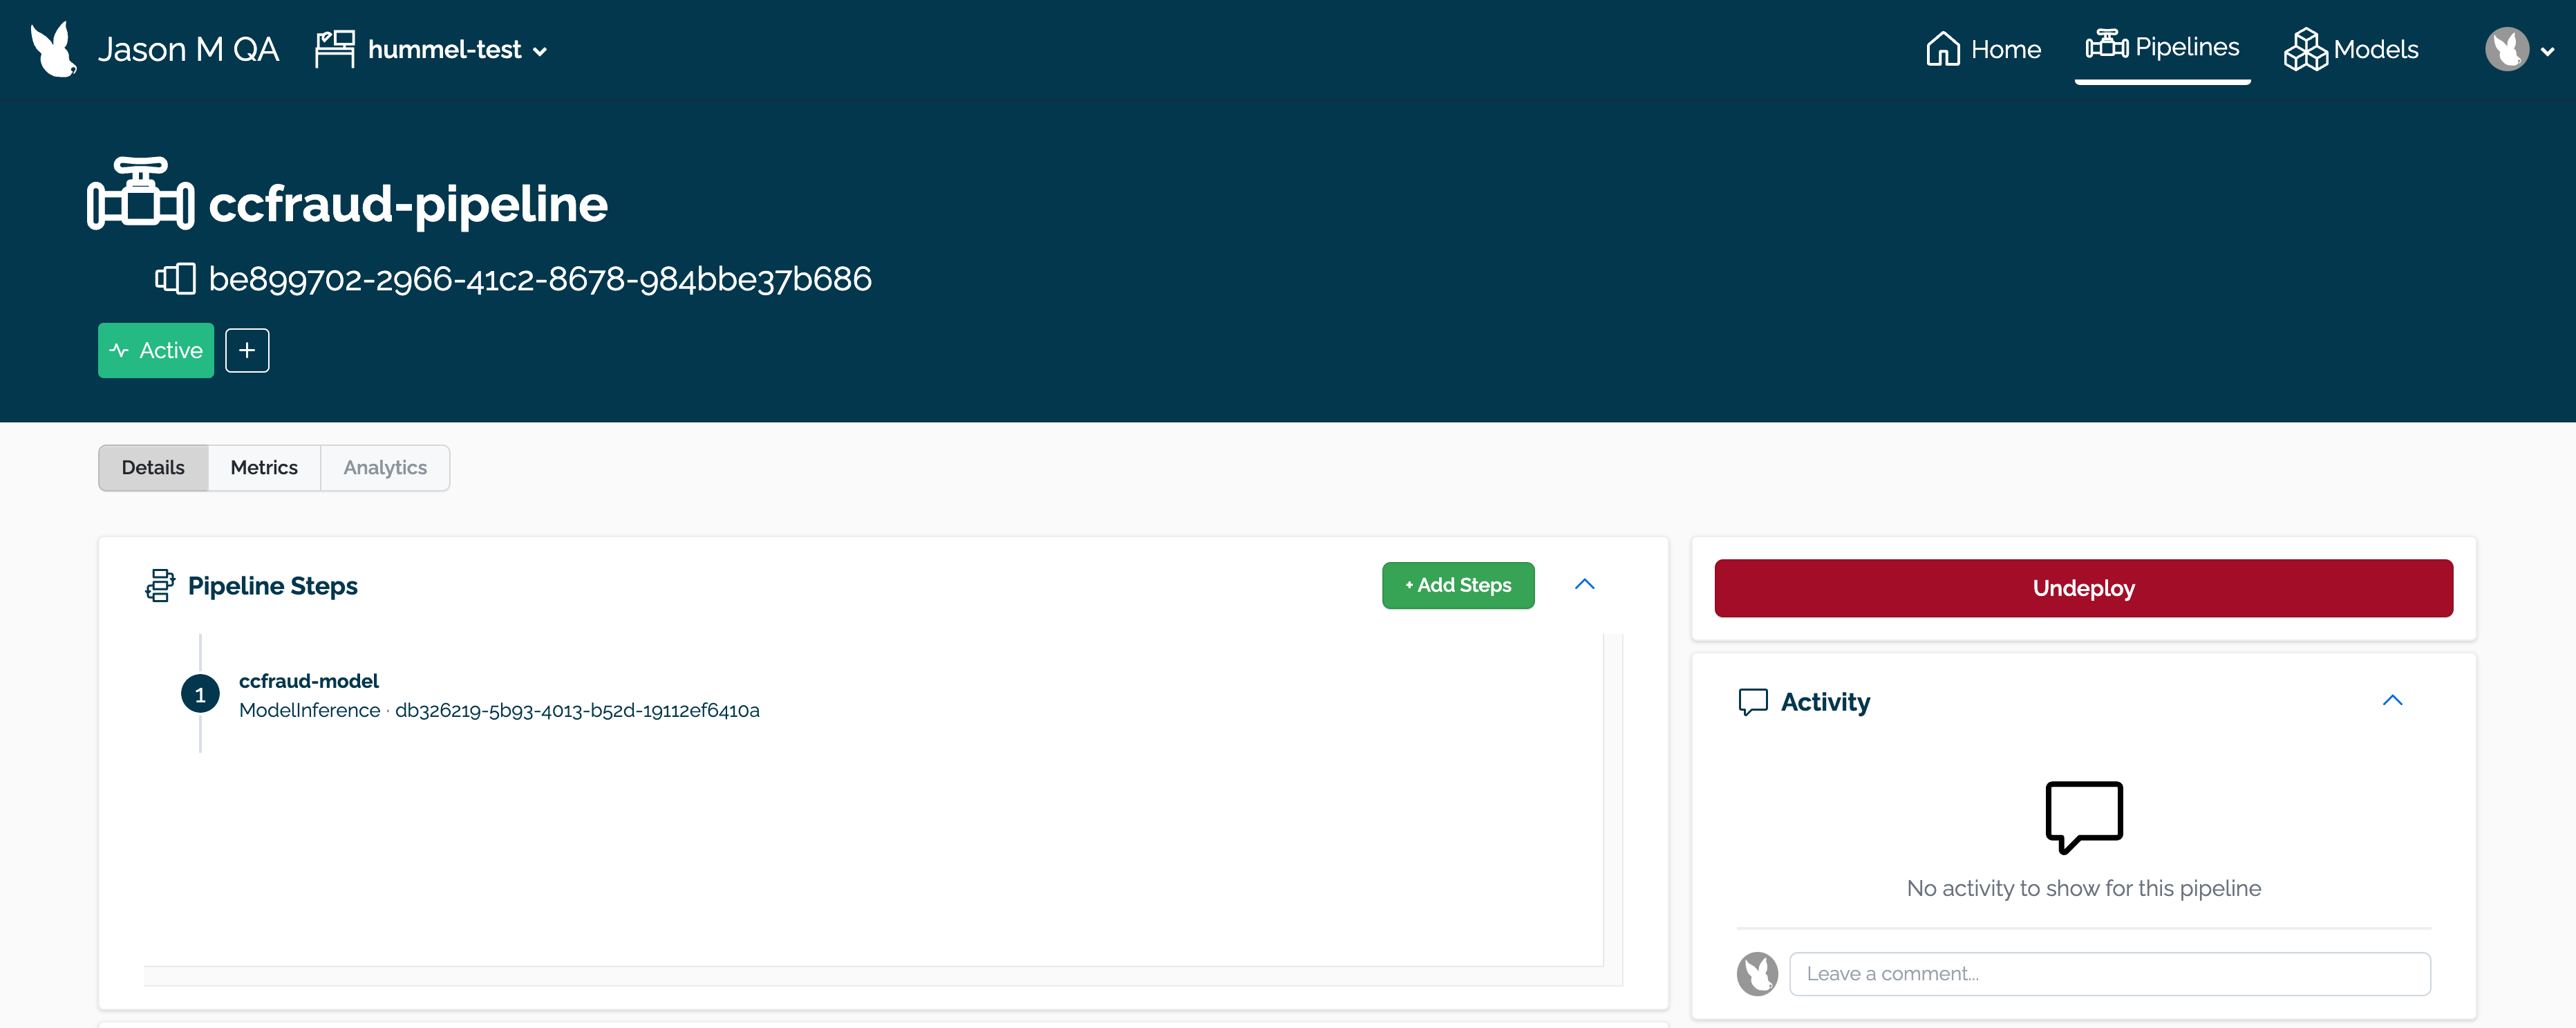
To view a pipeline’s details:
To view a pipeline’s metrics:
The following is available from the Pipeline Details page:
How to manage pipeline publications
How to manage tags and pipelines.
How to use validations to detect data anomalies in data inputs or outputs.
How to create and use assays to monitor model inputs and outputs.