Wallaroo ML Workload Orchestration allows organizations to automate processes and run them either on demand or on a reoccurring schedule.
The following guide shows how to enable Wallaroo ML Workload Orchestration in a Wallaroo instance.
Enable Wallaroo ML Workload Orchestration for Kots Installations
Organizations that install Wallaroo using kots can enable or disable Wallaroo ML Workload Orchestration from the Wallaroo Administrative Dashboard through the following process.
From a terminal shell with access to the Kubernetes environment hosting the Wallaroo instance, run the following. Replace
wallaroowith the namespace used for the Wallaroo installation.kubectl kots admin-console --namespace wallarooAccess the Wallaroo Administrative Dashboard through a browser. By default,
http://localhost:8080. Enter the administrative password when requested.From the top navigation menu, select Config.
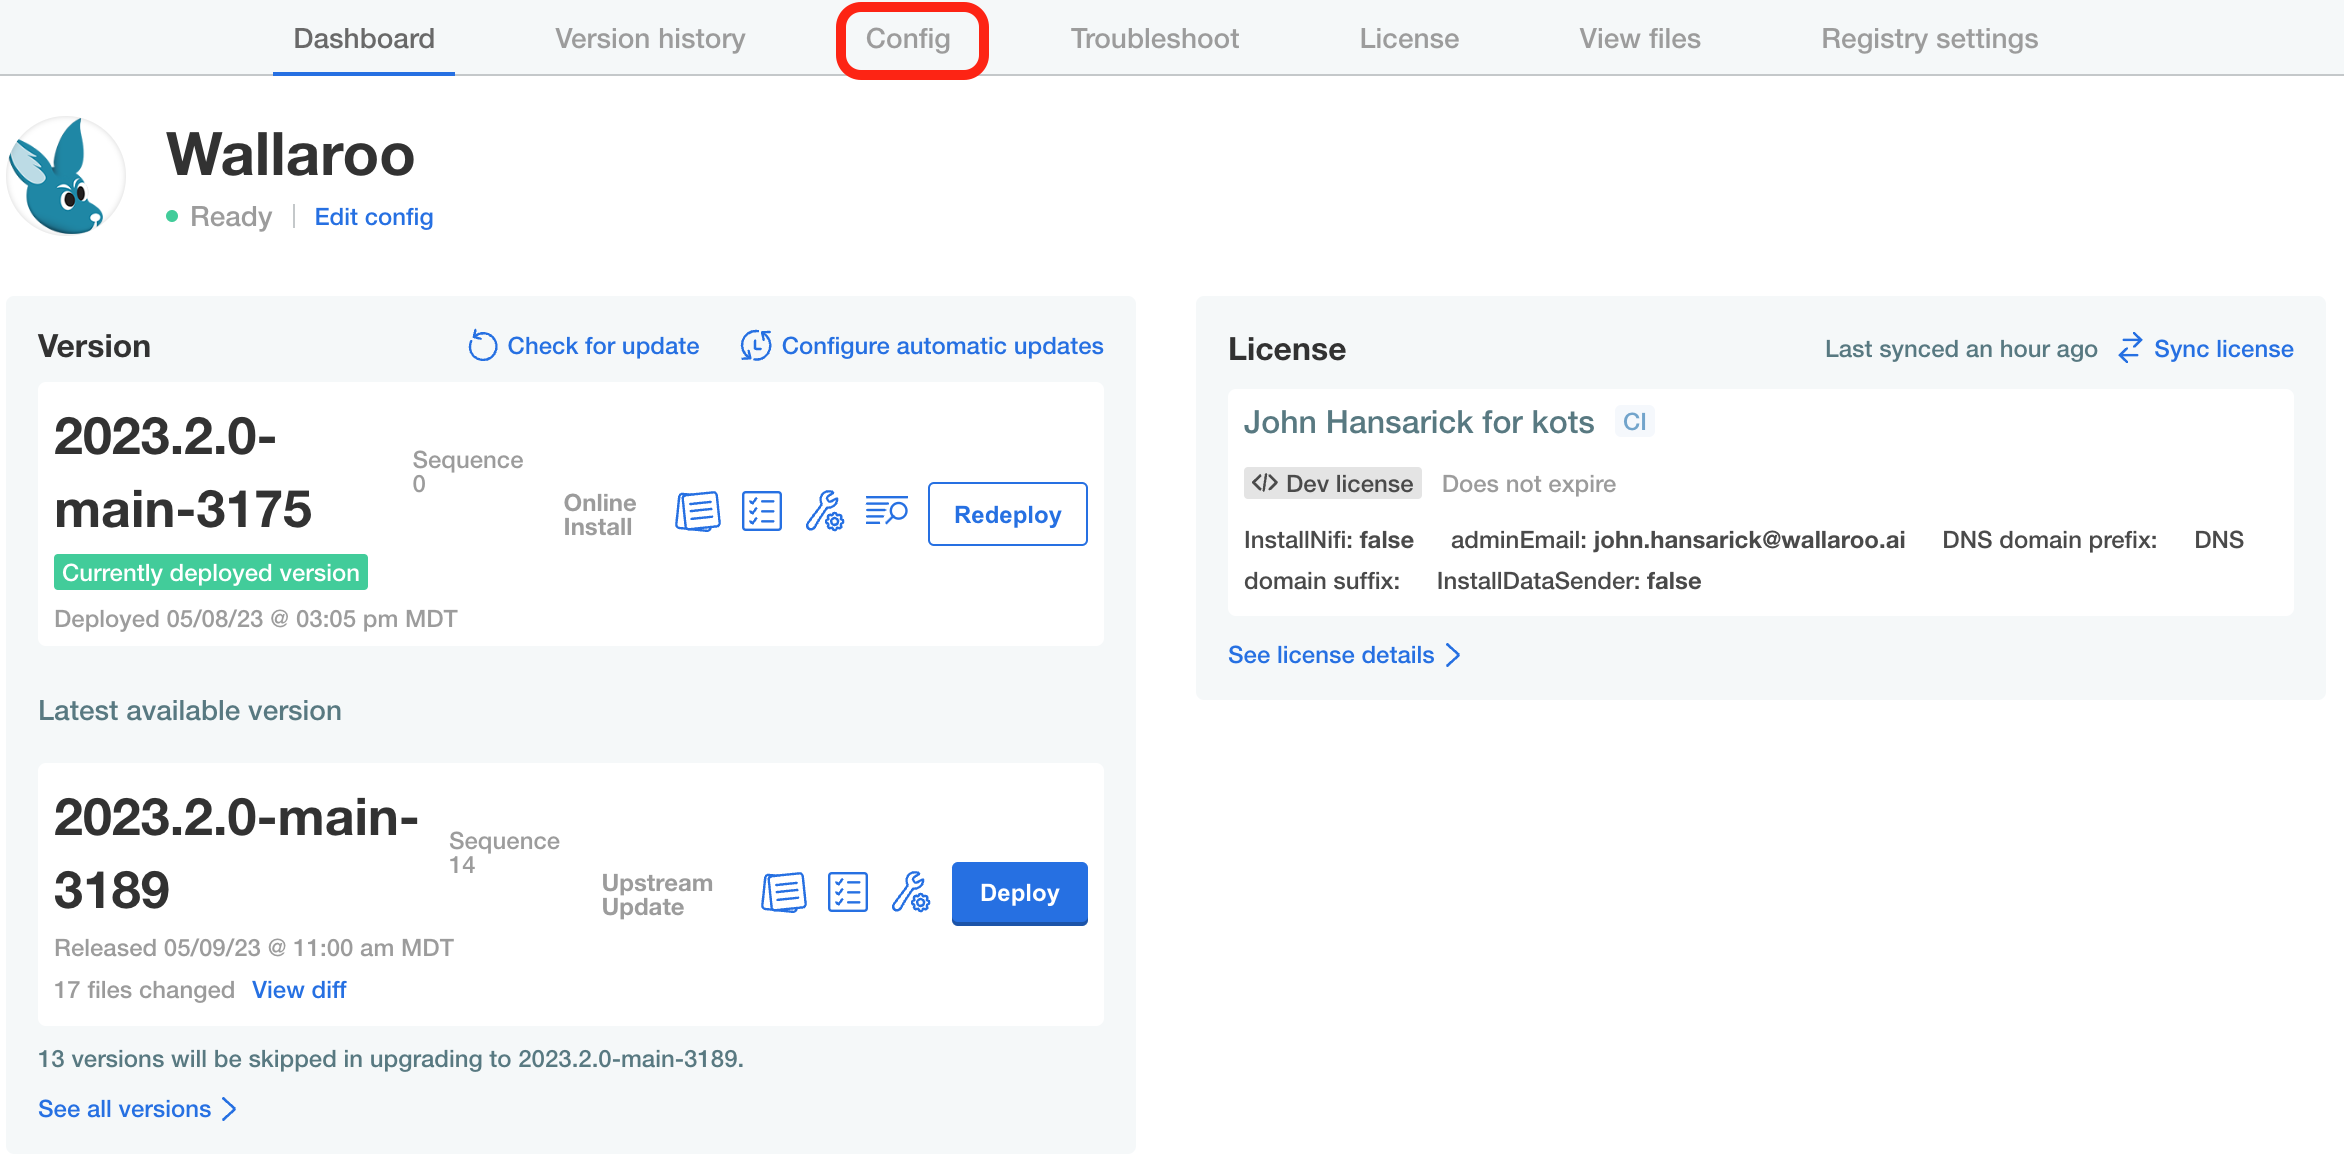
From Pipeline Orchestration, either enable or disable Enable Pipeline Orchestration service.

Scroll to the bottom and select Save config.
From the The config for Wallaroo has been updated. module, select Go to updated version.
Select the most recent version with the updated configuration and select Deploy.
The update process will take 10-15 minutes depending on your Wallaroo instance and other changes made.
Enable Wallaroo ML Workload Orchestration for Helm Installations
To enable Wallaroo ML Workload Orchestration for Helm based installations of Wallaroo:
Set the local values YAML file - by default
local-values.yamlwith the following:orchestration: enabled: trueIf installing Wallaroo, then format the
helm installcommand as follows, setting the$RELEASE,$REGISTRYURL,$VERSION, and$LOCALVALUES.yamlas required for the installation settings.helm install $RELEASE $REGISTRYURL --version $VERSION --values $LOCALVALUES.yamlIf performing an update to the Wallaroo instance configuration, then use the
helm upgrade, , setting the$RELEASE,$REGISTRYURL,$VERSION, and$LOCALVALUES.yamlas required for the installation settings.
For example, to upgrade the registration wallaroo from the EE channel the command would be:
helm upgrade wallaroo oci://registry.replicated.com/wallaroo/ee/wallaroo --version 2023.4.0-4092 --values local-values.yaml
The update process will take 10-15 minutes depending on your Wallaroo instance and other changes made. Once complete, set the DNS settings as described in DNS Integration Guide.
References
- Wallaroo SDK ML Workload Orchestration Guide for details on creating and using orchestrations through the Wallaroo SDK.
- Wallaroo Install Guides.