Wallaroo Community Edition
Wallaroo Community Edition is a free version of Wallaroo Ops, and allows organizations to upload, deploy, and observe models.
The following guide details how to set up Wallaroo Community Edition in a prepared environment. For a comprehensive guide for the entire process including sample scripts for setting up a cloud environment, see the Wallaroo Community Edition Comprehensive Install Guide
Install Wallaroo Community Edition
Wallaroo Community Edition can be installed into a Kubernetes cloud environment, or into a Kubernetes environment that meets the Wallaroo Prerequisites Guide.
This video demonstrates that procedure:
The procedure assumes at least a basic knowledge of Kubernetes and how to use the kubectl and kots version 1.91.3 applications.
Prerequisites
Local Software Requirements
Before starting, verify that all local system requirements are complete as detailed in the Wallaroo Community Local System Prerequisites guide:
kubectl: This interfaces with the Kubernetes server created in the Wallaroo environment.
- kots Version
1.124.4
- Cloud Kubernetes environment has been prepared.
- You have downloaded your Wallaroo Community Edition License file.
Install Wallaroo
The environment is ready, the tools are installed - let’s install Wallaroo! The following will use kubectl and kots through the following procedure:
Install the Wallaroo Community Edition using
kots install wallaroo/ce, specifying the namespace to install. For example, ifwallaroois the namespace, then the command is:kubectl kots install wallaroo/ce --namespace wallarooWallaroo Community Edition will be downloaded and installed into your Kubernetes environment in the namespace specified. When prompted, set the default password for the Wallaroo environment. When complete, Wallaroo Community Edition will display the URL for the Admin Console, and how to end the Admin Console from running.
• Deploying Admin Console
• Creating namespace ✓
• Waiting for datastore to be ready ✓
    Enter a new password to be used for the Admin Console: •••••••••••••
  • Waiting for Admin Console to be ready ✓

• Press Ctrl+C to exit
• Go to http://localhost:8800 to access the Admin Console
Wallaroo Community Edition will continue to run until terminated. To relaunch in the future, use the following command:
kubectl kots admin-console --namespace wallaroo
Initial Configuration and License Upload Procedure
Once Wallaroo Community Edition has been installed for the first time, we can perform initial configuration and load our Wallaroo Community Edition license file through the following process:
If Wallaroo Community Edition has not started, launch it with the following command:
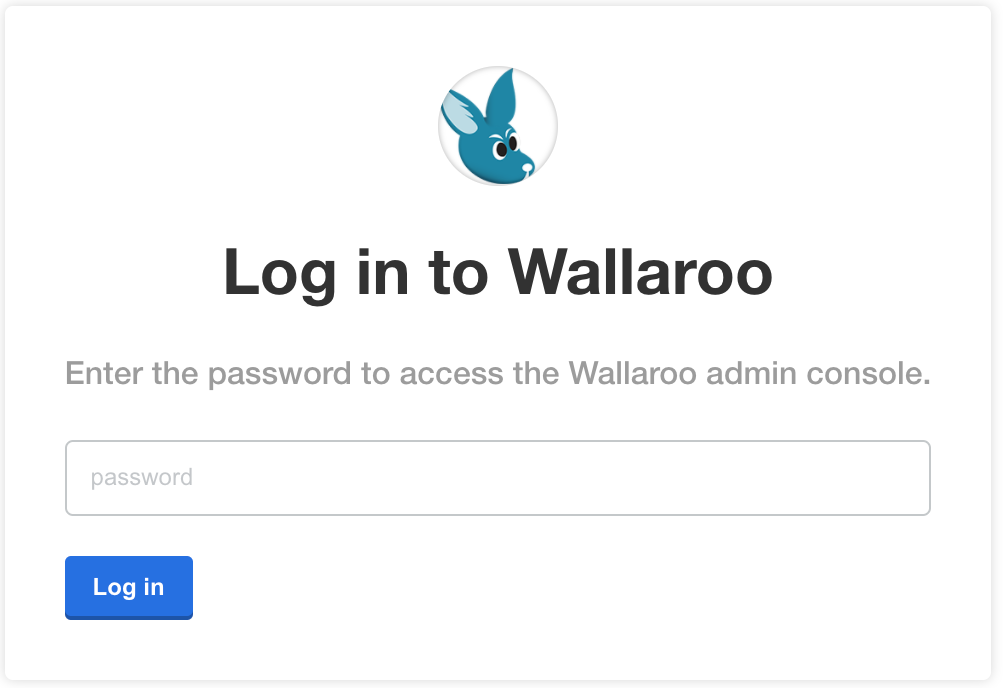
❯ kubectl kots admin-console --namespace wallaroo
  • Press Ctrl+C to exit
  • Go to http://localhost:8800 to access the Admin Console
Enter the Wallaroo Community Edition Admin Console address into a browser. You will be prompted for the default password as set in the step above. Enter it and select Log in.
Upload your license file.

The Configure Wallaroo Community Edition page will be displayed which allows you to customize your Wallaroo environment. For now, scroll to the bottom and select Continue. These settings can be customized at a later date.
The Wallaroo Community Edition Admin Console will run the preflight checks to verify that all of the minimum requirements are met. This may take a few minutes. If there are any issues, Wallaroo can still be launched but may not function properly. When ready, select Continue.

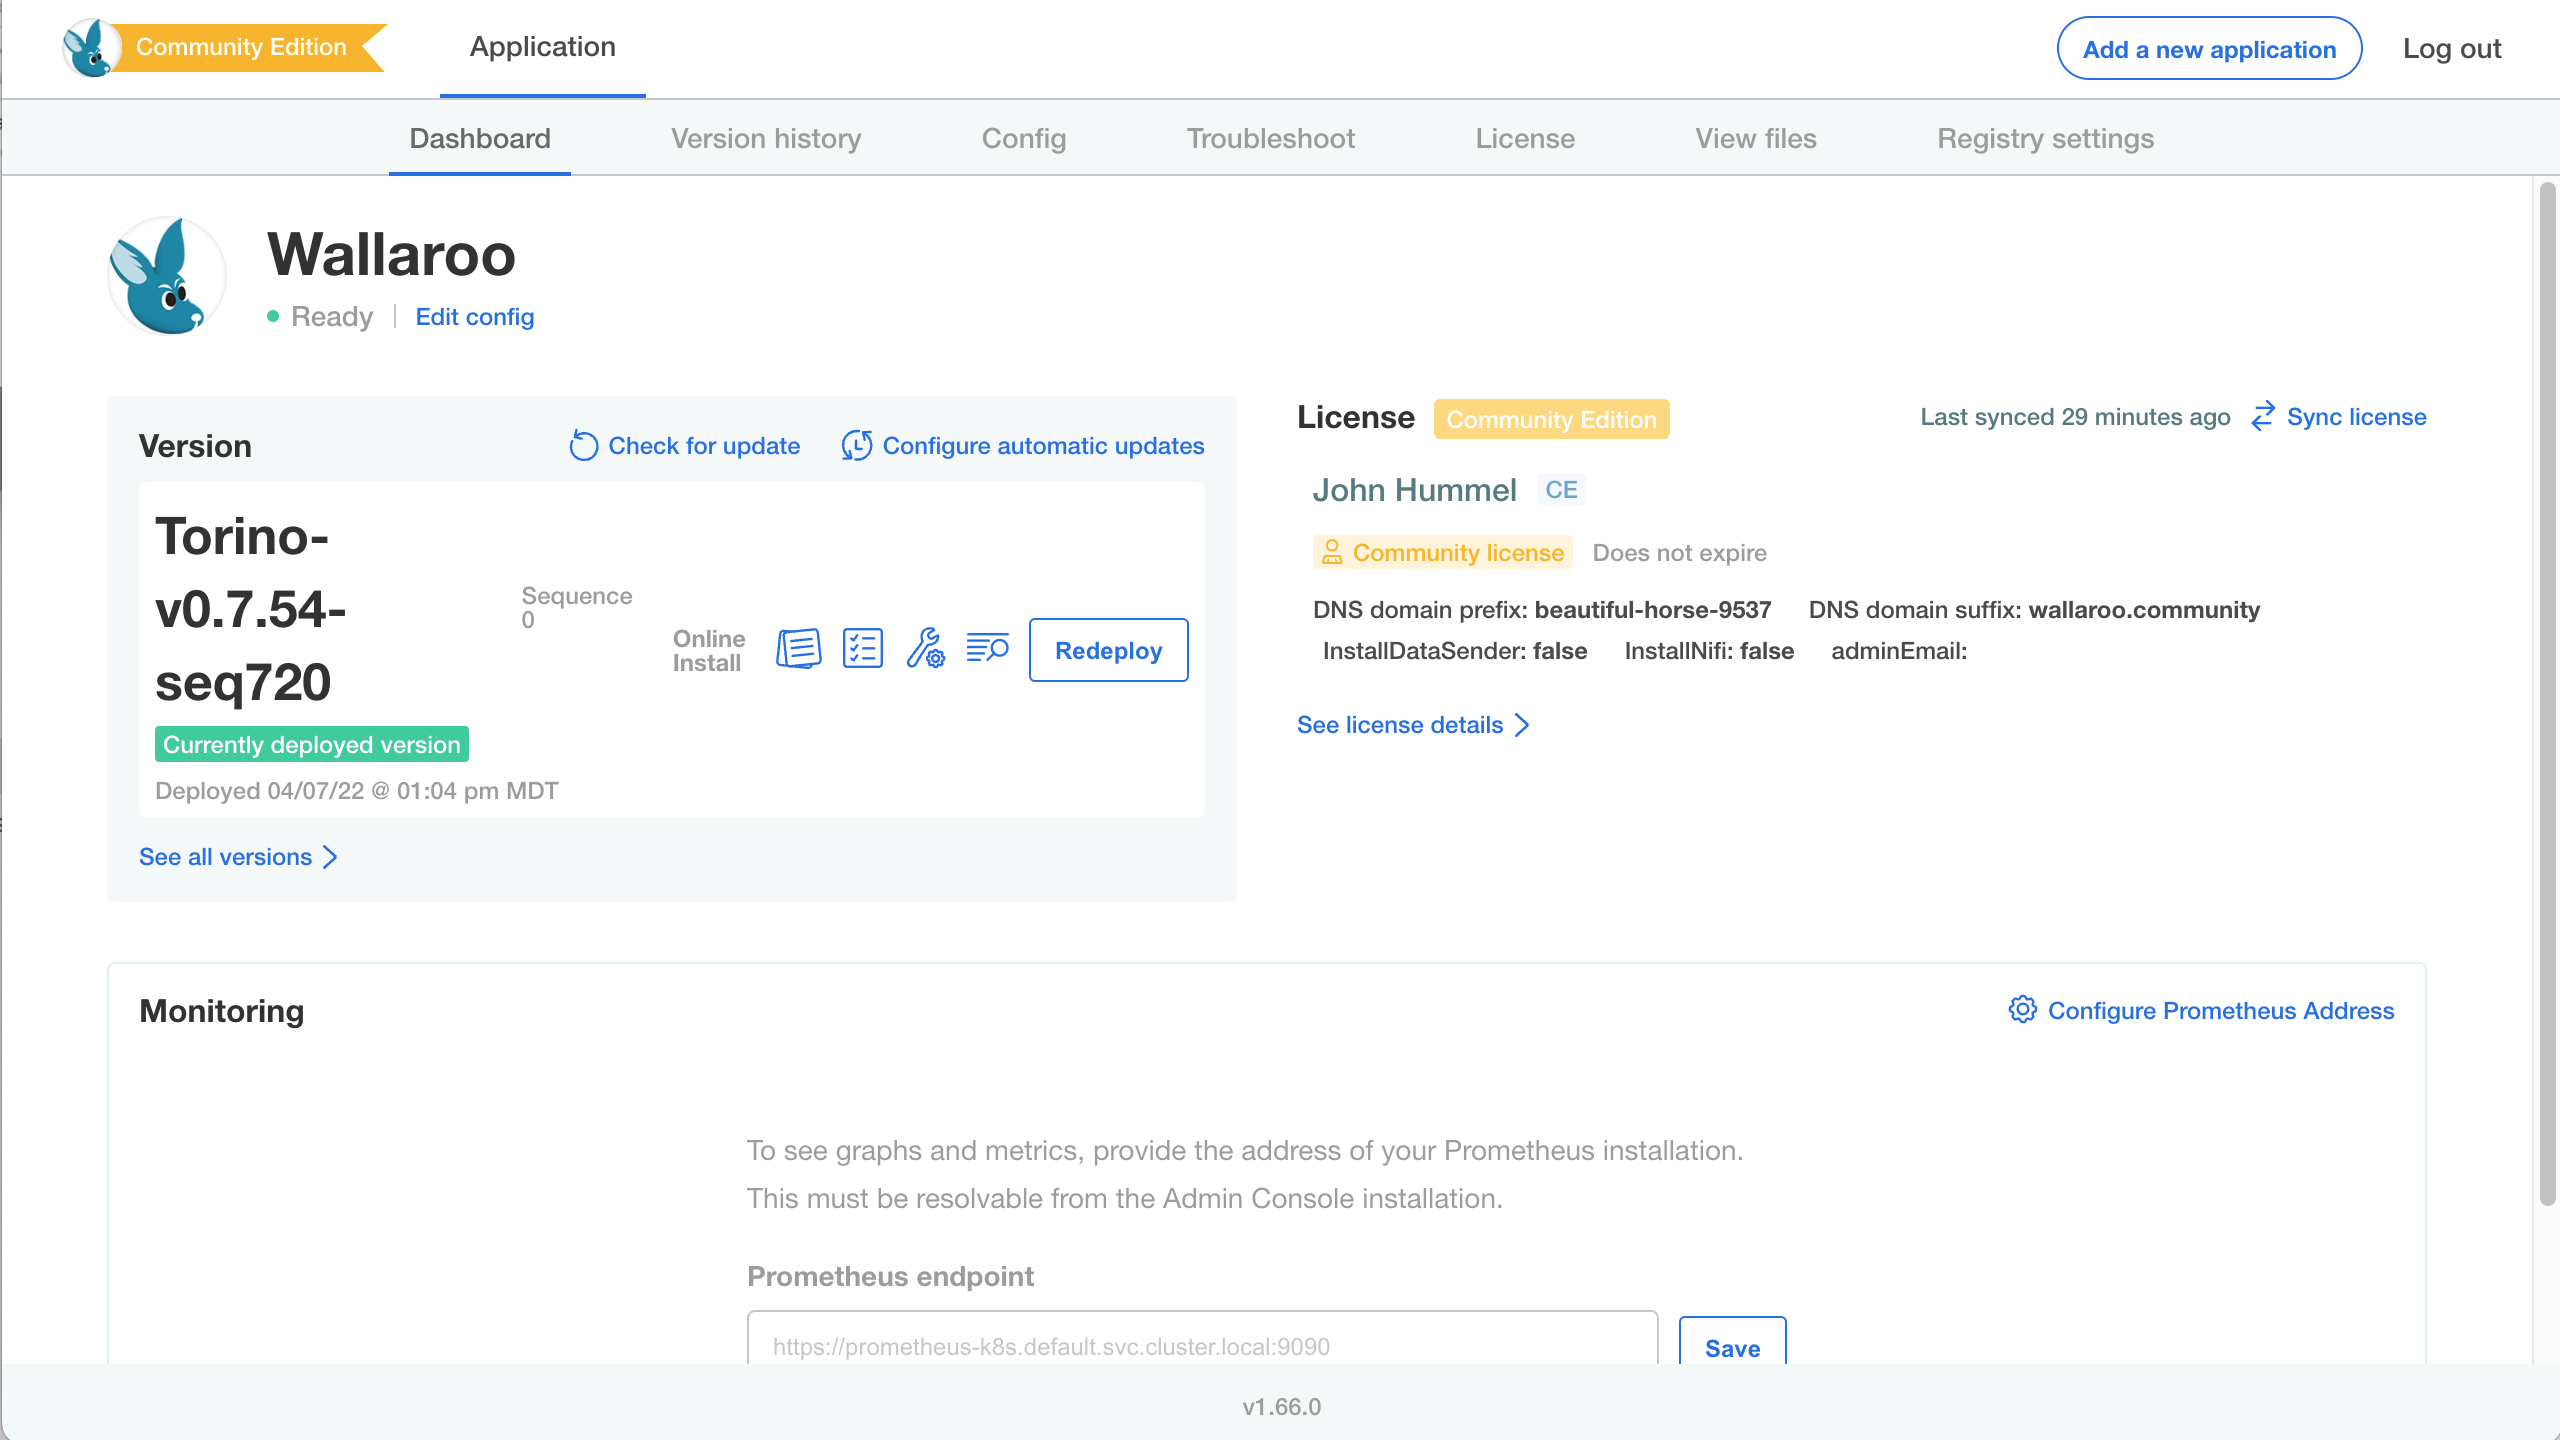
The Wallaroo Community Edition Dashboard will be displayed. There may be additional background processes that are completing their setup procedures, so there may be a few minute wait until those are complete. If everything is ready, then the Wallaroo Community EditionDashboard will show a green Ready.
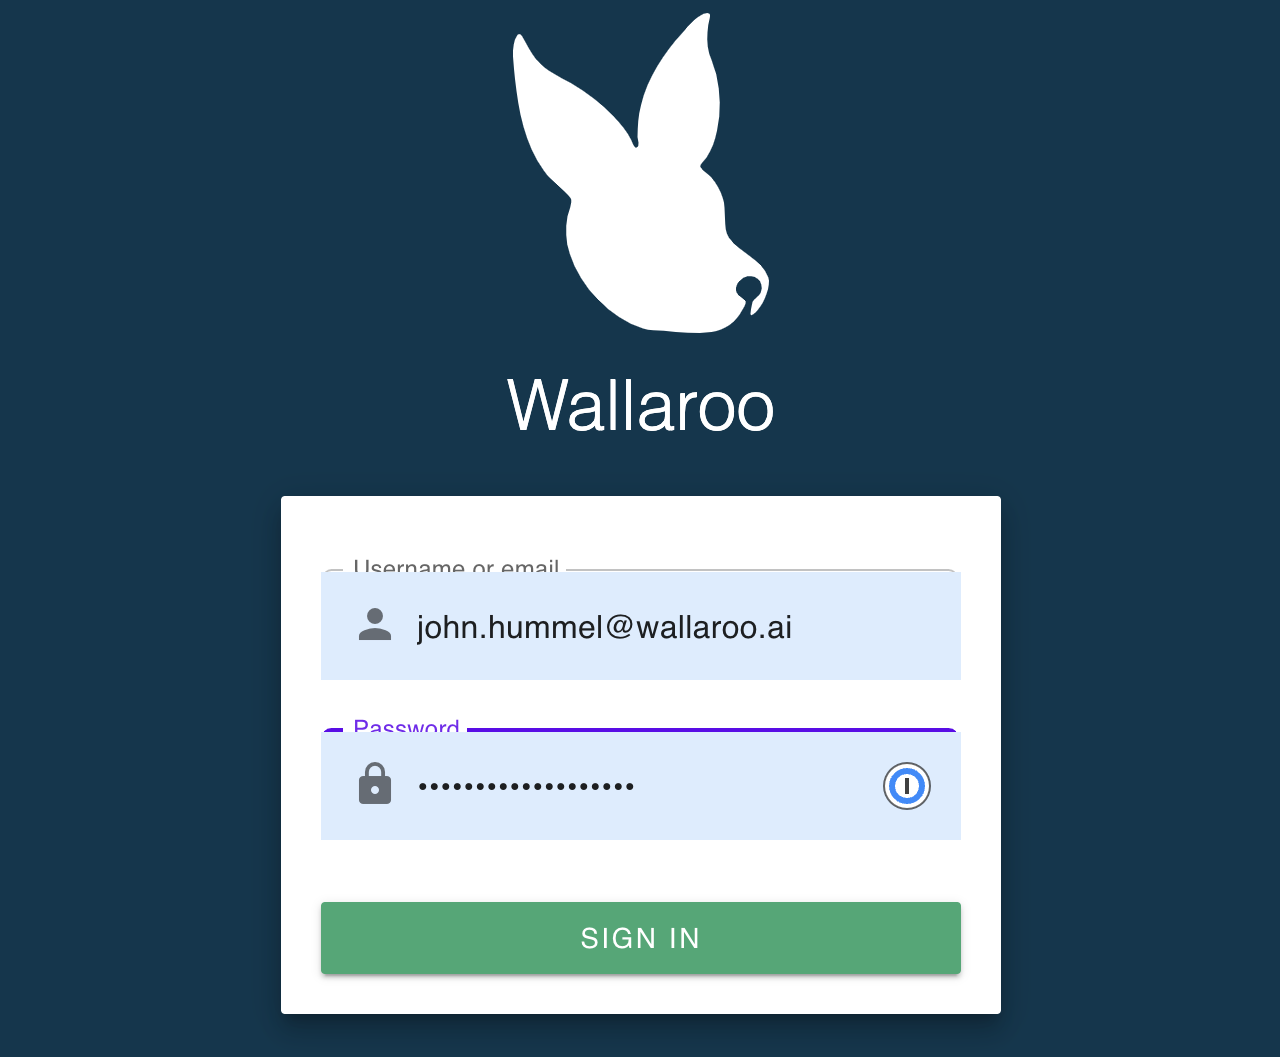
You will receive an email invitation for the email address connected to specific Wallaroo Community Edition’s URL with a temporary password and a link to this Wallaroo instance’s URL. Either enter the URL for your Wallaroo instance or use the link in the email.
To login to your new Wallaroo instance, enter the email address and temporary password associated with the license.
With that, Wallaroo Community Edition is launched and ready for use! You can end the Admin Console from your terminal session above. From this point on you can just use the Wallaroo instance URL.
User Management
How to manage new and existing users in your Wallaroo Community Edition environment.