Wallaroo SDK Essentials Guide: Client Connection
Table of Contents
Users connect to a Wallaroo instance with the Wallaroo Client class. This connection can be made from within the Wallaroo instance, or external from the Wallaroo instance via the Wallaroo SDK.
The following methods are supported in connecting to the Wallaroo instance:
- Connect from Within the Wallaroo Instance: Connect within the JupyterHub service or other method within the Kubernetes cluster hosting the Wallaroo instance. This requires confirming the connections with the Wallaroo instance through a browser link.
- Connect from Outside the Wallaroo Instance: Connect via the Wallaroo SDK via an external connection to the Kubernetes cluster hosting the Wallaroo instance. This requires confirming the connections with the Wallaroo instance through a browser link.
- Automated Connection: Connect to the Wallaroo instance by providing the username and password directly into the request. This bypasses confirming the connections with the Wallaroo instance through a browser link.
Once run, the wallaroo.Client command provides a URL to grant the SDK permission to your specific Wallaroo environment. When displayed, enter the URL into a browser and confirm permissions. Depending on the configuration of the Wallaroo instance, the user will either be presented with a login request to the Wallaroo instance or be authenticated through a broker such as Google, Github, etc. To use the broker, select it from the list under the username/password login forms. For more information on Wallaroo authentication configurations, see the Wallaroo Authentication Configuration Guides.
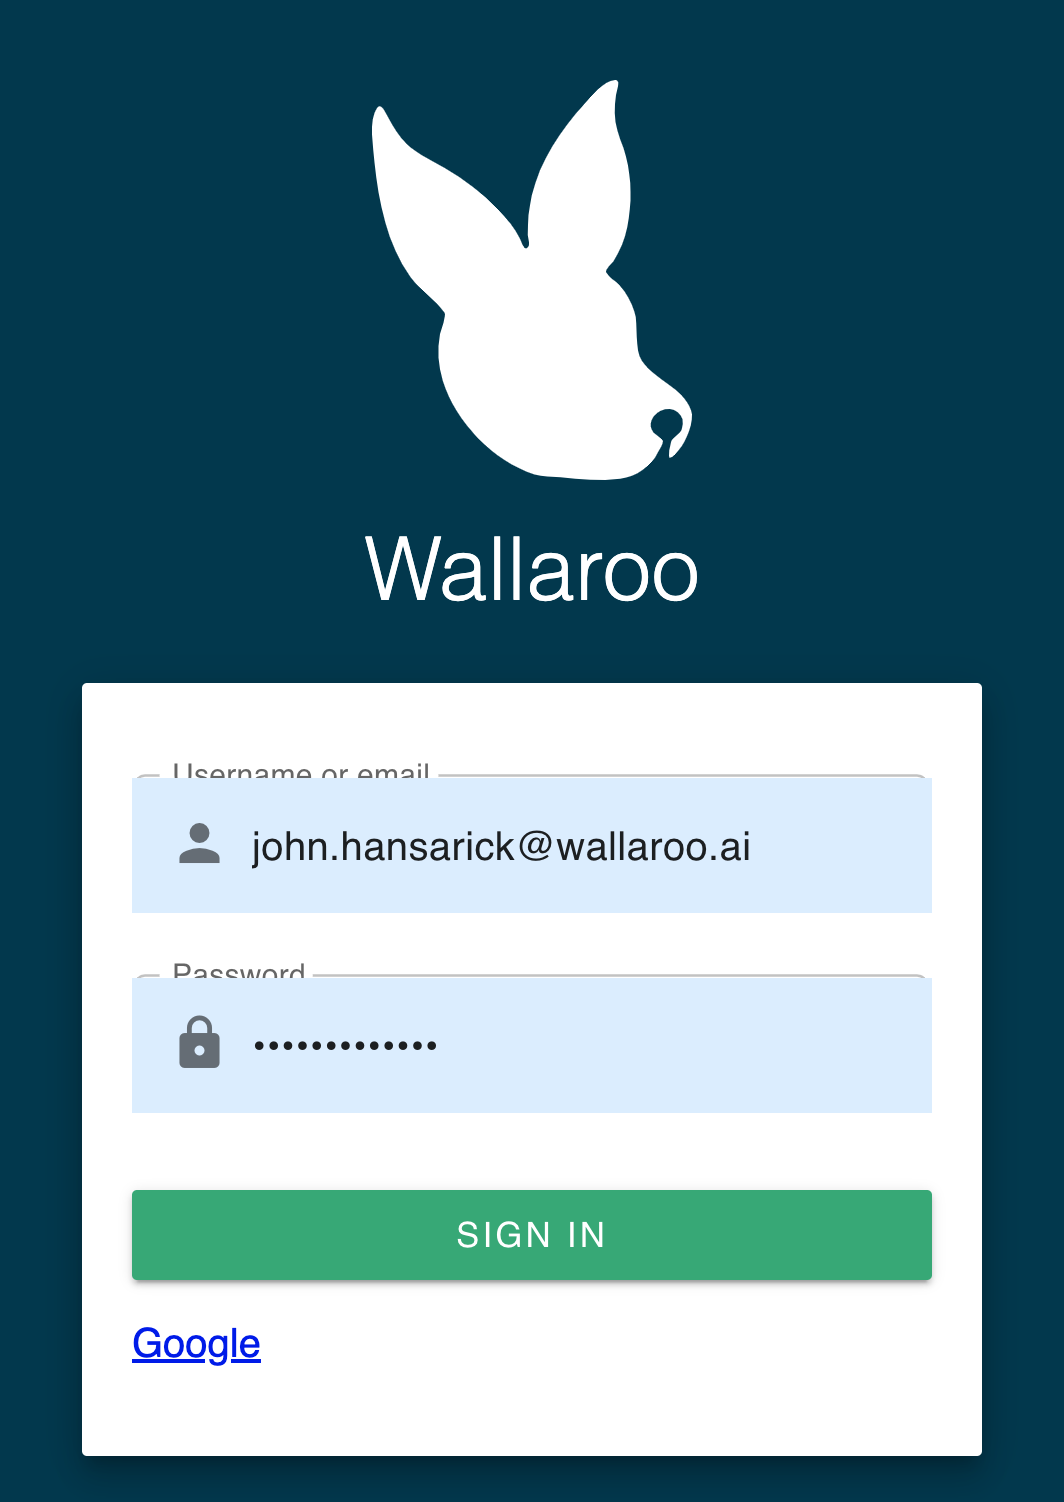
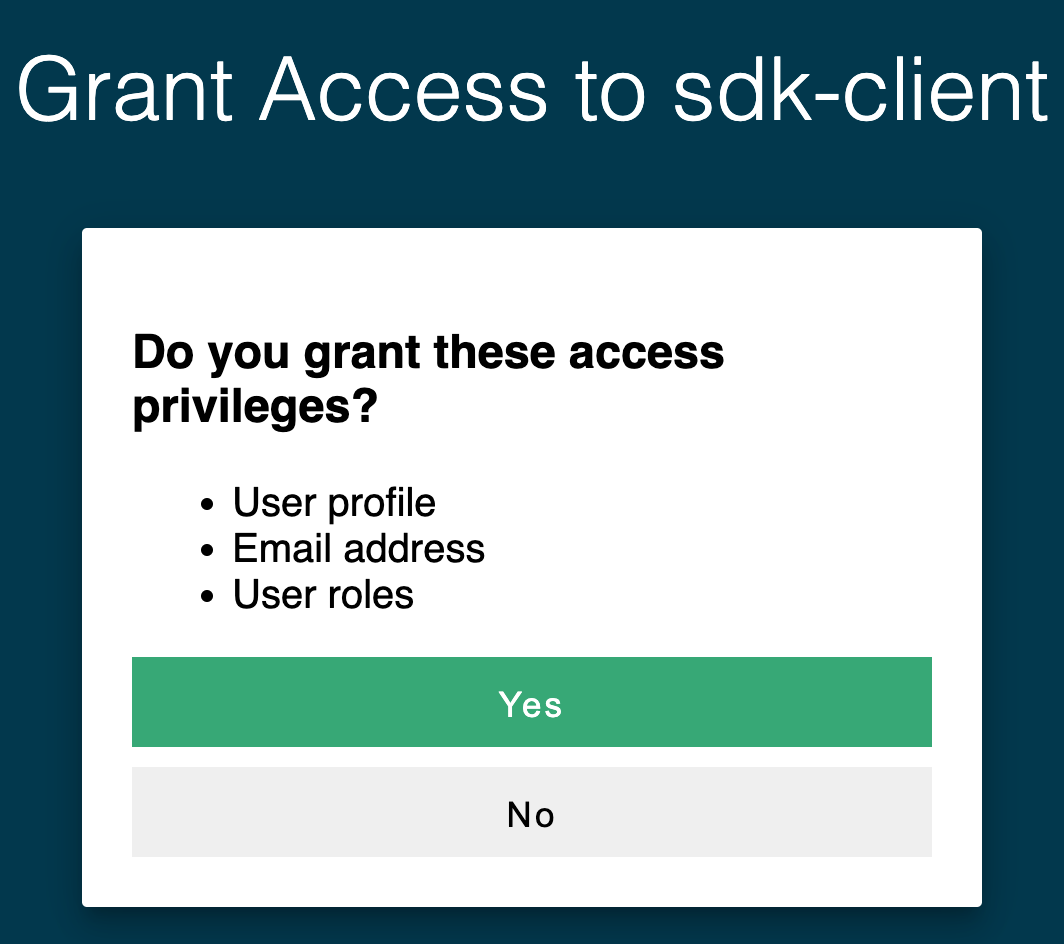
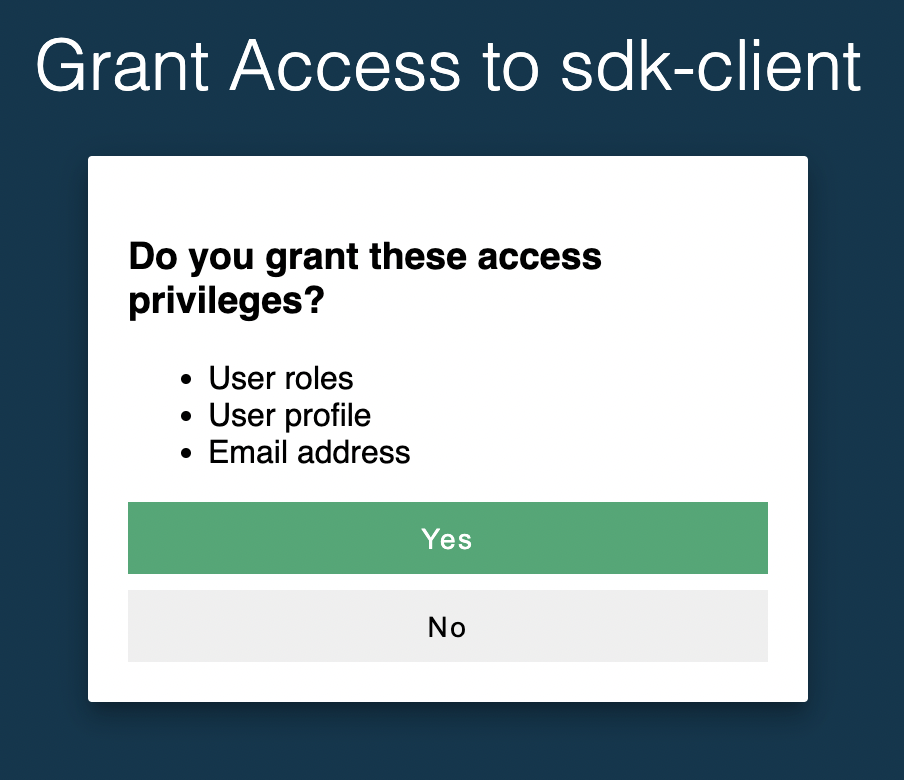
Once authenticated, the user will verify adding the device the user is establishing the connection from. Once both steps are complete, then the connection is granted.
Wallaroo Client Connection
Connections to a Wallaroo instance via the Wallaroo SDK use the wallaroo.client.Client object. By default, it uses the following environmental variables or method parameters.
| Environmental Variable | Method Parameter | Required | Description |
|---|---|---|---|
WALLAROO_SDK_AUTH_TYPE | auth_type | Y | The authentication type, typically sso or user_password. |
WALLAROO_URL | api_endpoint | Y | The URL to the Wallaroo instance API service. |
WALLAROO_USER or WALLAROO_SDK_CREDENTIALS | N/A | N | The connecting user’s username. |
WALLAROO_PASSWORD or WALLAROO_SDK_CREDENTIALS | N/A | N | The connecting user’s password. |
import wallaroo
wl = wallaroo.Client()
The environmental variables are overridden by the method parameters. In the following instance, if the following environmental variables are set:
WALLAROO_SDK_AUTH_TYPE='sso'
WALLAROO_URL='http://api-lb:8080`
The following overrides the environmental settings to connect to a different Wallaroo instance:
wl = wallaroo.Client(api_endpoint="https://api.wallaroo.example.com",
                     auth_type="sso")
Single Sign-On Connections
Single Sign-On connections set with the environmental variable WALLAROO_SDK_AUTH_TYPE='sso' or the method parameter auth_type="sso" provide a URL for users to click on and authenticate with the Wallaroo service. Once authenticated, the session remains valid until no connections are made for around 60 minutes, at which point the user will have to re-authenticate.
The following demonstrates a standard SSO authentication process.
Open a connection to the Wallaroo environment with the
wallaroo.Client()command and save it to a variable.In this example, the Wallaroo connection is saved to the variable
wl.import wallaroo wl = wallaroo.Client()A verification URL will be displayed. Enter it into your browser and grant access to the SDK client.
Once this is complete, you will be able to continue with your Wallaroo commands.

Username and Password Connections
Using the authentication method with the environmental variable WALLAROO_SDK_AUTH_TYPE='user_password' or the method parameter auth_type="user_password" allow users to provide their username and password via environmental variables in one of two methods:
WALLAROO_SDK_CREDENTIALSenvironmental variable that points to a file with the following:{ "username": "{Connecting User's Username}", "password": "{Connecting User's Password}", "email": "{Connecting User's Email Address}" }Provide the environment variables
WALLAROO_USERandWALLAROO_PASSWORD:WALLAROO_USER={Username} WALLAROO_PASSWORD={Password}
In typical installations, the username and email settings will both be the user’s email address.
For example, if the username is steve, the password is hello and the email is steve@ex.co then the WALLAROO_SDK_CREDENTIALS can be set in the following ways:
# Import via file
os.environ["WALLAROO_SDK_CREDENTIALS"] = 'creds.json'
wl = wallaroo.Client(auth_type="user_password")
creds.json contents:
{
"username": "steve@ex.co",
"password": "hello",
"email": "steve@ex.co"
}
The other method via the WALLAROO_USER and WALLAROO_PASSWORD environmental variables. This assumes that the other environmental variables are set.
# Set directly
os.environ["WALLAROO_USER"] = 'username@company.com'
os.environ["WALLAROO_PASSWORD"] = 'password'
wl = wallaroo.Client(auth_type="user_password")
Wallaroo Client Connection Error
If any of the external variables or SDK parameters are missing, the following error is returned:
auth_type and api_endpoint must be provided or set in environment as
`WALLAROO_SDK_AUTH_TYPE`, and `WALLAROO_URL` respectively.
Connect from Within the Wallaroo JupyterHub Service
Users who connect from within their Wallaroo provided JupyterHub service, will be authenticated with the Wallaroo Client() method.
The following environmental variable are set by default:
WALLAROO_SDK_AUTH_TYPE='sso'
WALLAROO_URL='http://api-lb:8080'
This allows the following:
import wallaroo
wl = wallaroo.Client()
to automatically connect via sso to the same Wallaroo instance the Wallaroo provided JupyterHub service is a member of. Users will still be required to authenticate to the Wallaroo instance via continuing the SDK session.
These variables can be overridden by the wallaroo.client.Client method parameters auth_type, auth_endpoint, and api_endpoint as described in Wallaroo Client Connection.
Connect Externally via the Wallaroo SDK
Connections to the Wallaroo instance external to the Wallaroo JupyterHub service uses either the environmental variables or wallaroo.client.Client parameters as described in Wallaroo Client Connection.
External Connections via Method Parameters
For connections to the Wallaroo instance via the required Wallaroo SDK wallaroo.client.Client parameters will require the following parameters:
| Method Parameter | Description |
|---|---|
| api_endpoint | The URL to the Wallaroo Domain Name, for example wallaroo.example.com. |
| auth_type | The authentication type, typically sso or user_password. See Single Sign-On Connections and Username and Password Connections for full details. |
For example, the following uses the authentication method sso for the Wallaroo instance at the DNS name wallaroo.example.com to establish a connection via the Wallaroo SDK.
IMPORTANT NOTE
The api_endpoint should not include a trailing/ character. “https://wallaroo.example.com” is allowed; “https://wallaroo.example.com/" is not recommended.import wallaroo
wl = wallaroo.Client(api_endpoint="https://wallaroo.example.com",
auth_type="sso")
External Connections via Environmental Variables
External connections via the Wallaroo SDK to the Wallaroo instance use the environmental variables:
| Environmental Variable | Required | Description |
|---|---|---|
WALLAROO_SDK_AUTH_TYPE | Required | The authentication type, typically sso or user_password. |
WALLAROO_URL | Required | The URL to the Wallaroo instance API service. |
WALLAROO_USER or WALLAROO_SDK_CREDENTIALS | Optional | The connecting user’s username, used with authentication type user_password. |
WALLAROO_PASSWORD or WALLAROO_SDK_CREDENTIALS | Optional | The connecting user’s password, used with authentication type user_password. |
When these environmental variables are set, the SDK connection can be made as follows:
# Set environmental variables
os.environ["WALLAROO_SDK_AUTH_TYPE"] = 'user_password'
os.environ["WALLAROO_URL"] = 'wallaroo.example.com'
os.environ["WALLAROO_USER"] = 'username@company.com'
os.environ["WALLAROO_PASSWORD"] = 'password'
import wallaroo

wl = wallaroo.Client() # the auth type, authentication url, and wallaroo url are set via environmental variables
For Python scripts, these environmental variables can be set via whatever shell is used. For example, the following bash script sets the environmental variables.
export WALLAROO_SDK_AUTH_TYPE='user_password'
export WALLAROO_URL='wallaroo.example.com'
export WALLAROO_USER='username@company.com'
export WALLAROO_PASSWORD='password'
For Jupyter Notebooks, these environmental variables can be stored directly as part of the Jupyter Kernel. The following example shows a Jupyter Kernel named wallaroosdk settings its kernel.json file:
{
 "argv": [
  "/virtual_environment_path/bin/python3",
  "-m",
  "ipykernel_launcher",
  "-f",
  "{connection_file}"
 ],
 "env": {
  "WALLAROO_SDK_AUTH_TYPE": "user_password",
  "WALLAROO_URL":"https://wallaroo.example.com",
  "WALLAROO_USER":"steve@ex.co",
  "WALLAROO_PASSWORD":"hello"
},
 "display_name": "wallaroosdk",
 "language": "python",
 "metadata": {
  "debugger": true
 }
}