Wallaroo SSO for Amazon Web Services
Table of Contents
Organizations can use Amazon Web Services (AWS) as an identity provider for single sign-on (SSO) logins for users with Wallaroo Enterprise.
IMPORTANT NOTE
These instructions are for Wallaroo Enterprise edition only.To enable AWS as an authentication provider to a Wallaroo instance:
- Create the Wallaroo AWS SAML Identity Provider
- Create the AWS Credentials
- Add the AWS Credentials to Wallaroo
- Verify the Login
Prerequisites
- Administrative access to the Wallaroo instance
- Permissions in an AWS account to the IAM Identity Center. For more information, see AWS IAM Identity Center Prerequisites and considerations for specific environments
Create the Wallaroo AWS SAML Identity Provider
Using AWS as a single sign-on identity provider within Wallaroo requires access to the Wallaroo instance’s Keycloak service. This process will require both the IAM Identity Center and Wallaroo Keycloak service be available at the same time to copy information between the two. When starting this process, do not close the Wallaroo Keycloak browser window or the AWS IAM Identity Center without completing all of the steps until Verify the Login.
- From the Wallaroo instance, login to the Keycloak service. This will commonly be $PREFIX.keycloak.$SUFFIX. For example,
playful-wombat-5555.keycloak.wallaroo.example.
- From the Wallaroo instance, login to the Keycloak service. This will commonly be $PREFIX.keycloak.$SUFFIX. For example,
Select Administration Console.
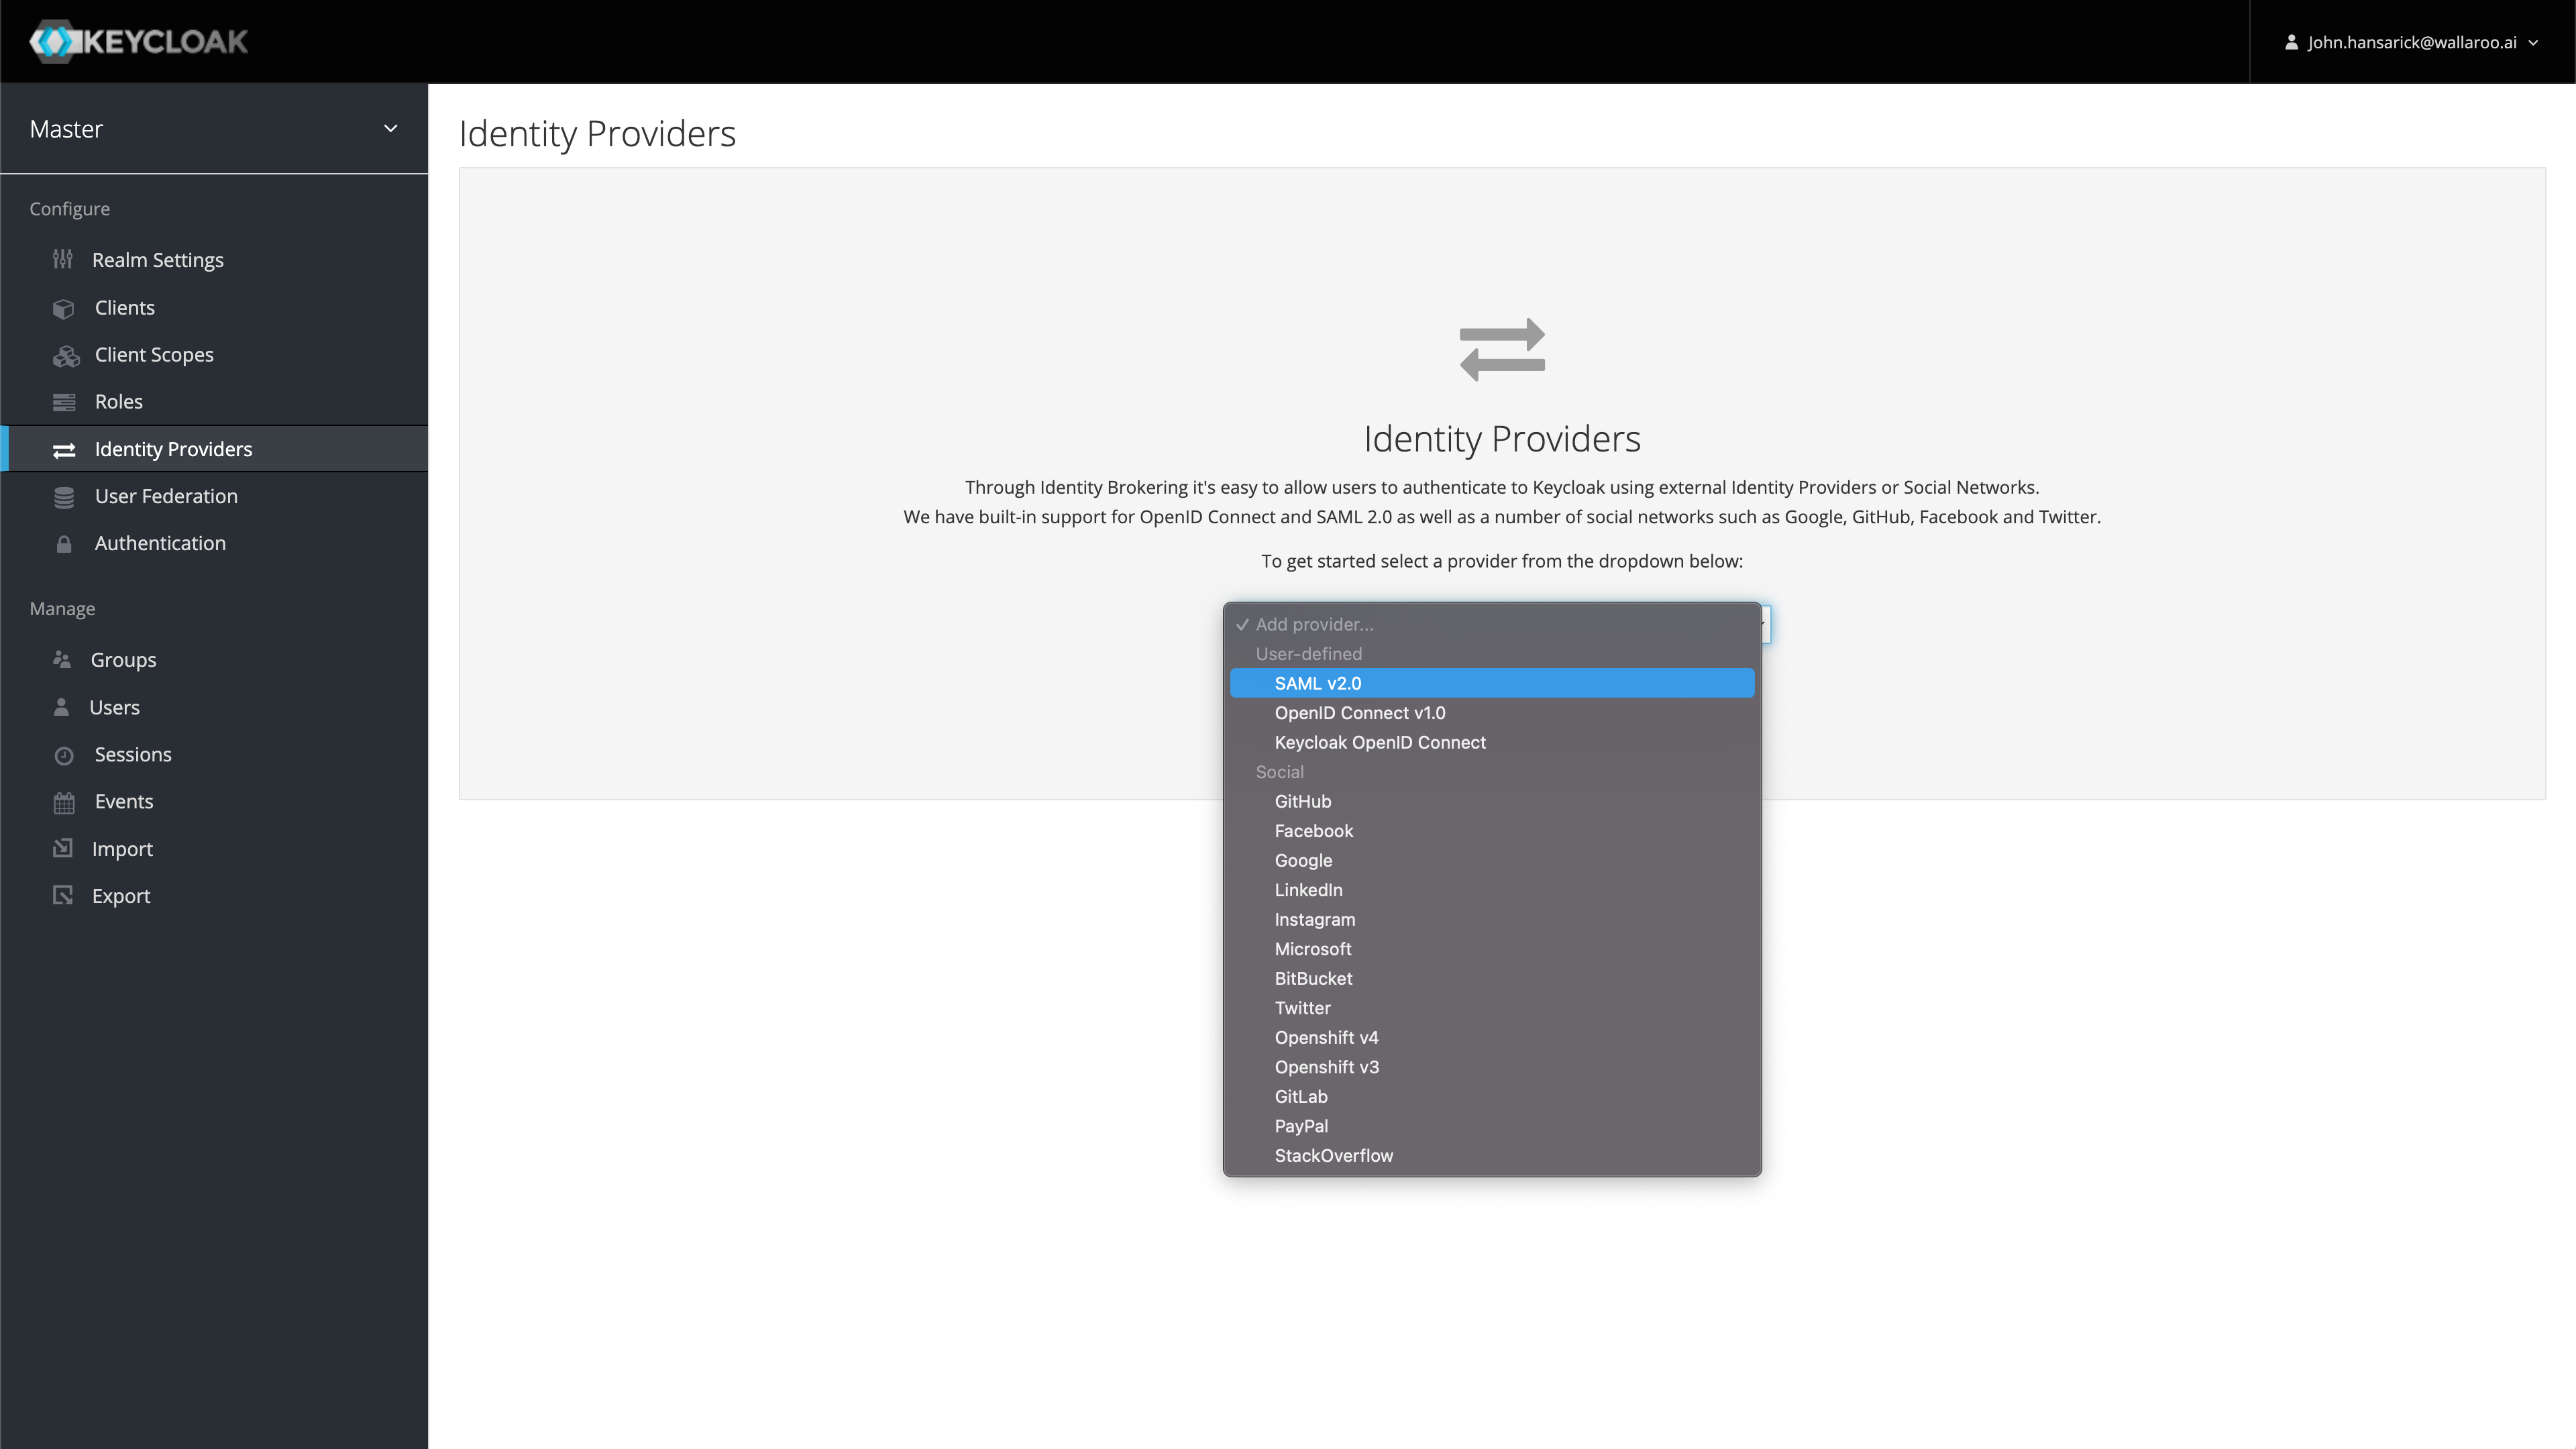
From the left navigation panel, select Identity Providers.
Select Add provider and select SAML v2.0.
Enter the following:
- Alias ID: This will be the internal ID of the identity provider. It also sets the Redirect URI used in later steps.
- Display Name: The name displayed for users to use in authenticating.
Save the following information:
- Redirect URI: This is determined by the Wallaroo DNS Prefix, Wallaroo DNS Suffix, and the Alias ID in the format
$PREFIX.keycloak.$SUFFIX/auth/realms/master/broker/$ALIASID/endpoint. For example,playful-wombat-5555.keycloak.wallaroo.example/auth/realms/master/broker/aws/endpoint. - Service Provider Entry ID: This is in the format
$PREFIX.keycloak.$SUFFIX/auth/realms/master. For example:playful-wombat-5555.keycloak.wallaroo.example/auth/realms/master.
- Redirect URI: This is determined by the Wallaroo DNS Prefix, Wallaroo DNS Suffix, and the Alias ID in the format
Create the AWS Credentials
The next step is creating the AWS credentials, and requires access to the organization’s Amazon IAM Identity Center.
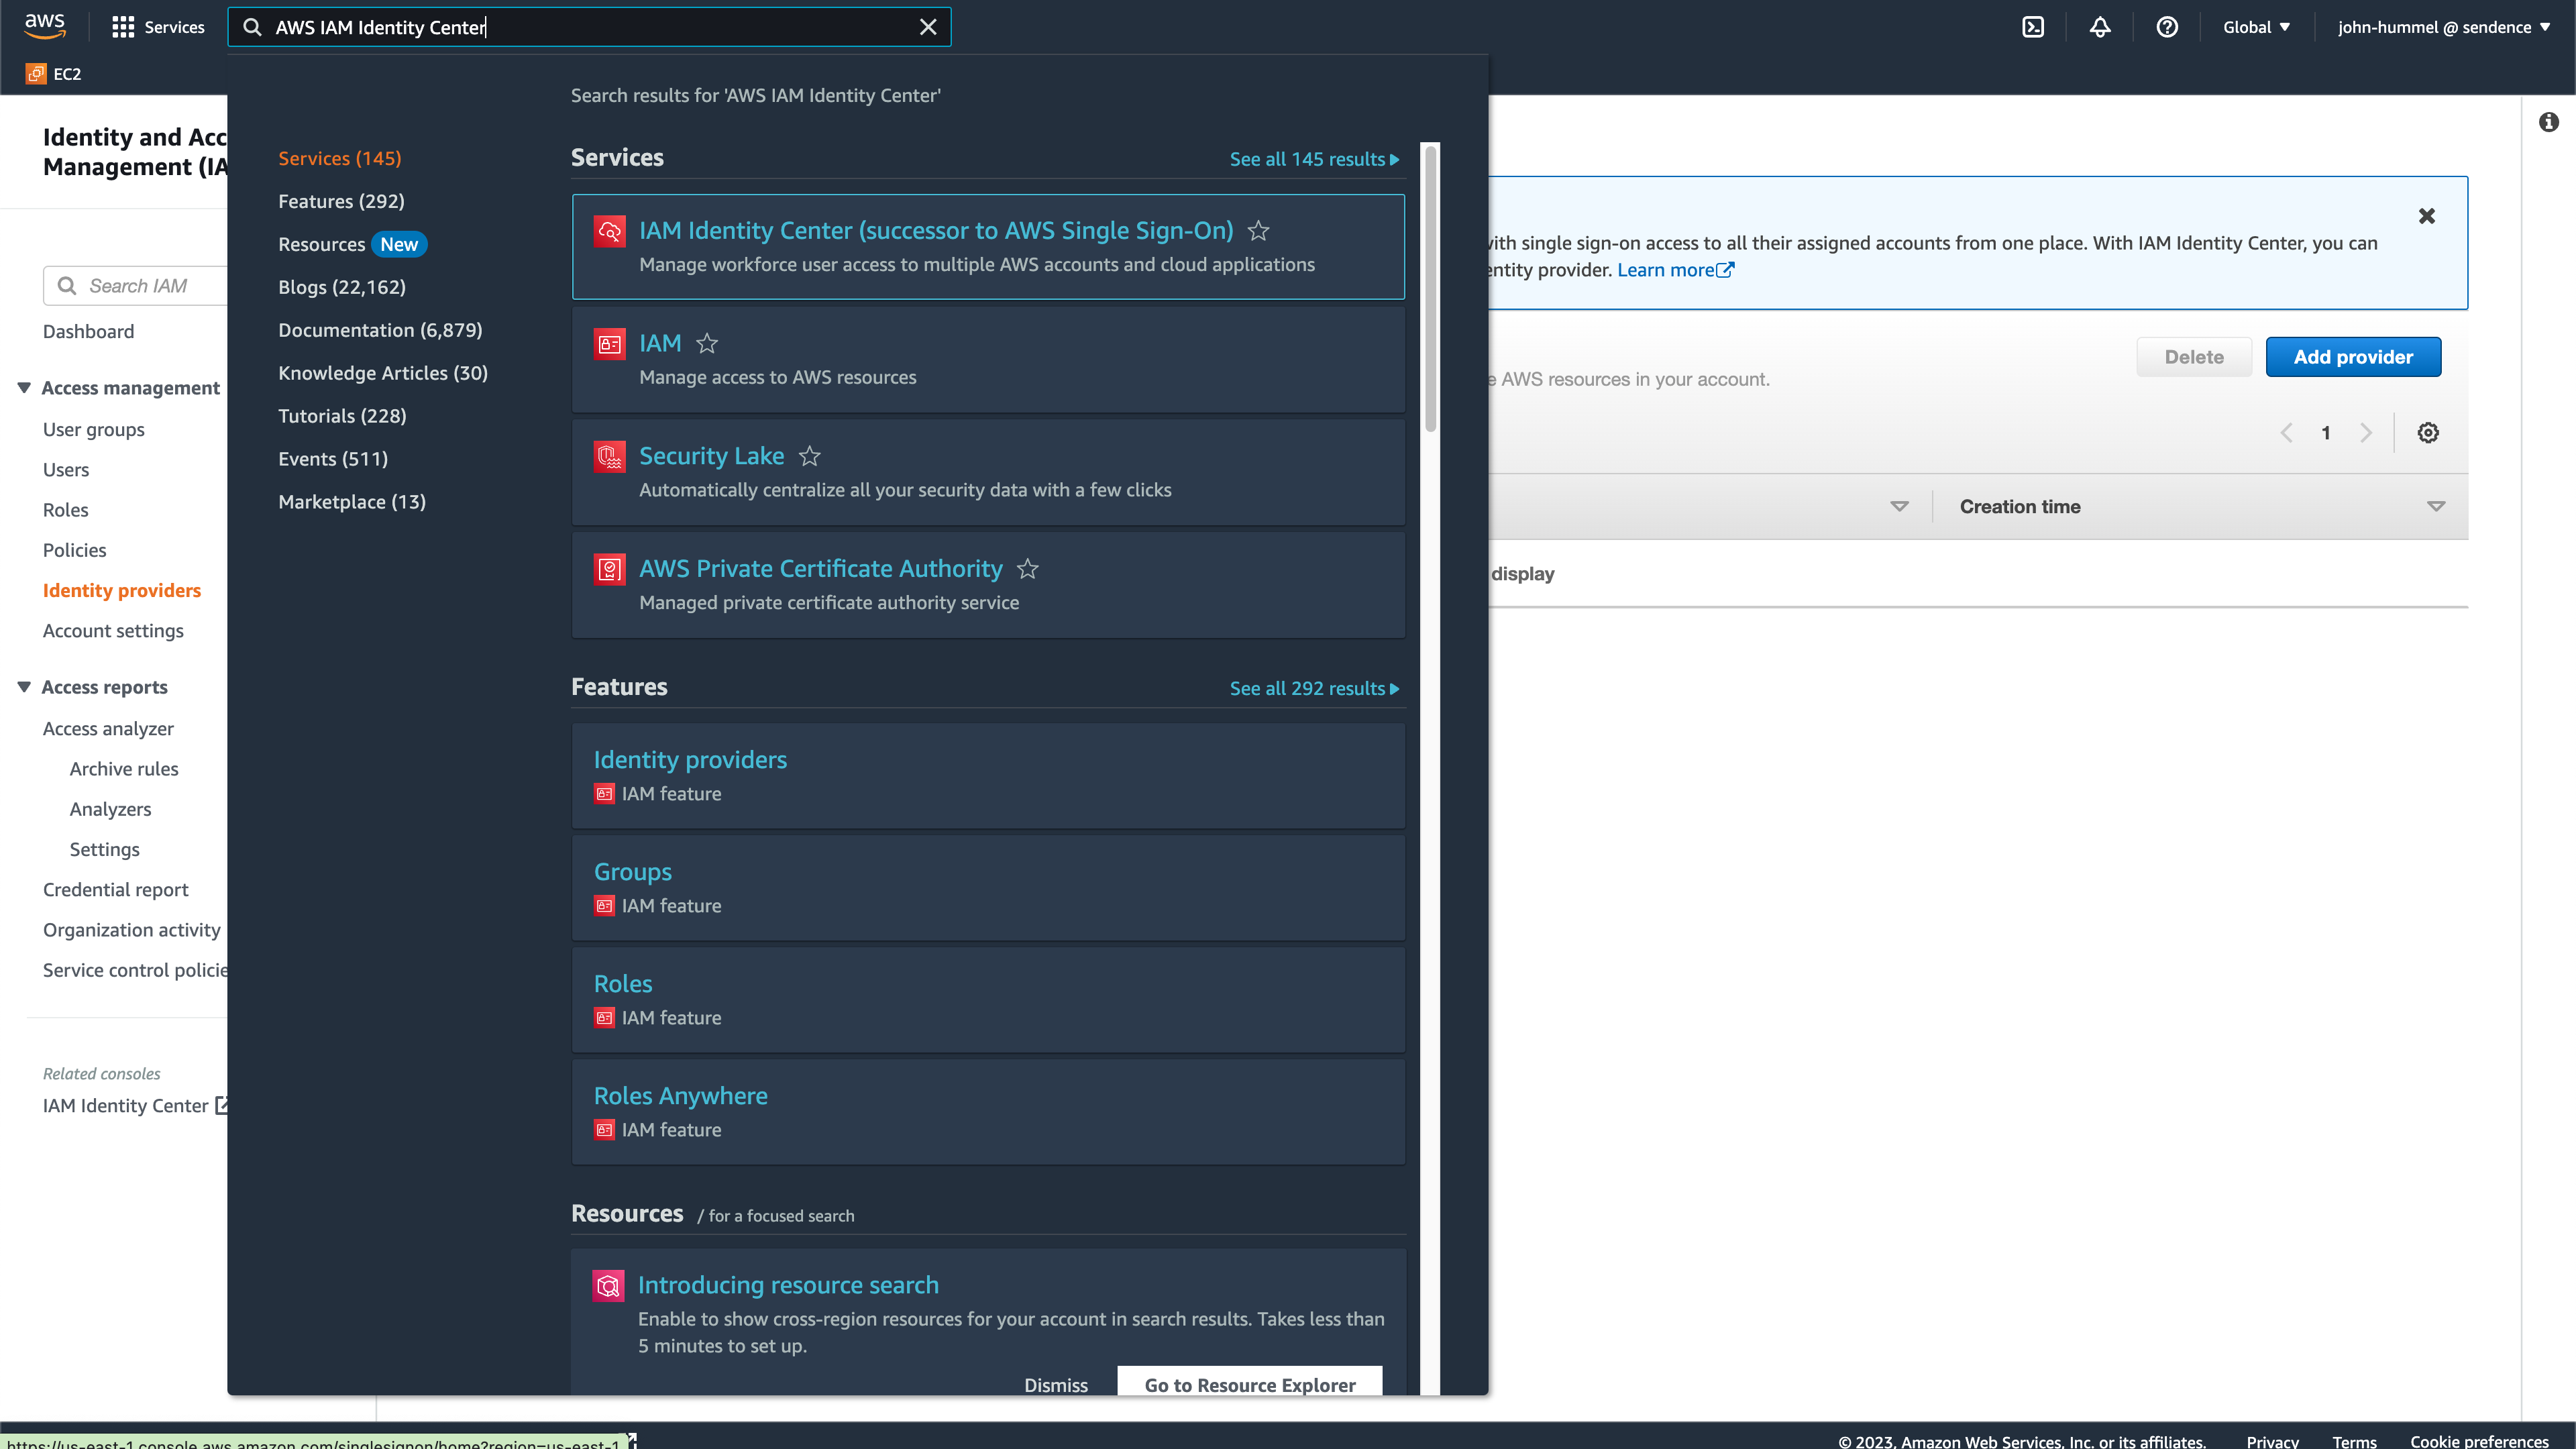
From the AWS console, select the IAM Identity Center.
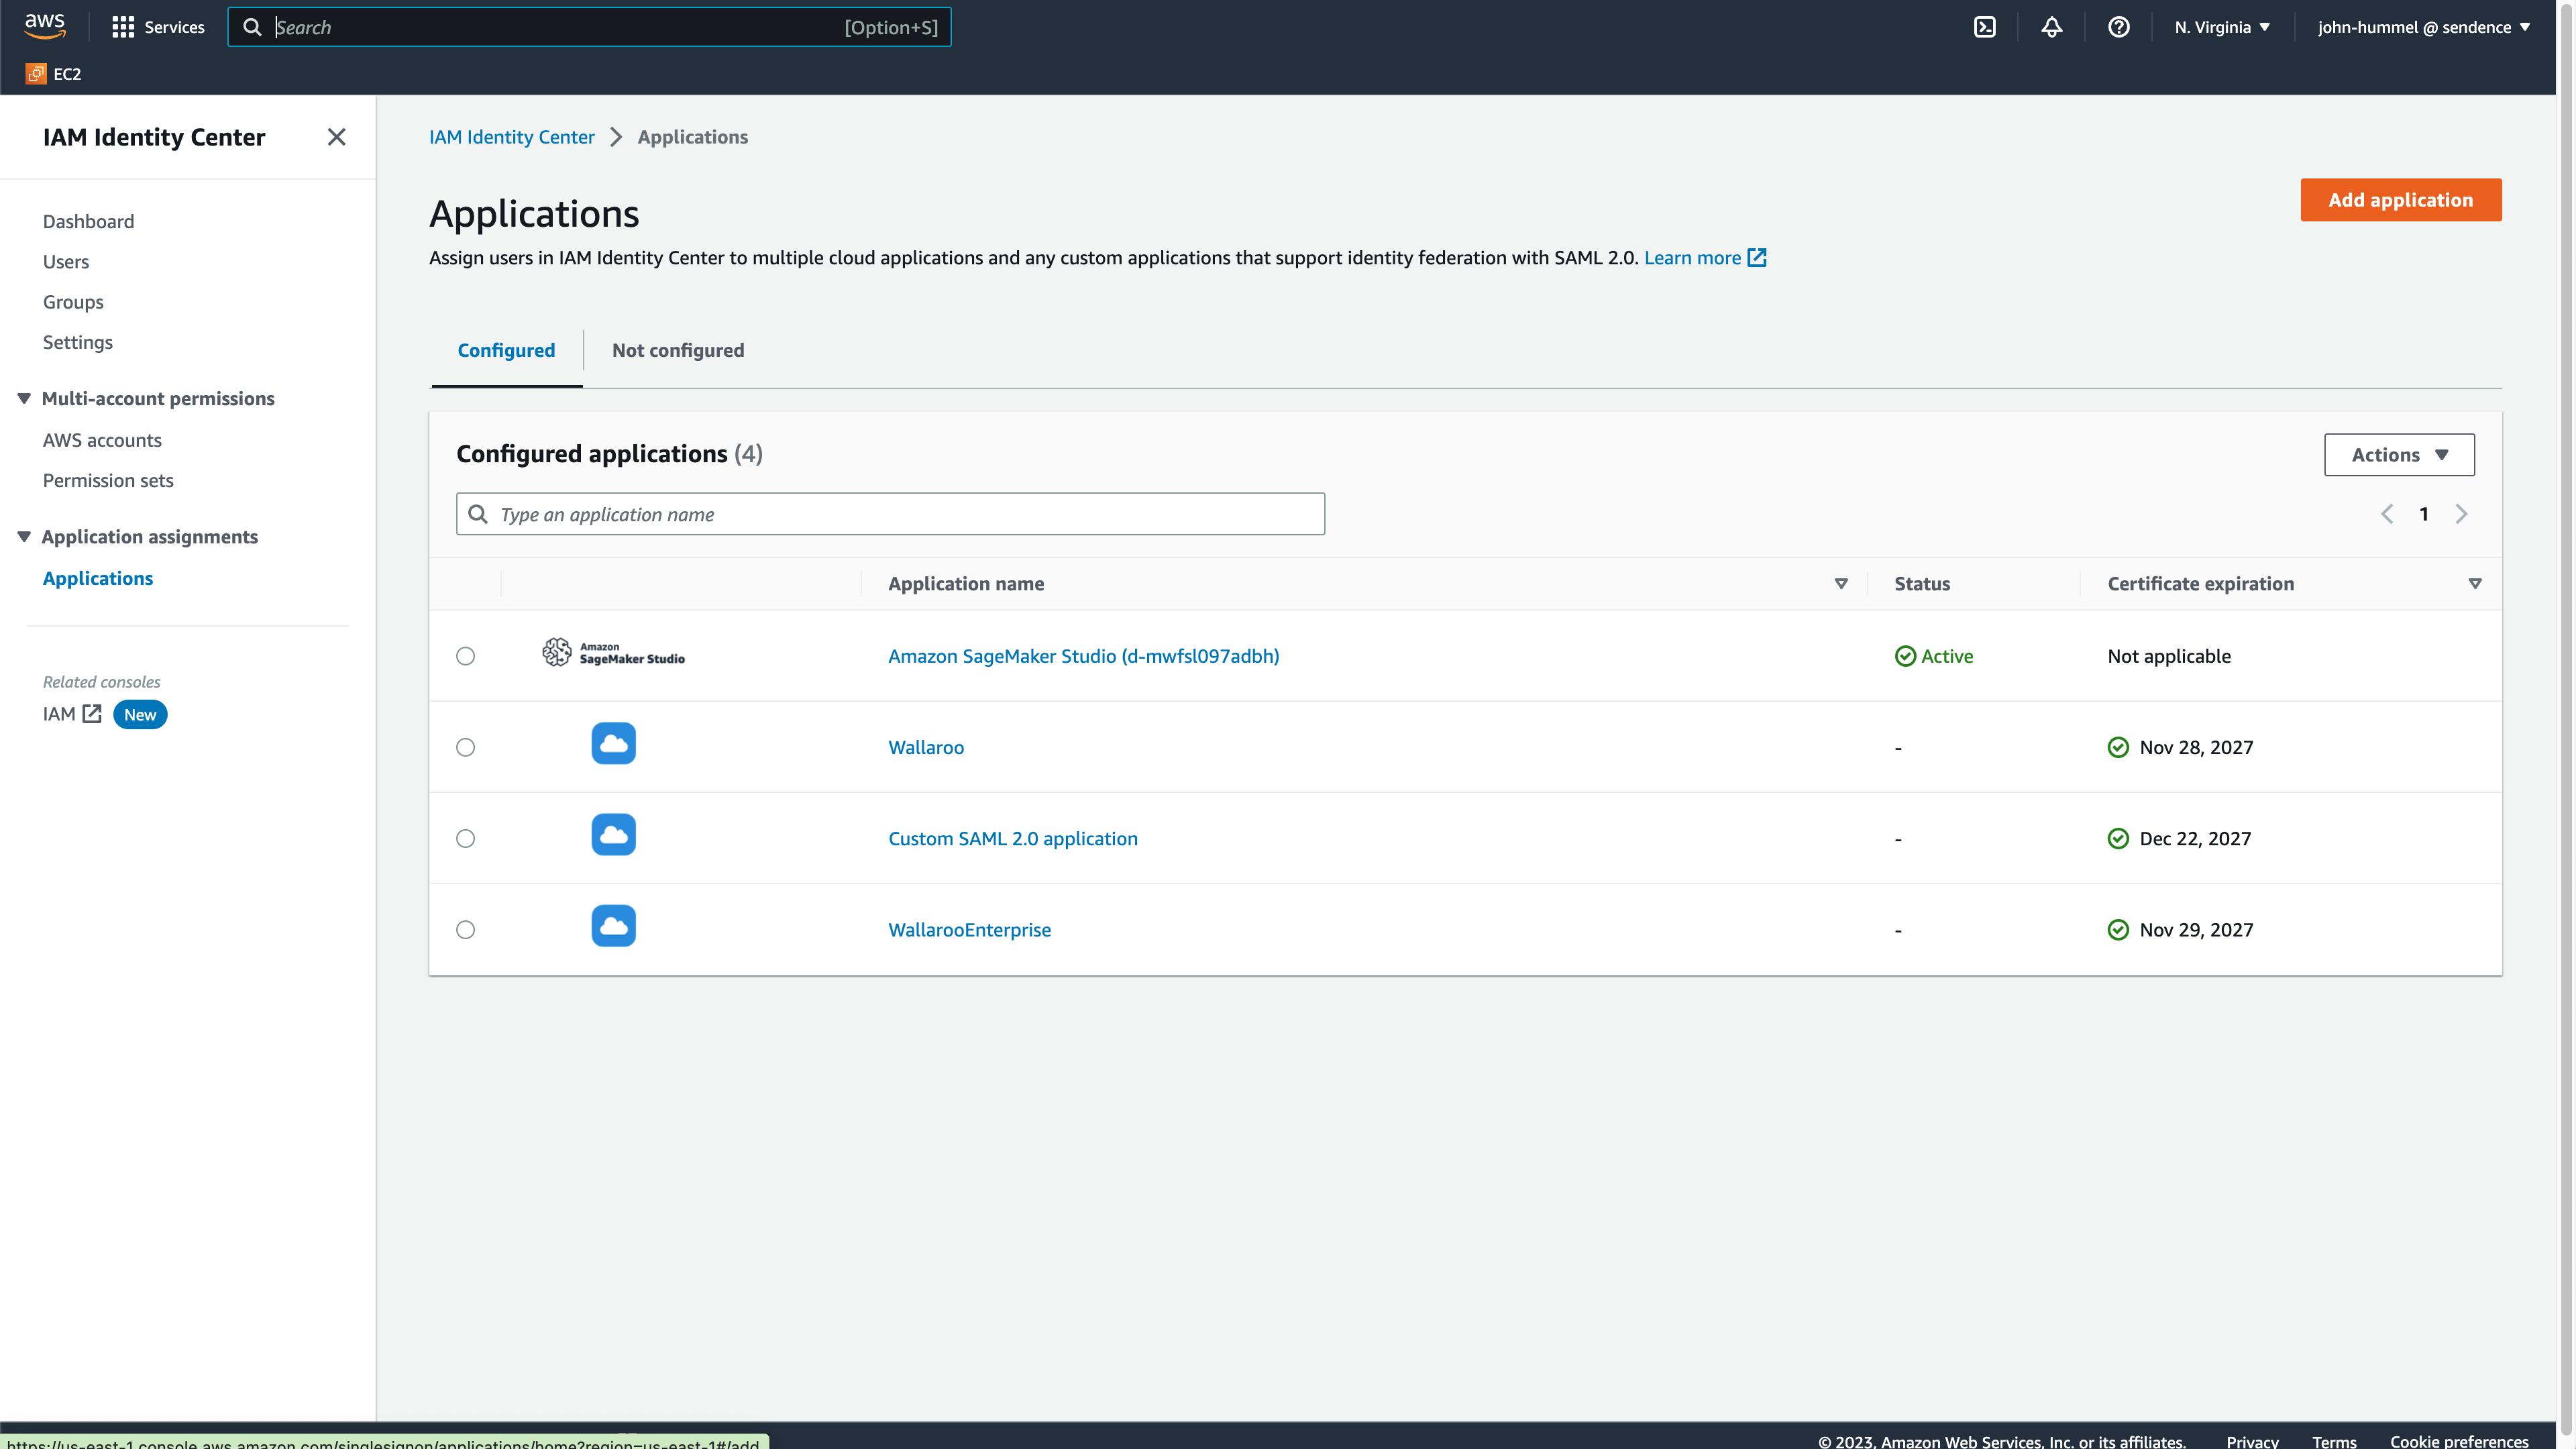
From the IAM Identity Center Dashboard, select Applications then Add application.
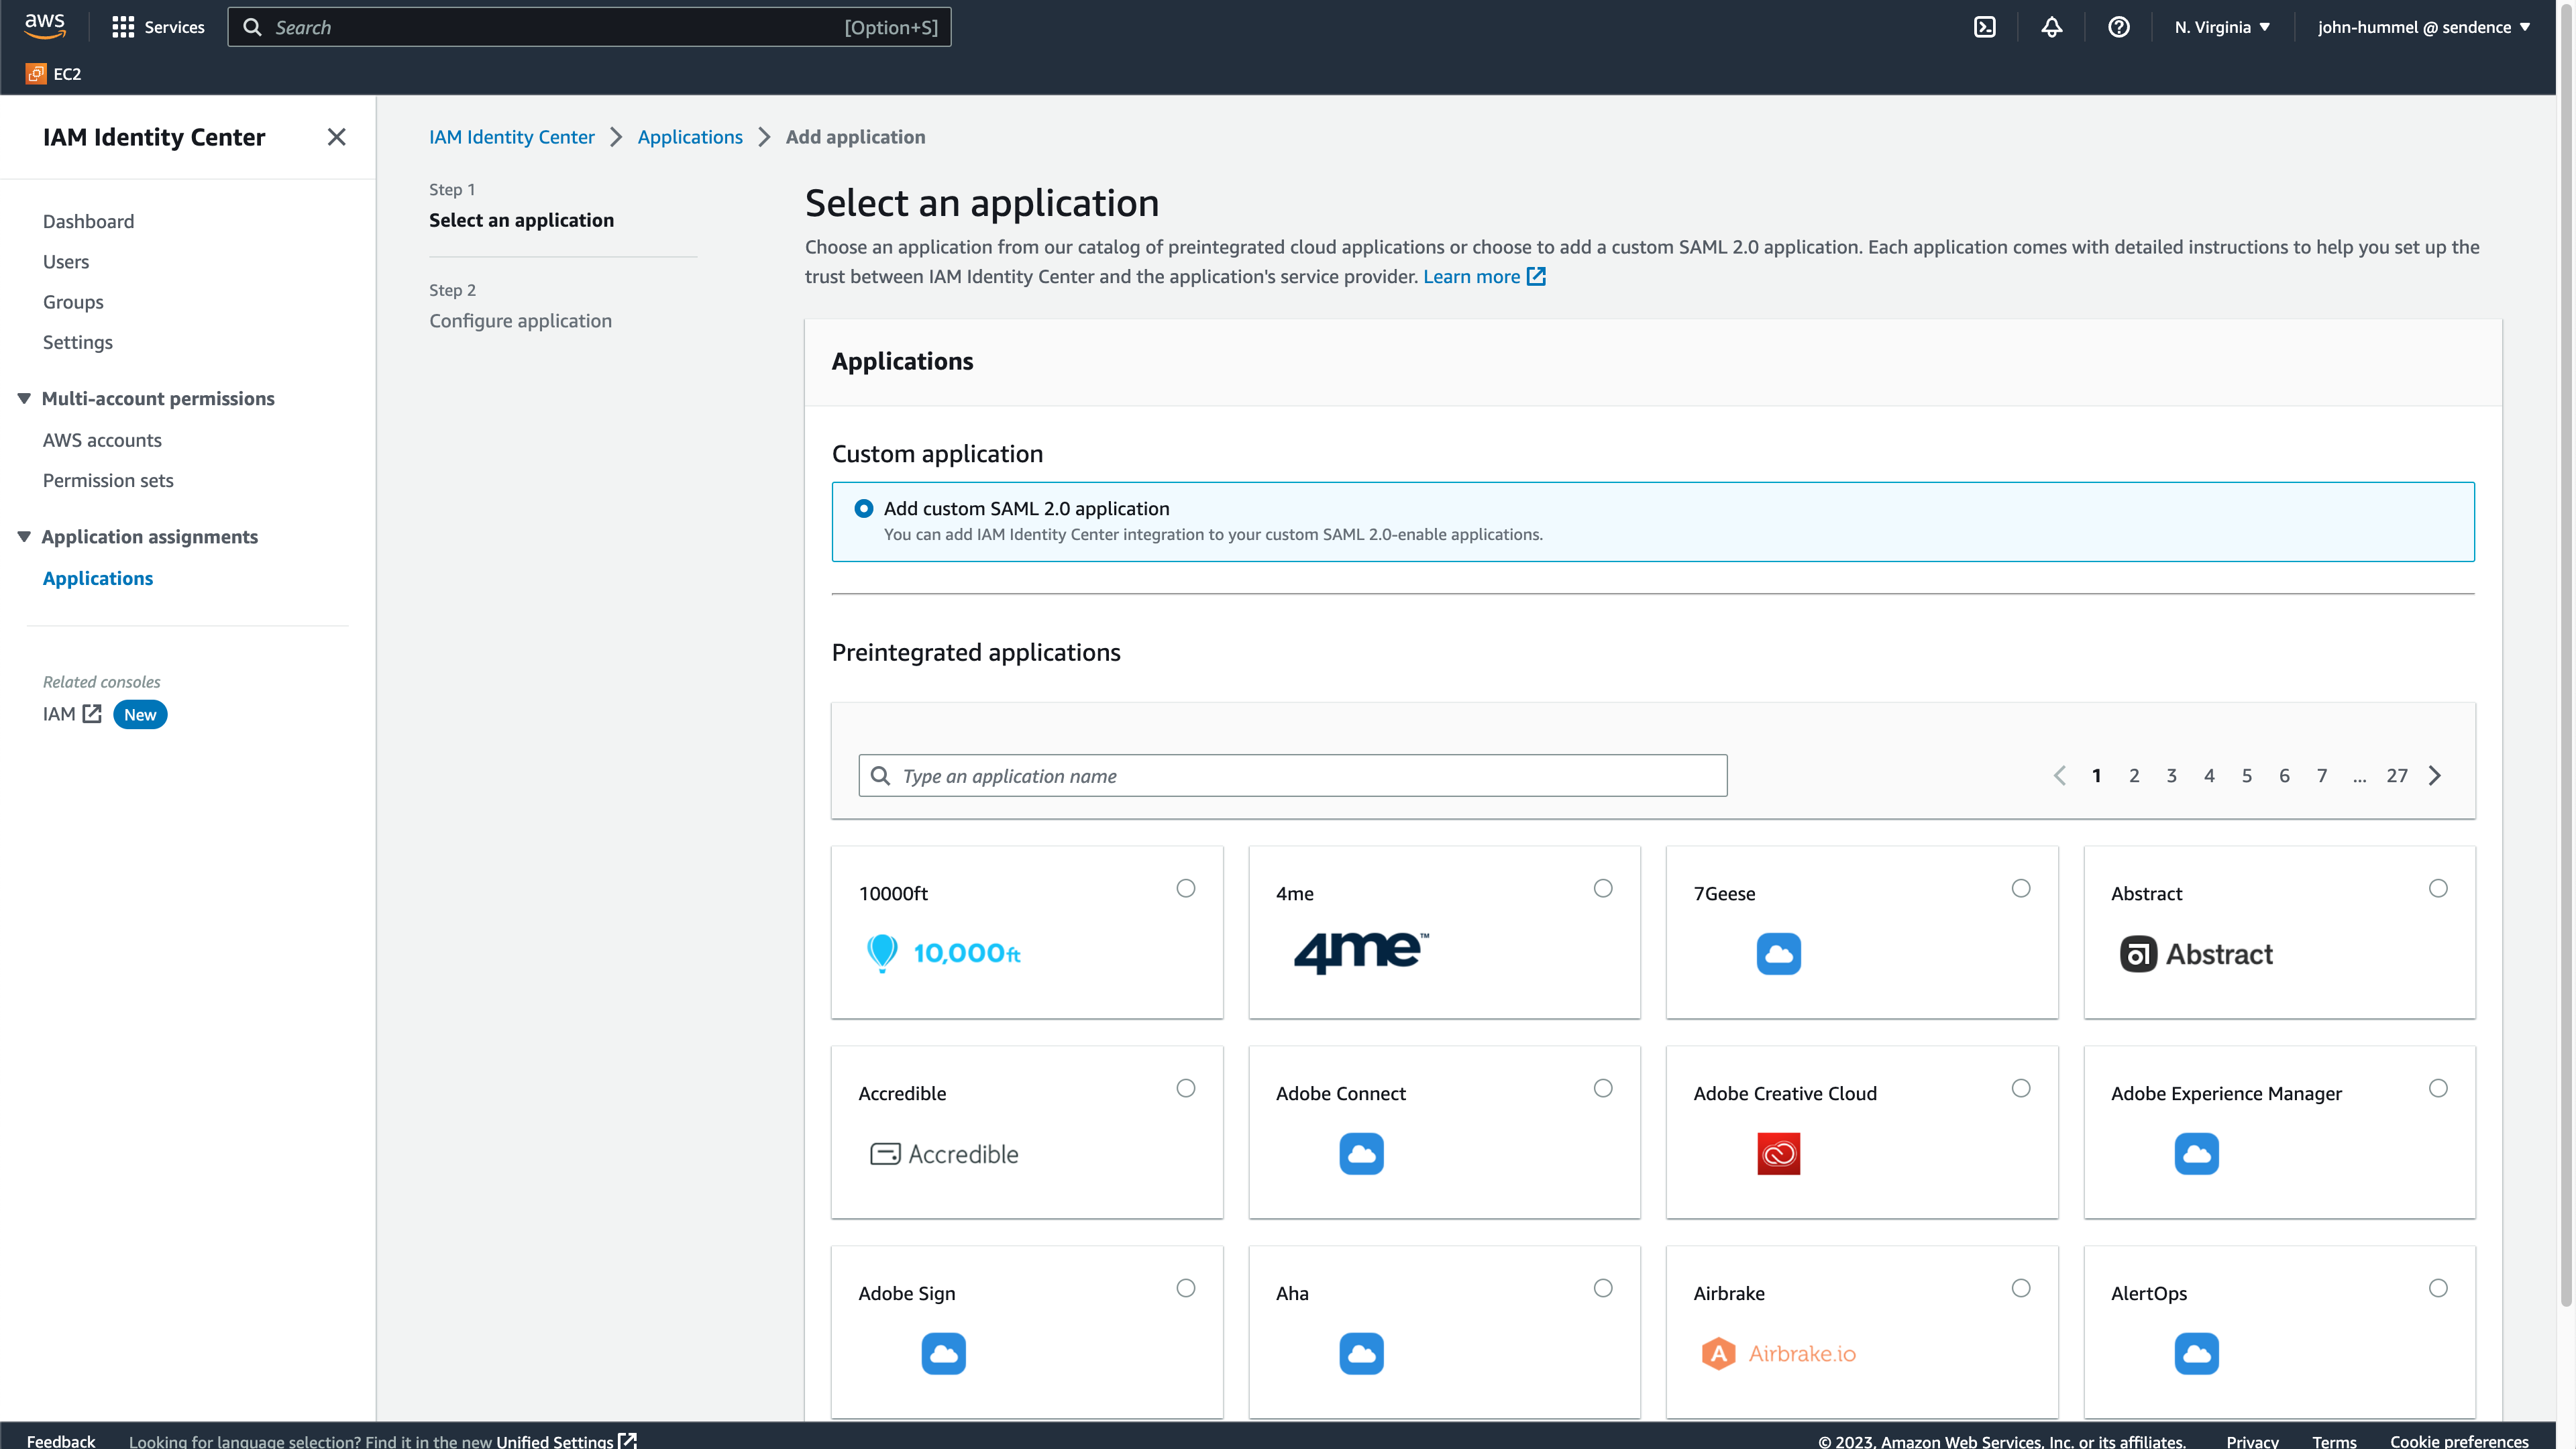
Select Custom application->Add custom SAML 2.0 application, then select Next.
Enter the following:
- Display name:
AWSor something similar depending on your organization’s requirements. - Application metadata:
- Application ACS URL: Enter the Redirect URI from [Create the Wallaroo AWS SAML Identity Provider].(#create-the-wallaroo-aws-saml-identity-provider).
- Application SAML audience: Enter the Service Provider Entry ID from [Create the Wallaroo AWS SAML Identity Provider].
- Display name:
Select the IAM Identity Center SAML metadata file and copy the URL. Store this for the step [Add AWS Credentials to Wallaroo](#add-aws-credentials-to-wallaroo(#add-aws-credentials-to-wallaroo).
Select Submit.
From the new application, select Actions->Edit attribute mappings.
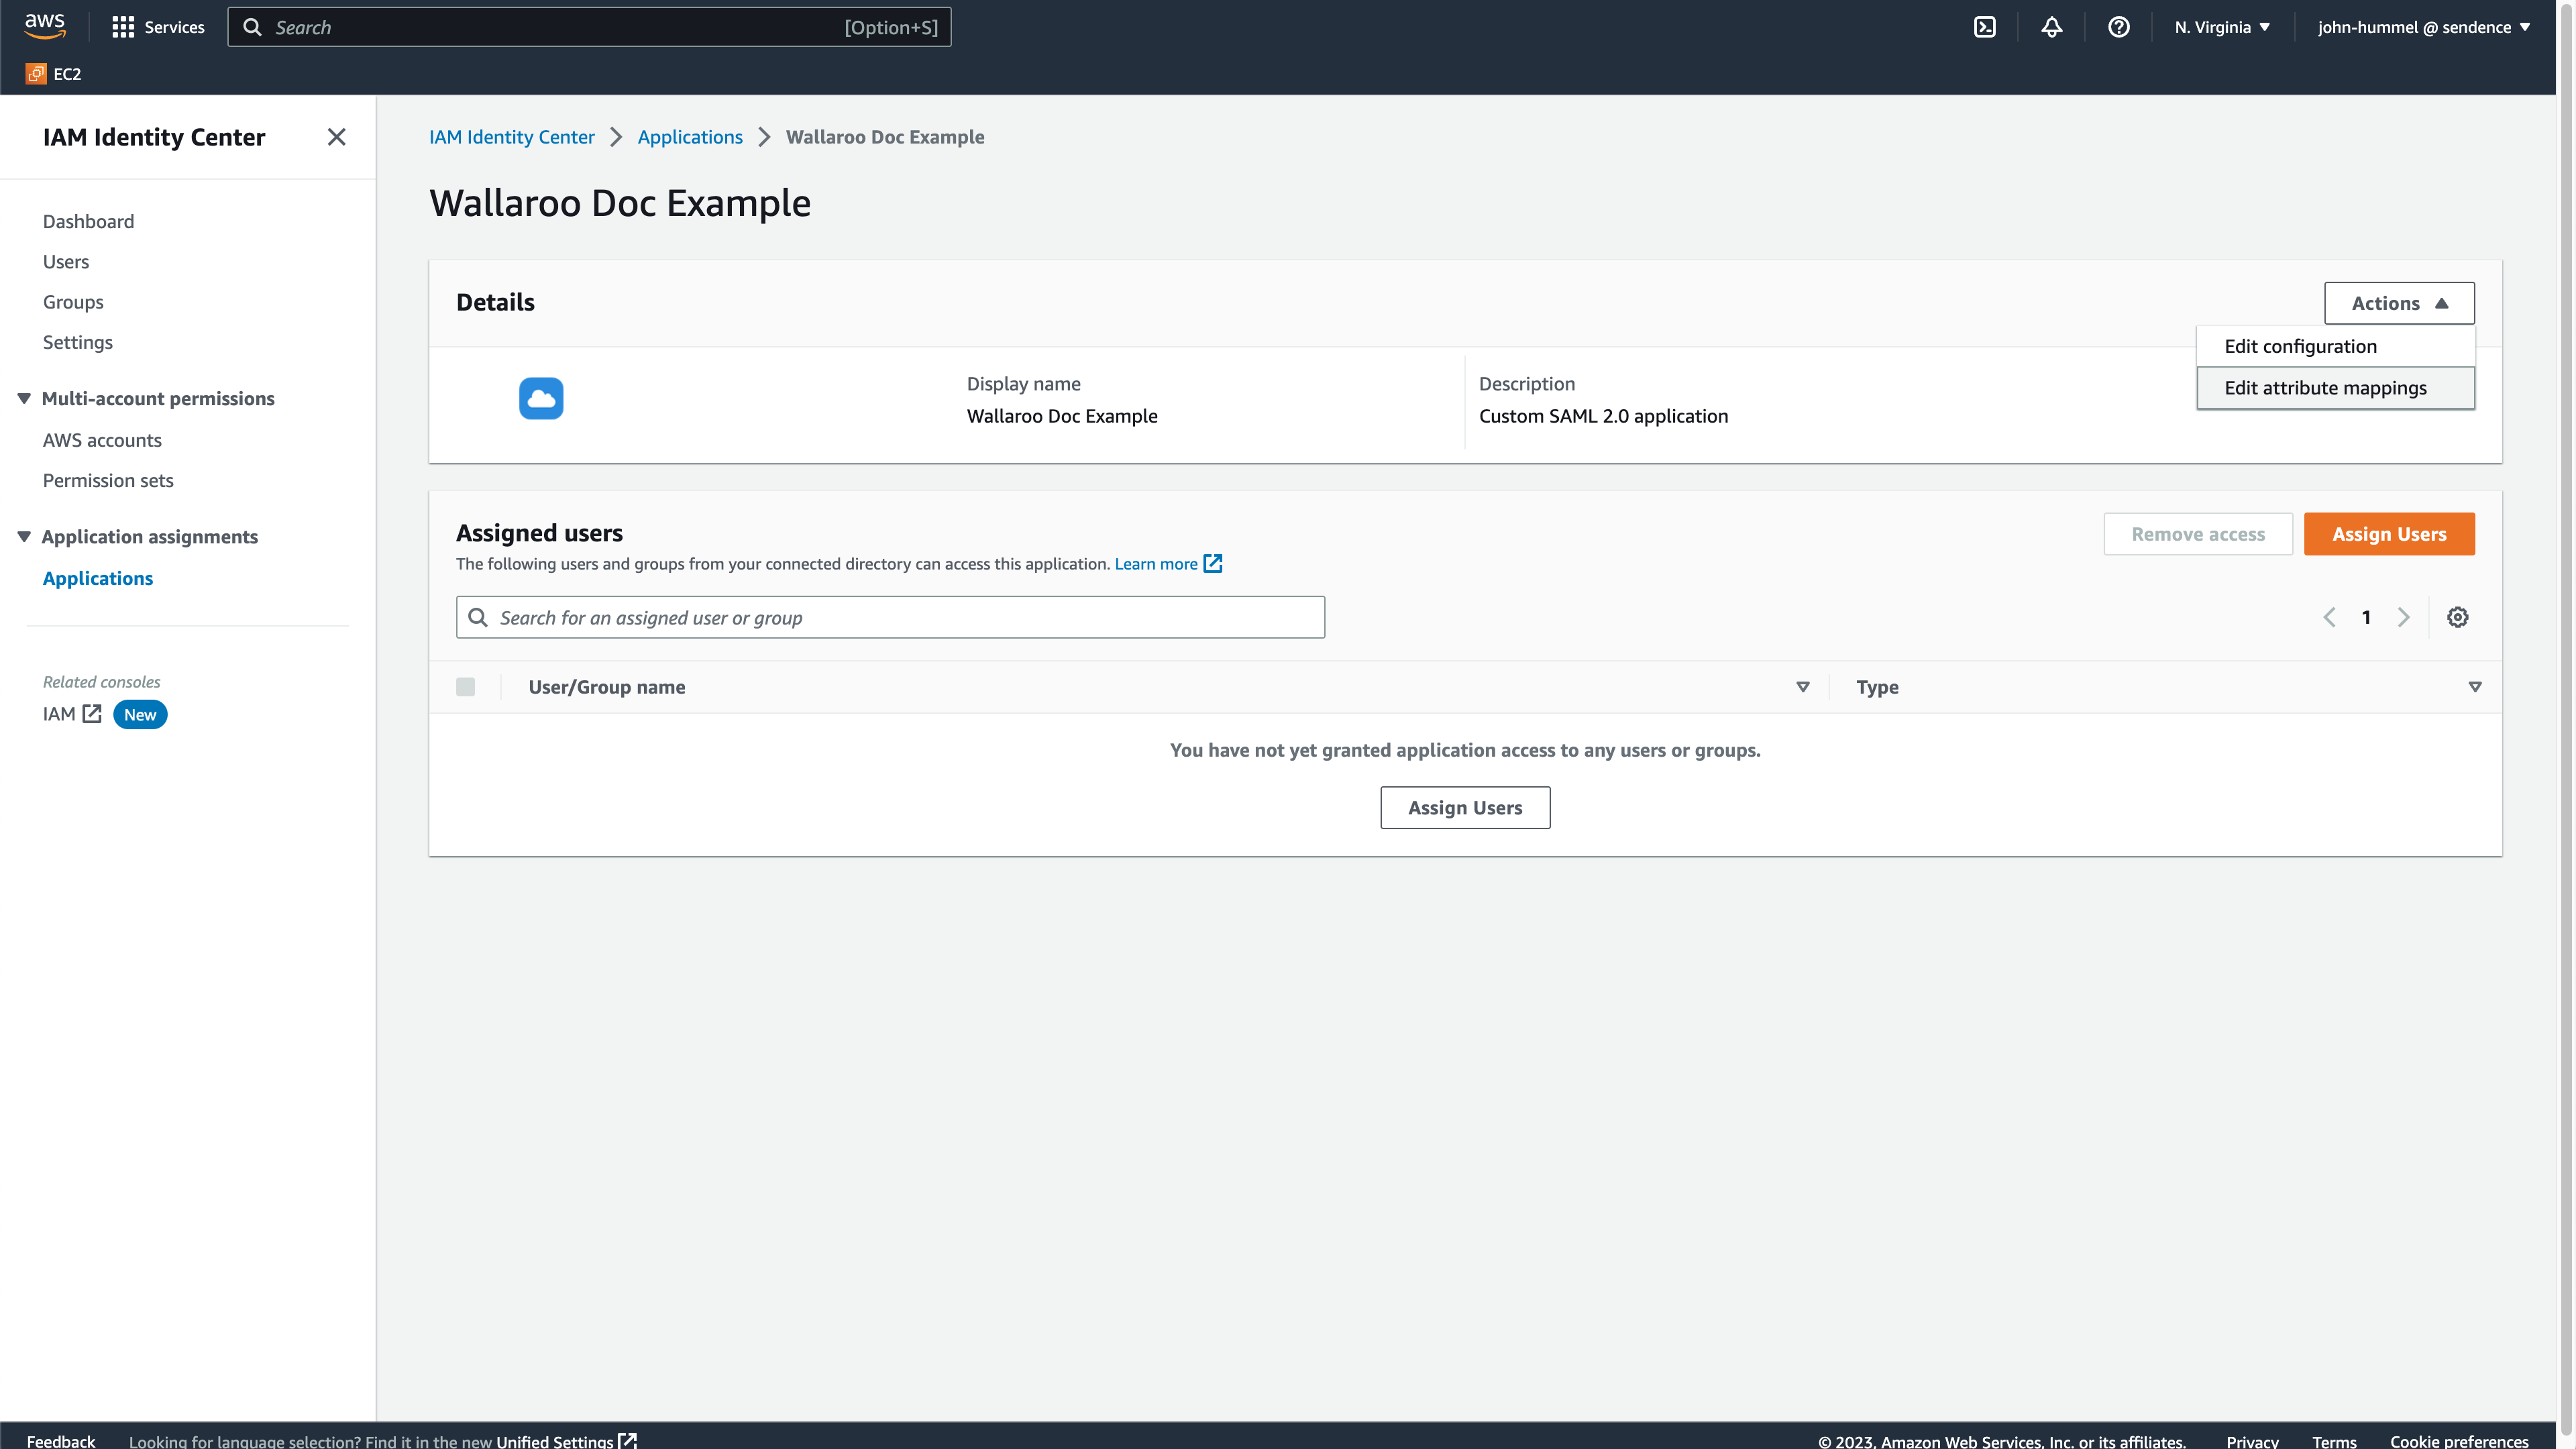
Enter the following:
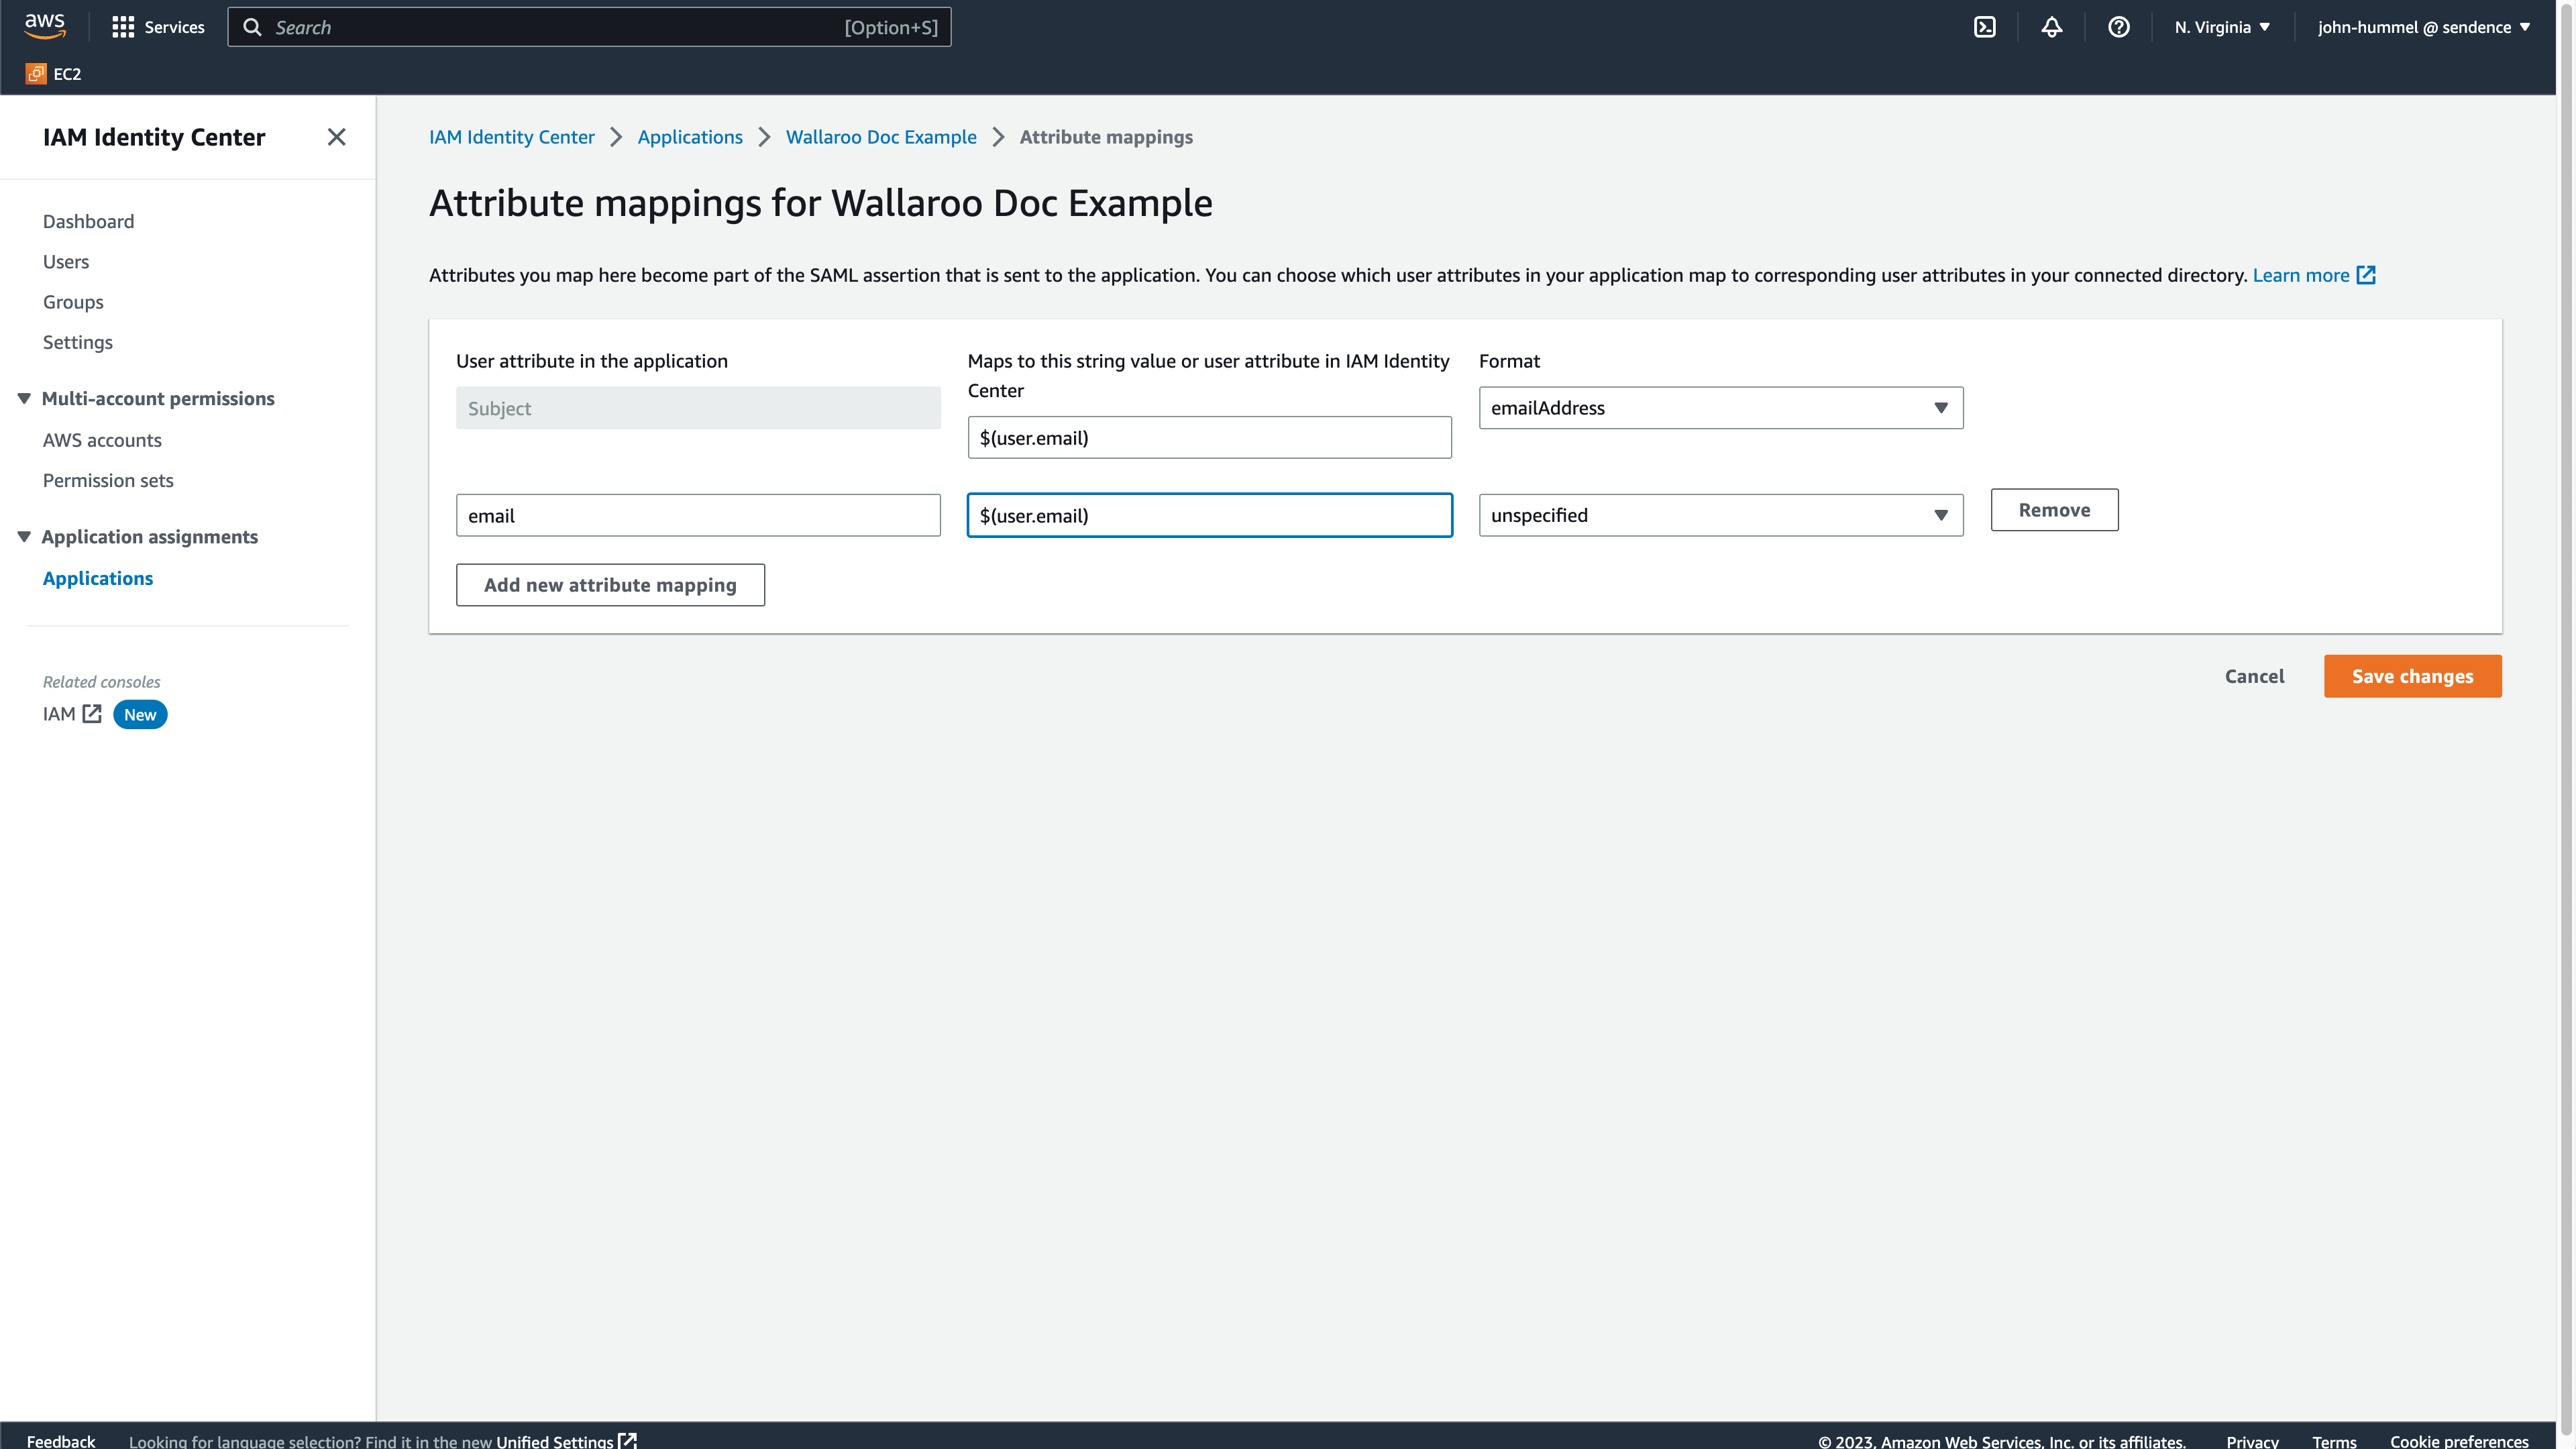
- Subject (default entry): Set to
${user:email}, with the FormatemailAddress. - Select Add new attribute mapping and set it to
email, mapped to${user:email}, with the FormatemailAddress.
- Subject (default entry): Set to
Select Save Changes to complete mapping the attributes.
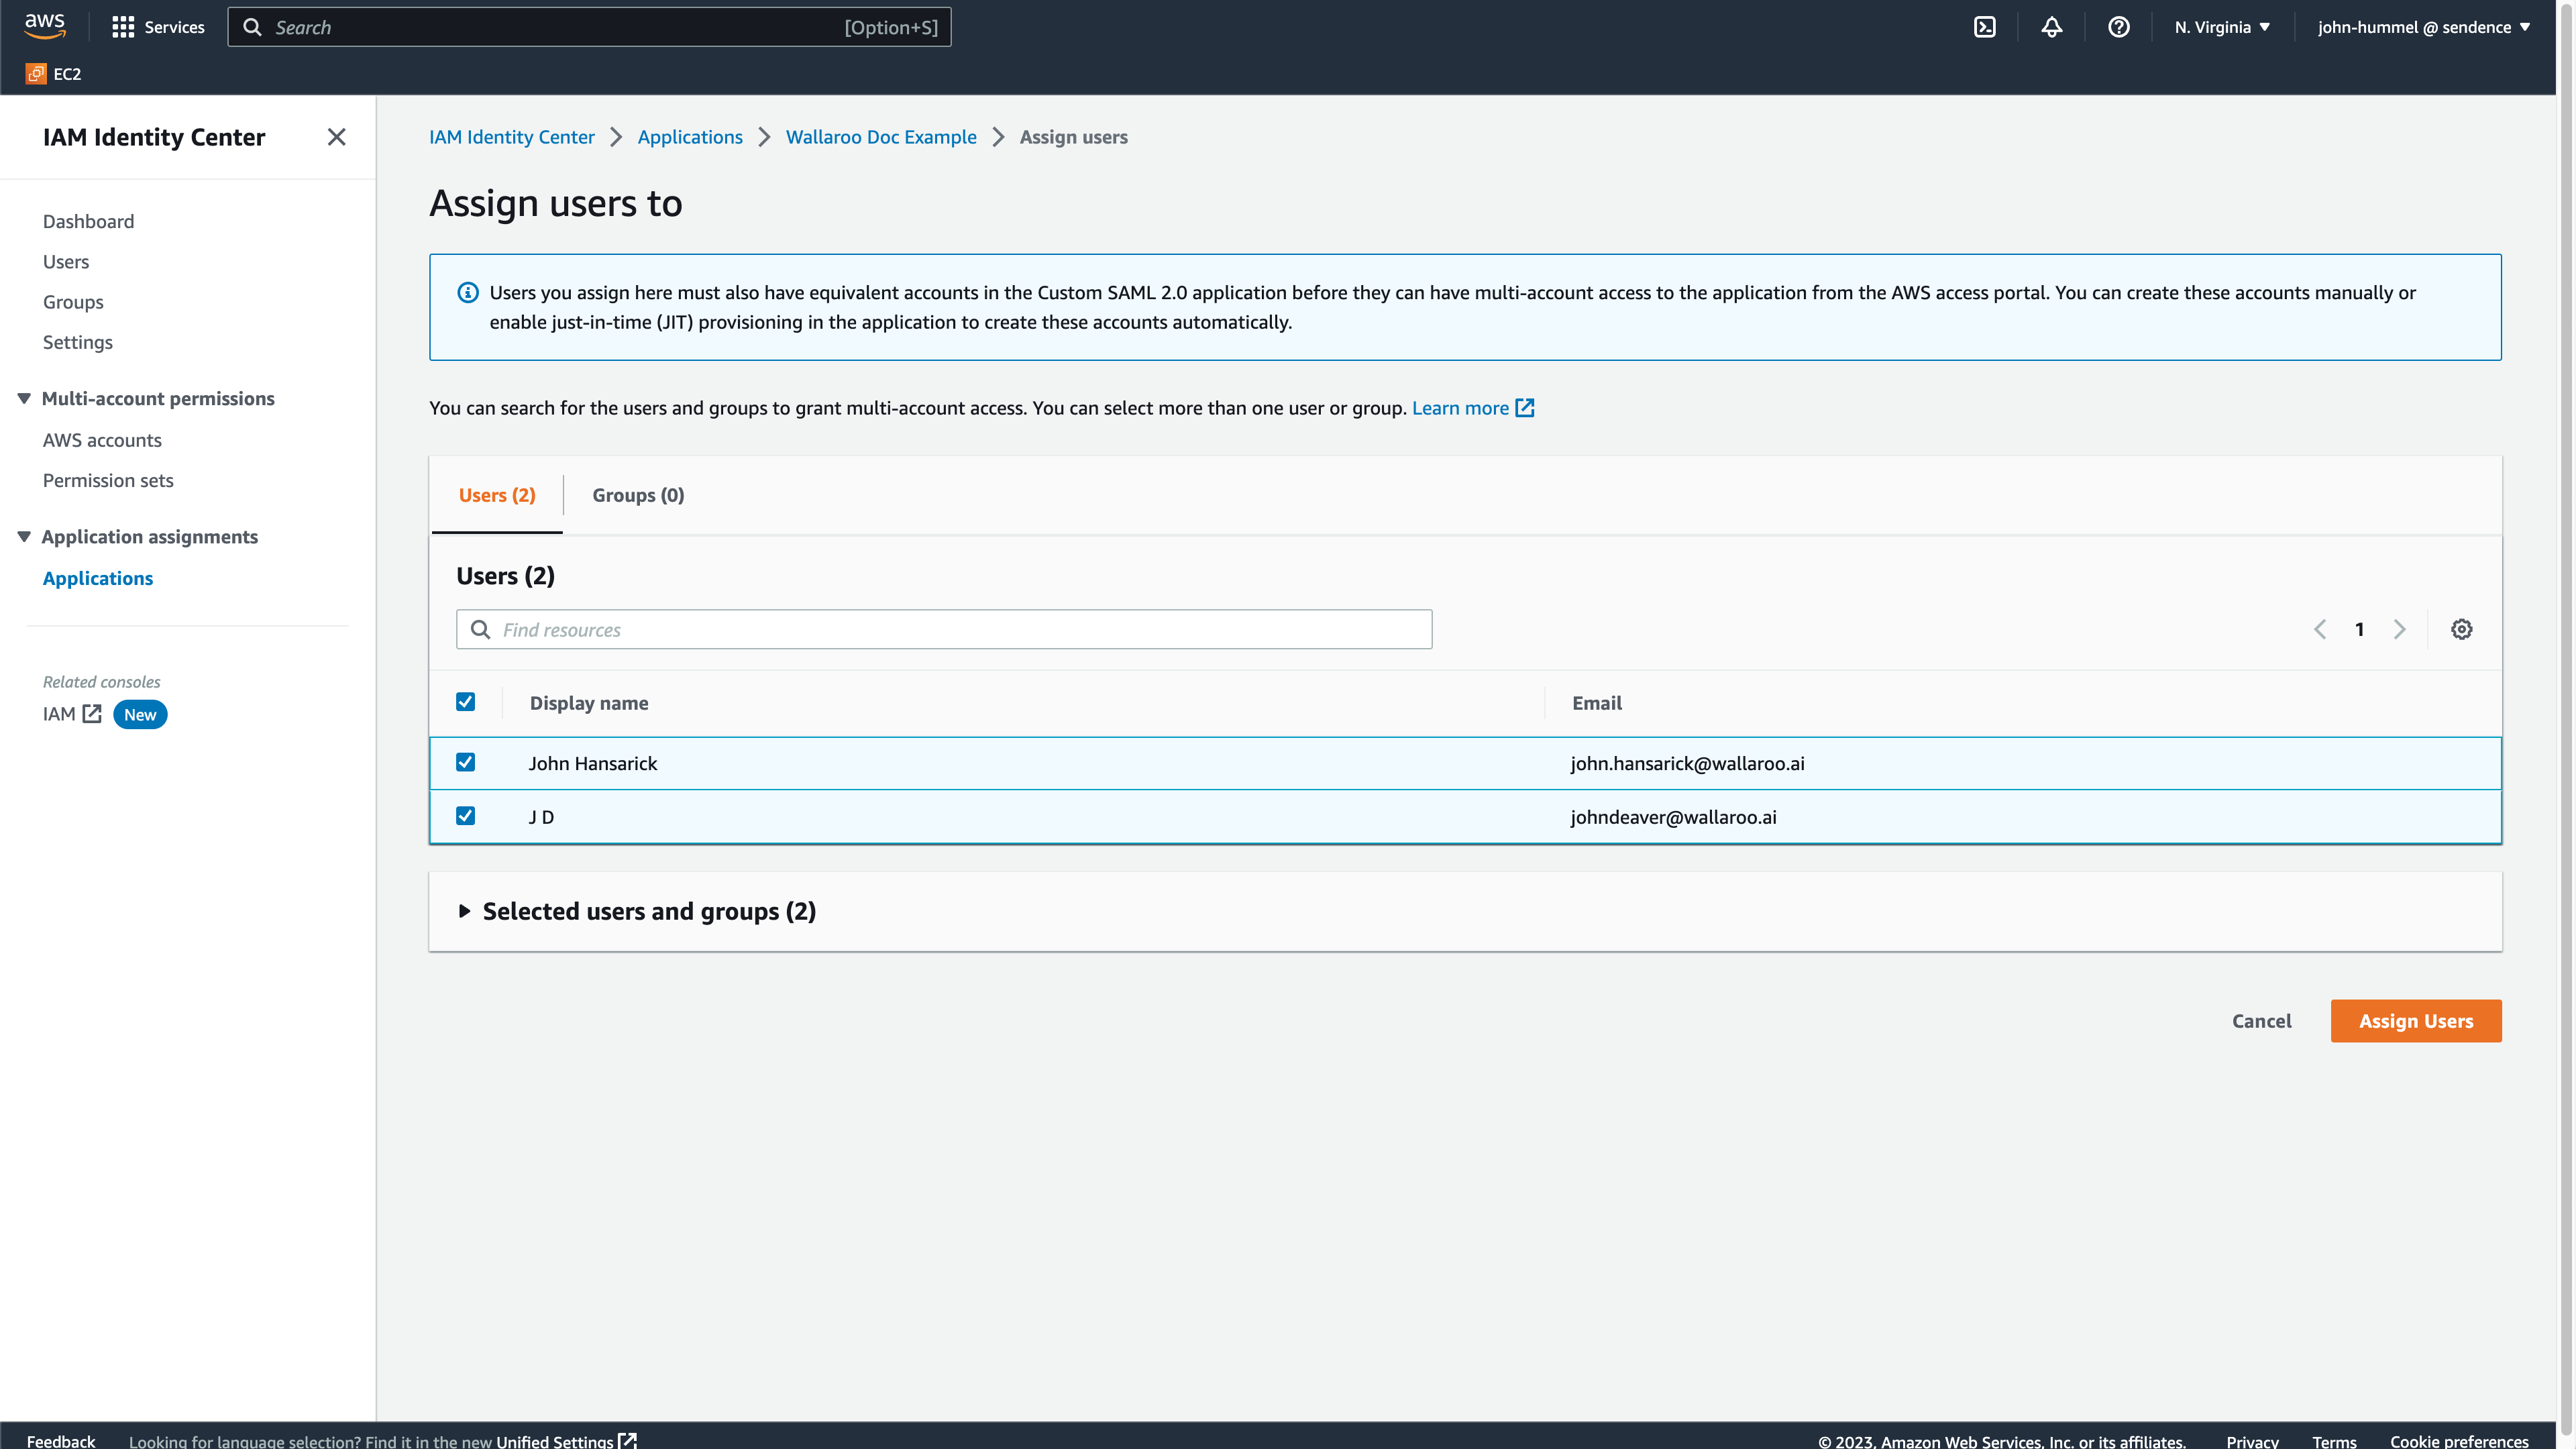
From the IAM Identity Center Dashboard, select Users. From here, add or select the users or groups that will have access to the Wallaroo instance then select Assign Users.
Add AWS Credentials to Wallaroo
Return to the Wallaroo Keycloak service and the new Identity Provider from Create the Wallaroo AWS SAML Identity Provider.
In Import External IDP Config->Import from URL, enter the IAM Identity Center SAML metadata file saved from Create the AWS Credentials in the field Service Provider Entity ID.
Select Import.
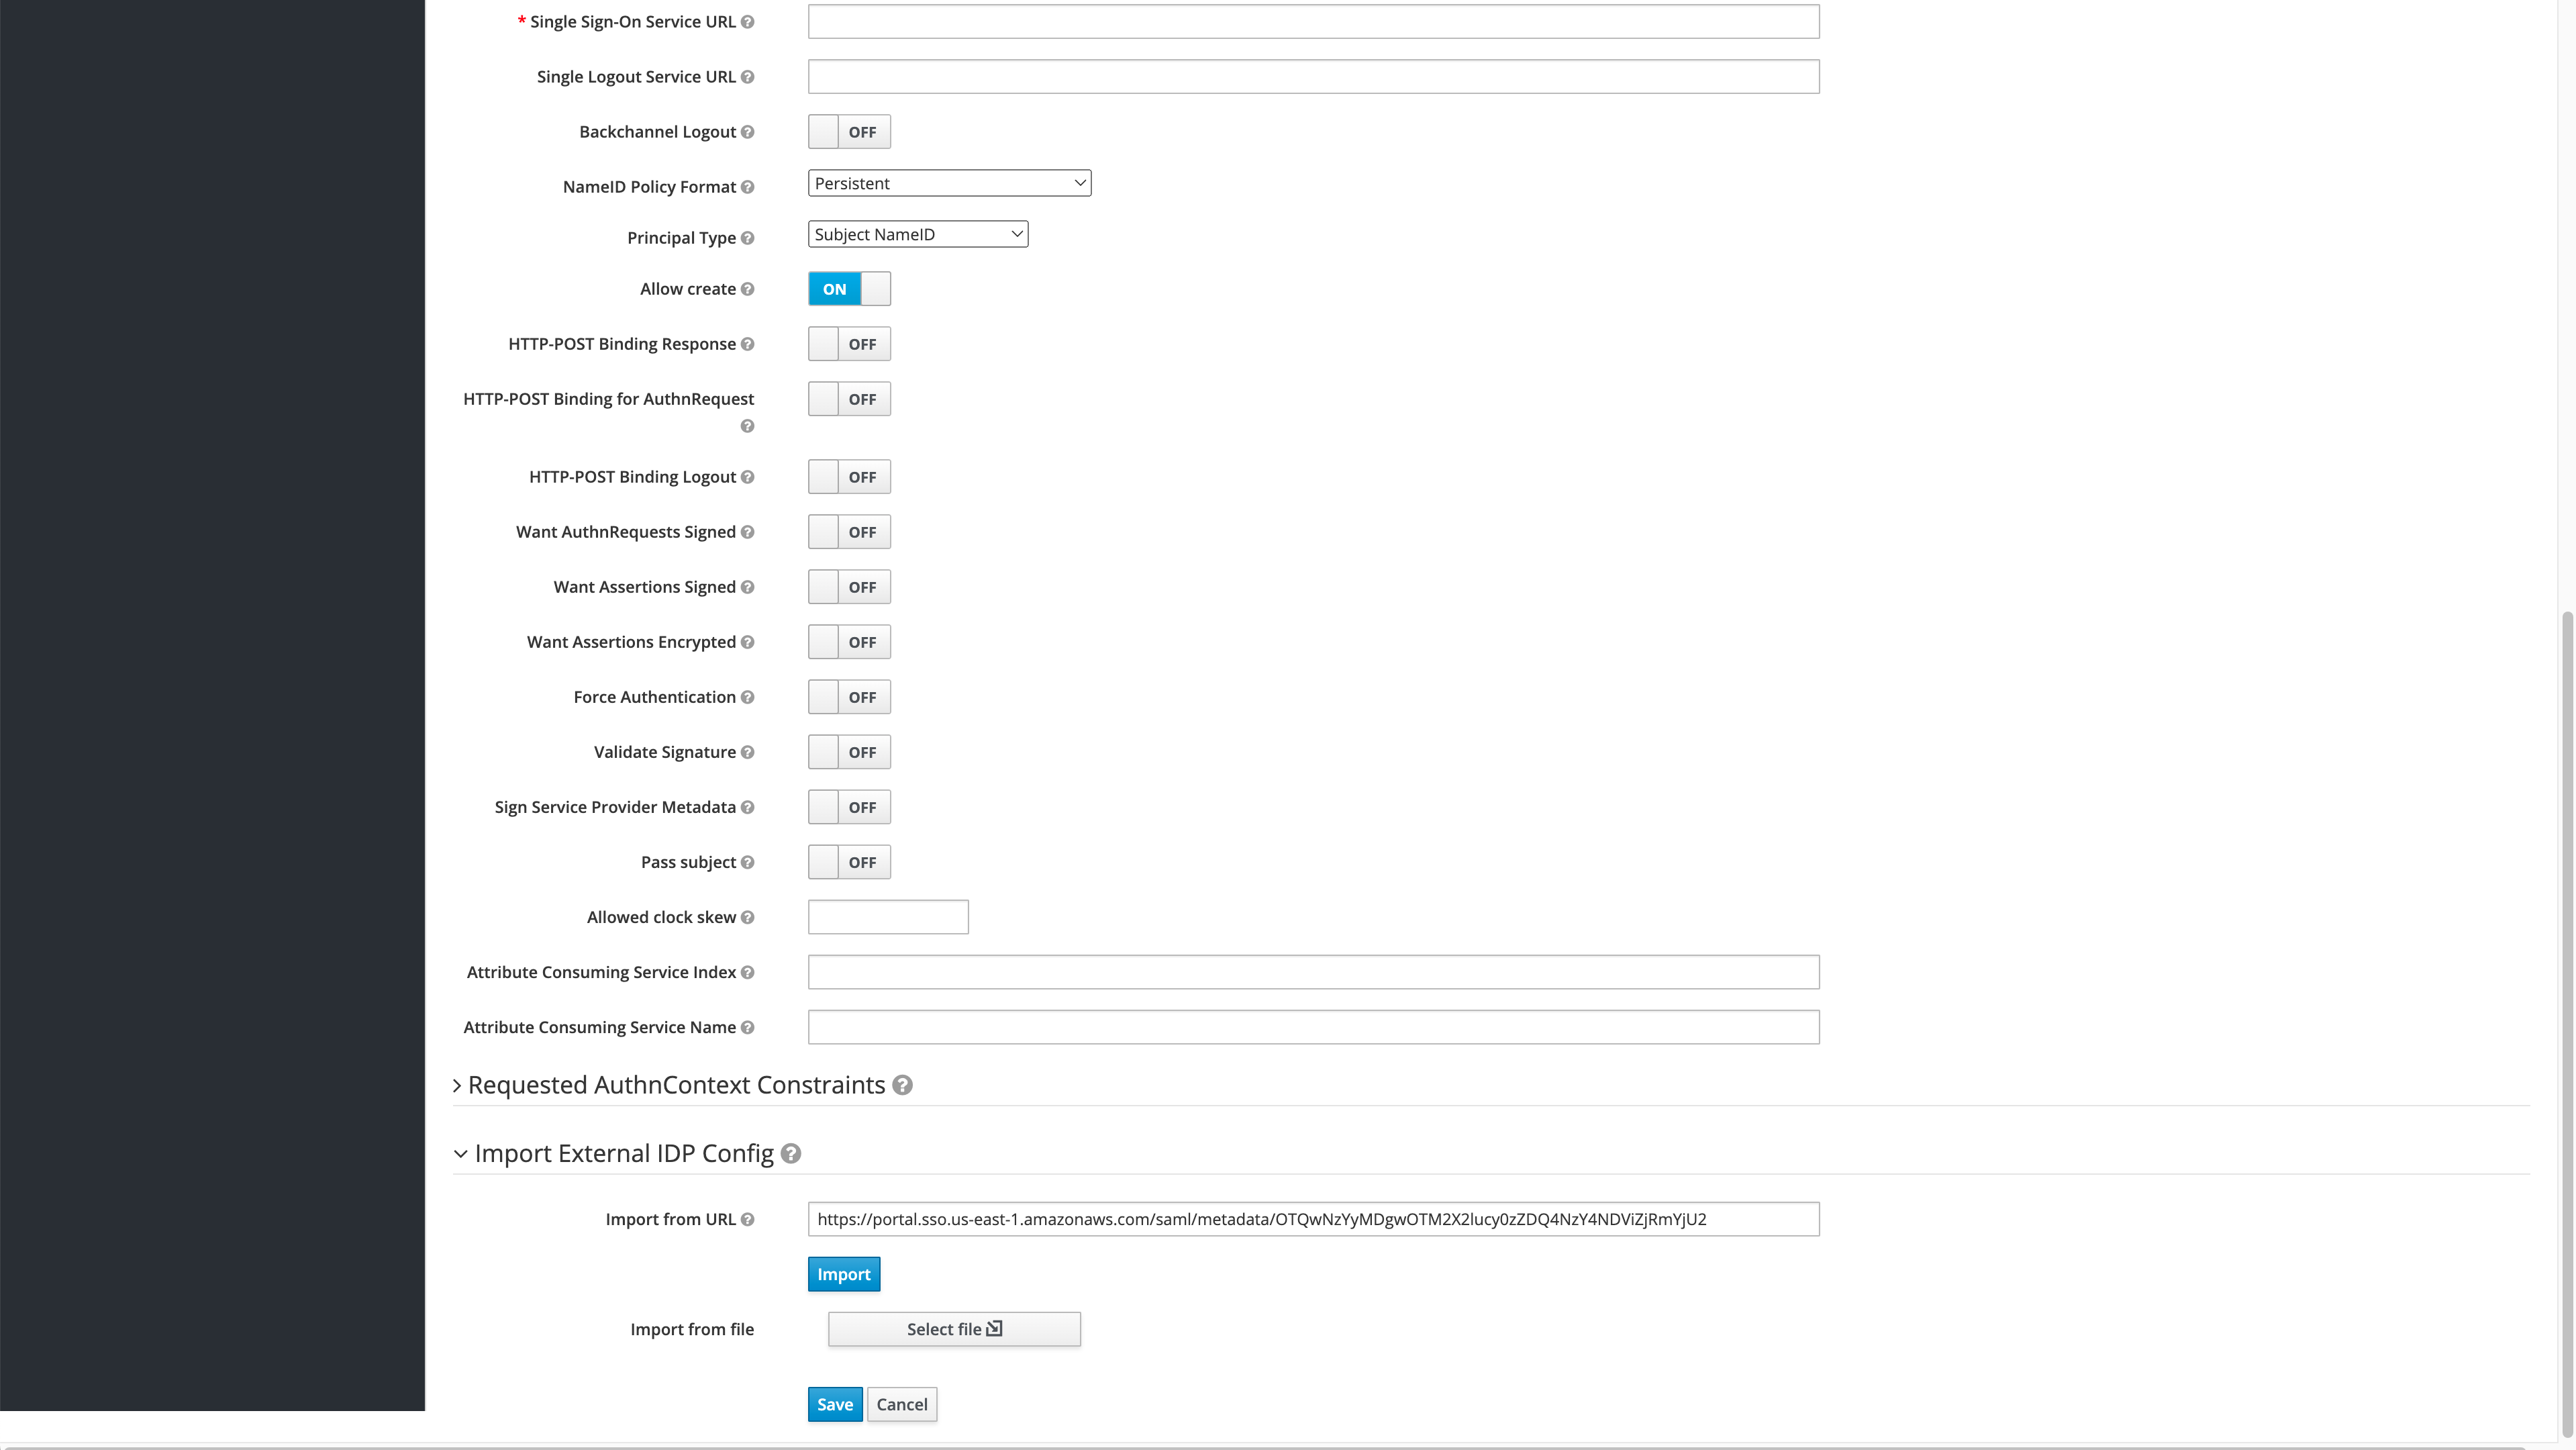
Once the AWS SAMl settings are imported, select Save to store the identity provider.
Verify the Login
Once complete, log out of the Wallaroo instance and go back into the login screen. With the usual username and password screen should also be a AWS link at the bottom or whatever name was set for the identity provider. Select that link to login.
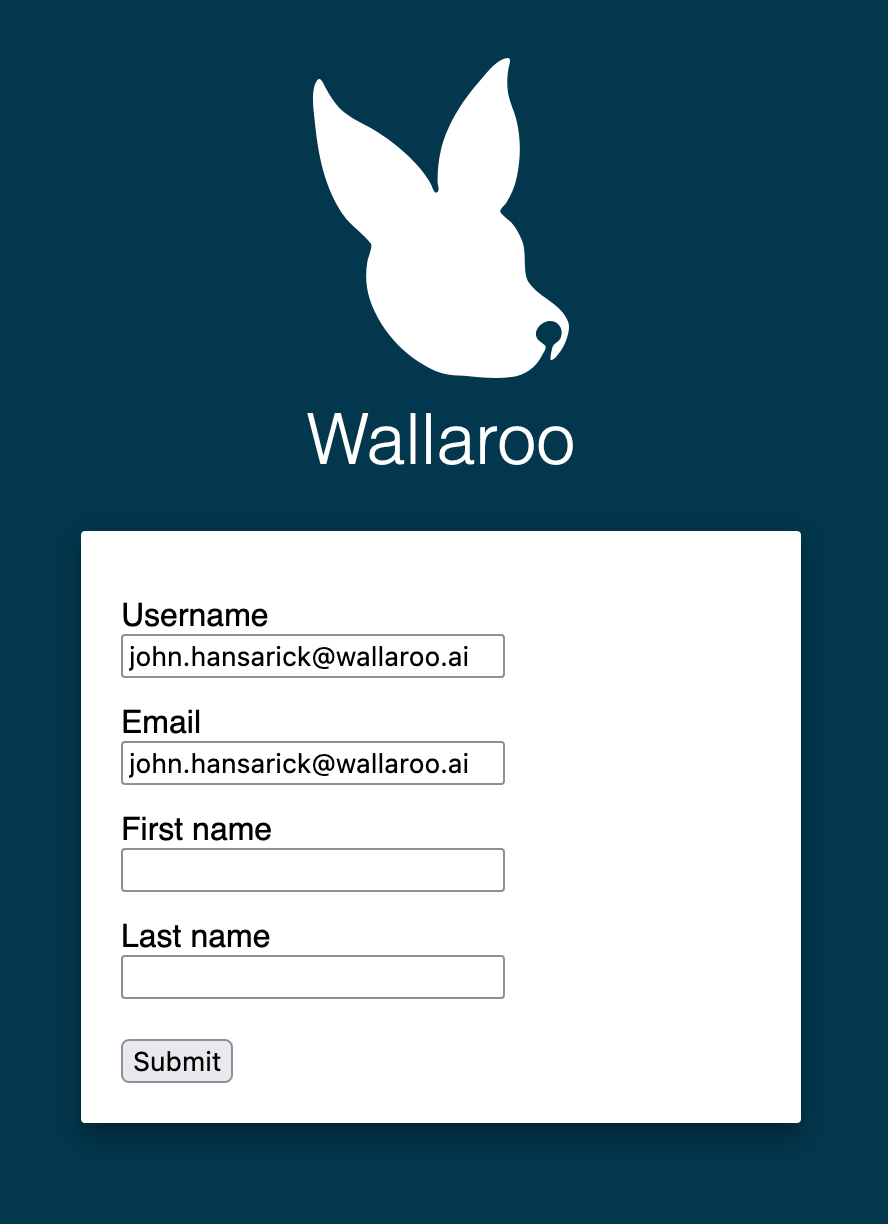
Login to the IAM Application created in Create the AWS Credentials. The first time a user logs in they will be required to add their first and last name. After this, logins will happen as long as the user is logged into the AWS IAM application without submitting any further information.