Wallaroo Community Comprehensive Install Guide
Table of Contents
This guide is targeted towards system administrators and data scientists who want to work with the easiest, fastest, and free method of running your own machine learning models.
A typical installation of Wallaroo Community follows this process:
| Step | Description | Average Setup Time |
|---|---|---|
| Download License | Create an environment that meets the Wallaroo prerequisites | 5 minutes |
| Set Up Environment | Set up the cloud environment hosting the Wallaroo instance. | 30 minutes |
| Install Wallaroo | Install Wallaroo into a prepared environment | 15 minutes |
Register Your Wallaroo Community Account
Completion Time
General completion time: 5 minutesThe first step to installing Wallaroo CE is to set up your Wallaroo Community Account at the web site https://portal.wallaroo.community. This process typically takes about 5 minutes.
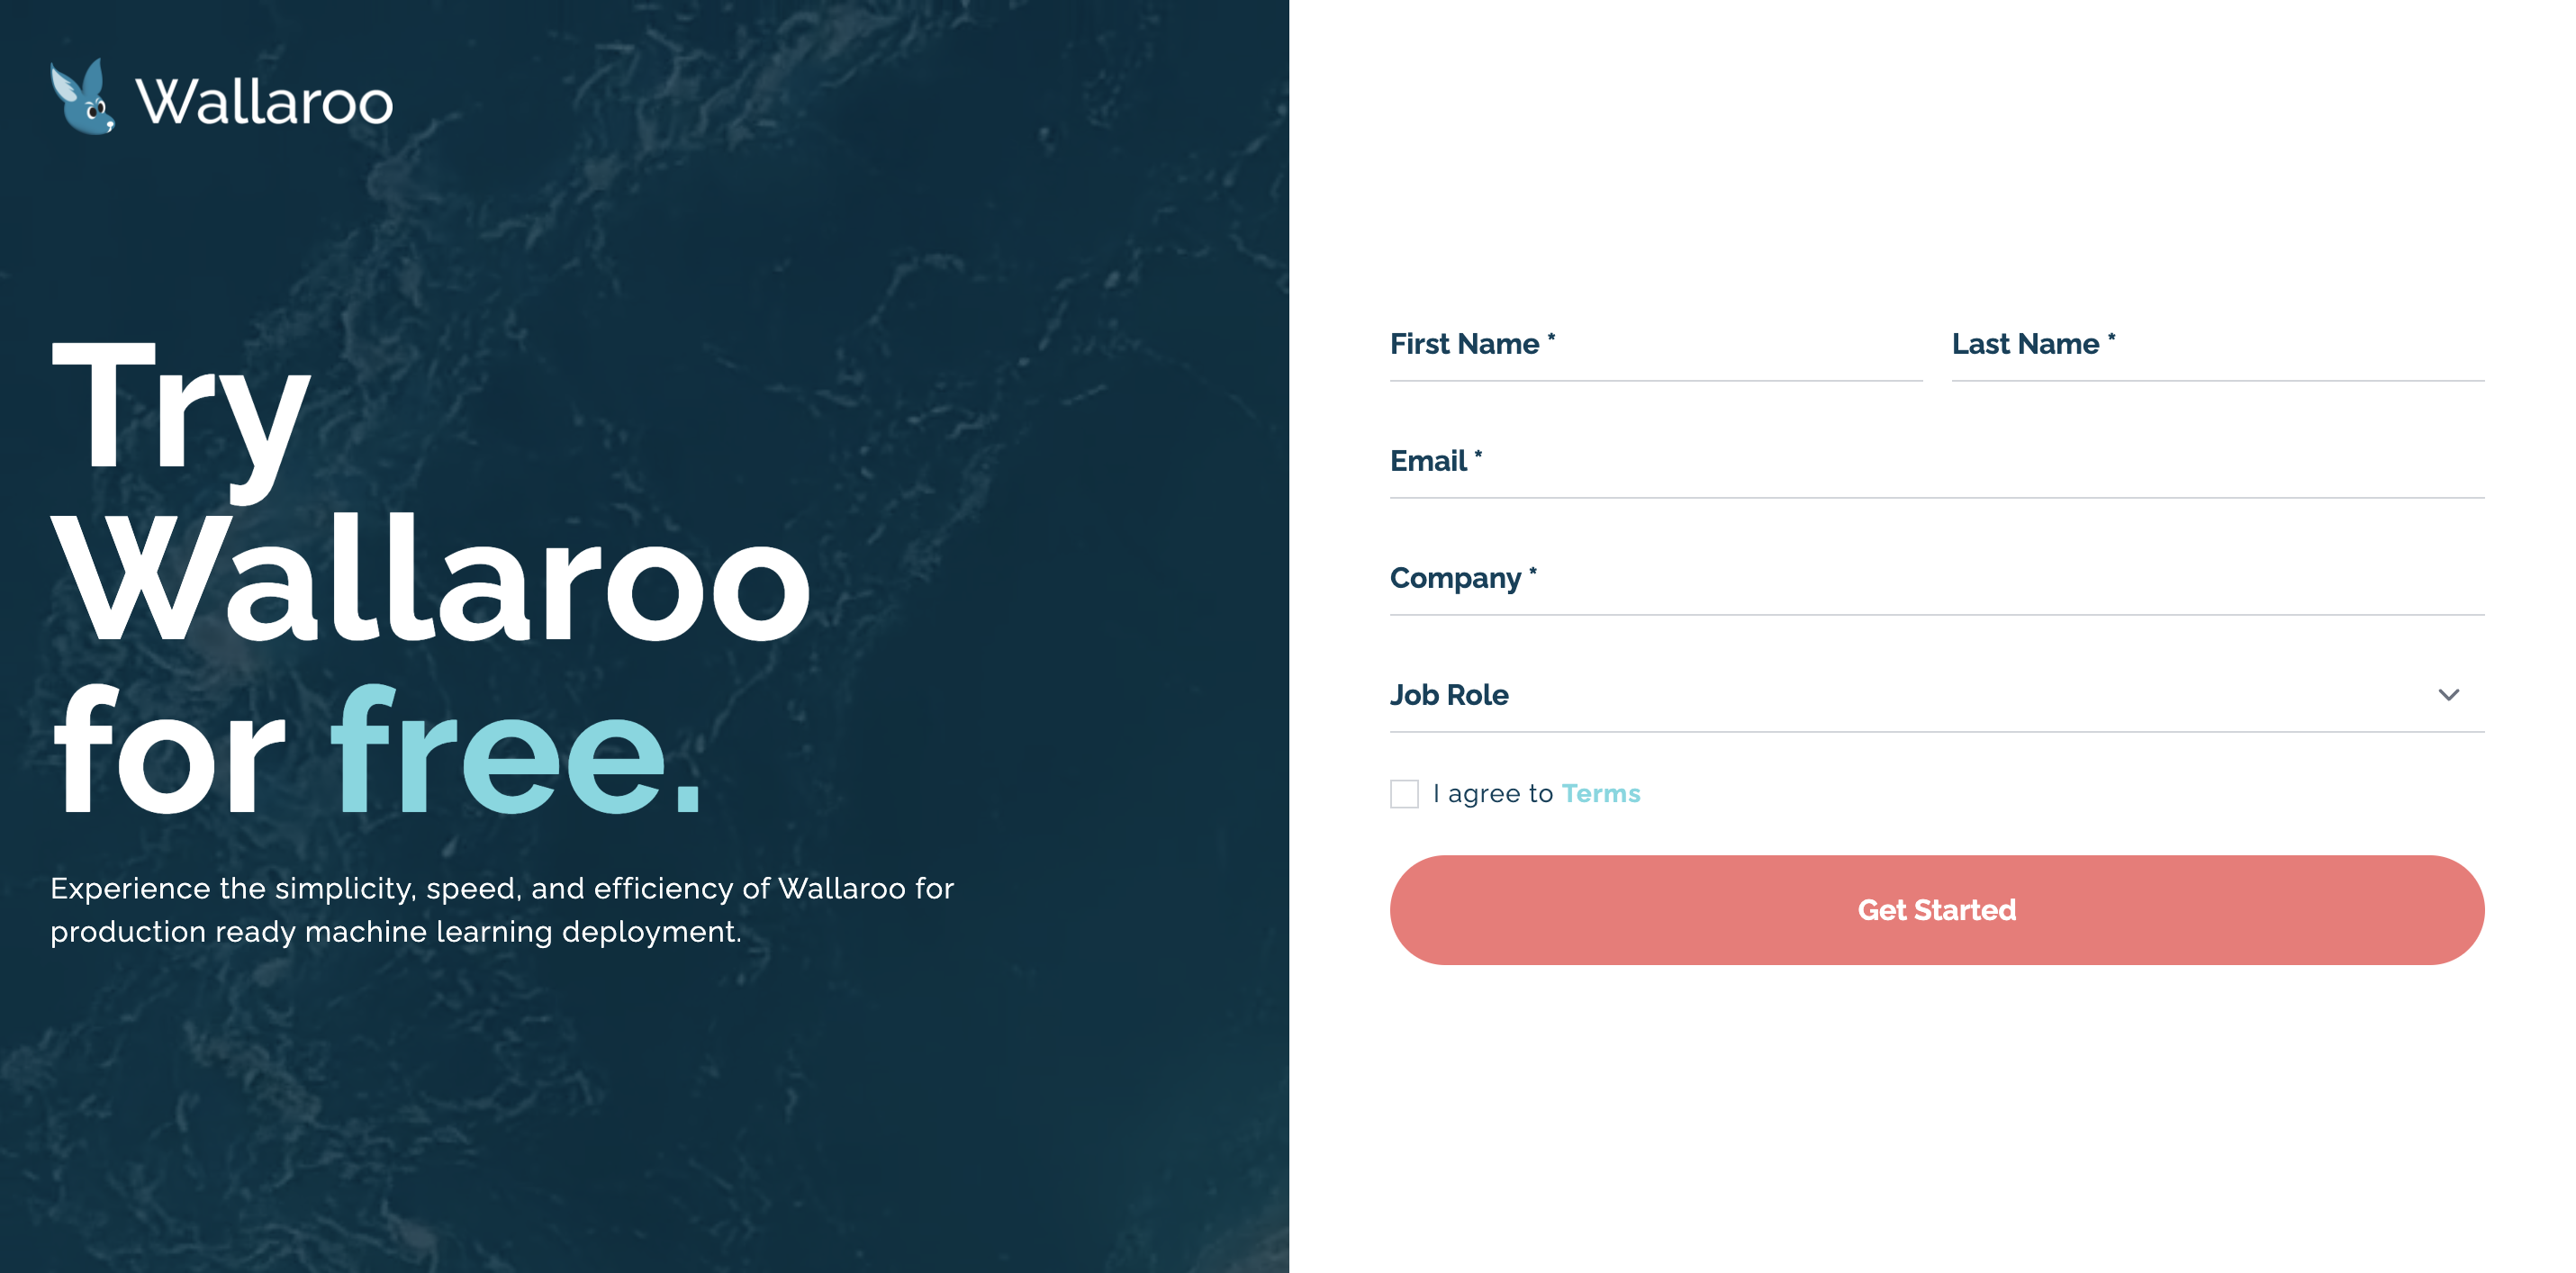
Once you’ve submitted your credentials, you’ll be sent an email with a link to your license file.
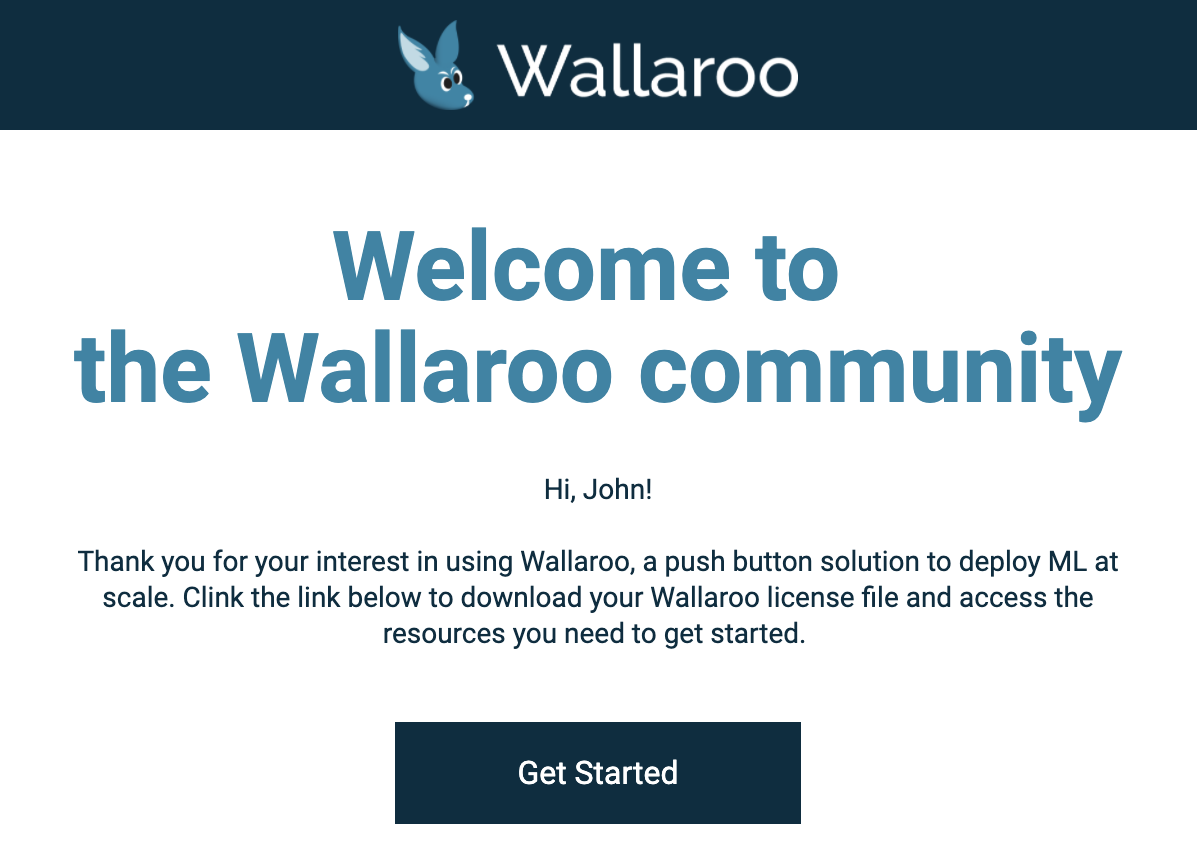
Follow the link and download your license file. Store it in a secure location.

Redownload License
If your license is misplaced or otherwise lost, it can be downloaded again later from the same link, or by following the registration steps again to be provided with a link to your license file.
Setup Environments
The following setup guides are used to set up the environment that will host the Wallaroo instance. Verify that the environment is prepared and meets the Wallaroo Prerequisites Guide.
- Wallaroo Community AWS EC2 Setup Instructions
The following instructions are made to assist users set up their Amazon Web Services (AWS) environment for running Wallaroo using AWS virtual servers with EC2. This allows organizations to stand a single virtual machine and used a pre-made Amazon Machine Images (AMIs) to quickly stand up an environment that can be used to install Wallaroo.
- AWS Prerequisites
To install Wallaroo in your AWS environment based on these instructions, the following prerequisites must be met:
Register an AWS account: https://aws.amazon.com/ and assign the proper permissions according to your organization’s needs. This must be a paid AWS account - Wallaroo will not operate on the free tier level of virtual machines.
Steps
- Create the EC2 VM
To create your Wallaroo instance using a pre-made AMI:
Log into AWS cloud console.
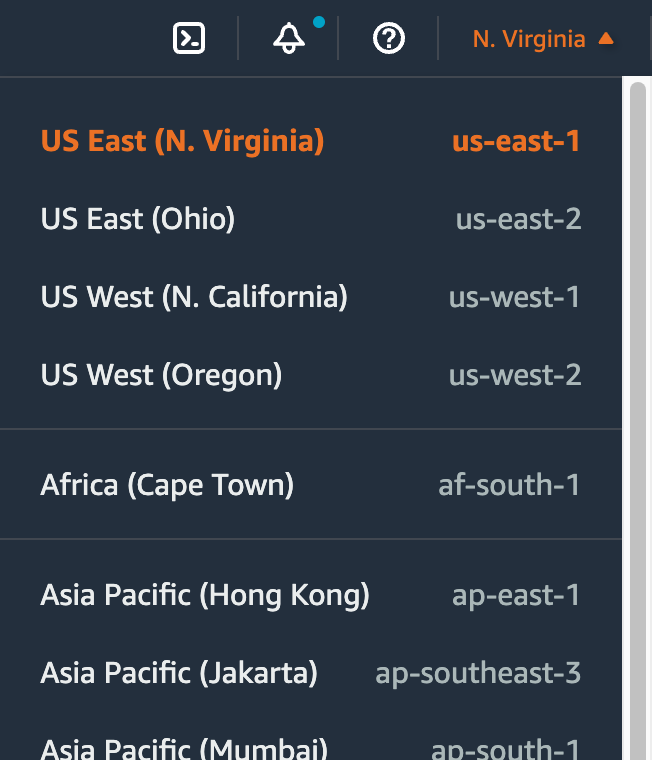
Set the region to N. Virginia. Other regions will be added over time.
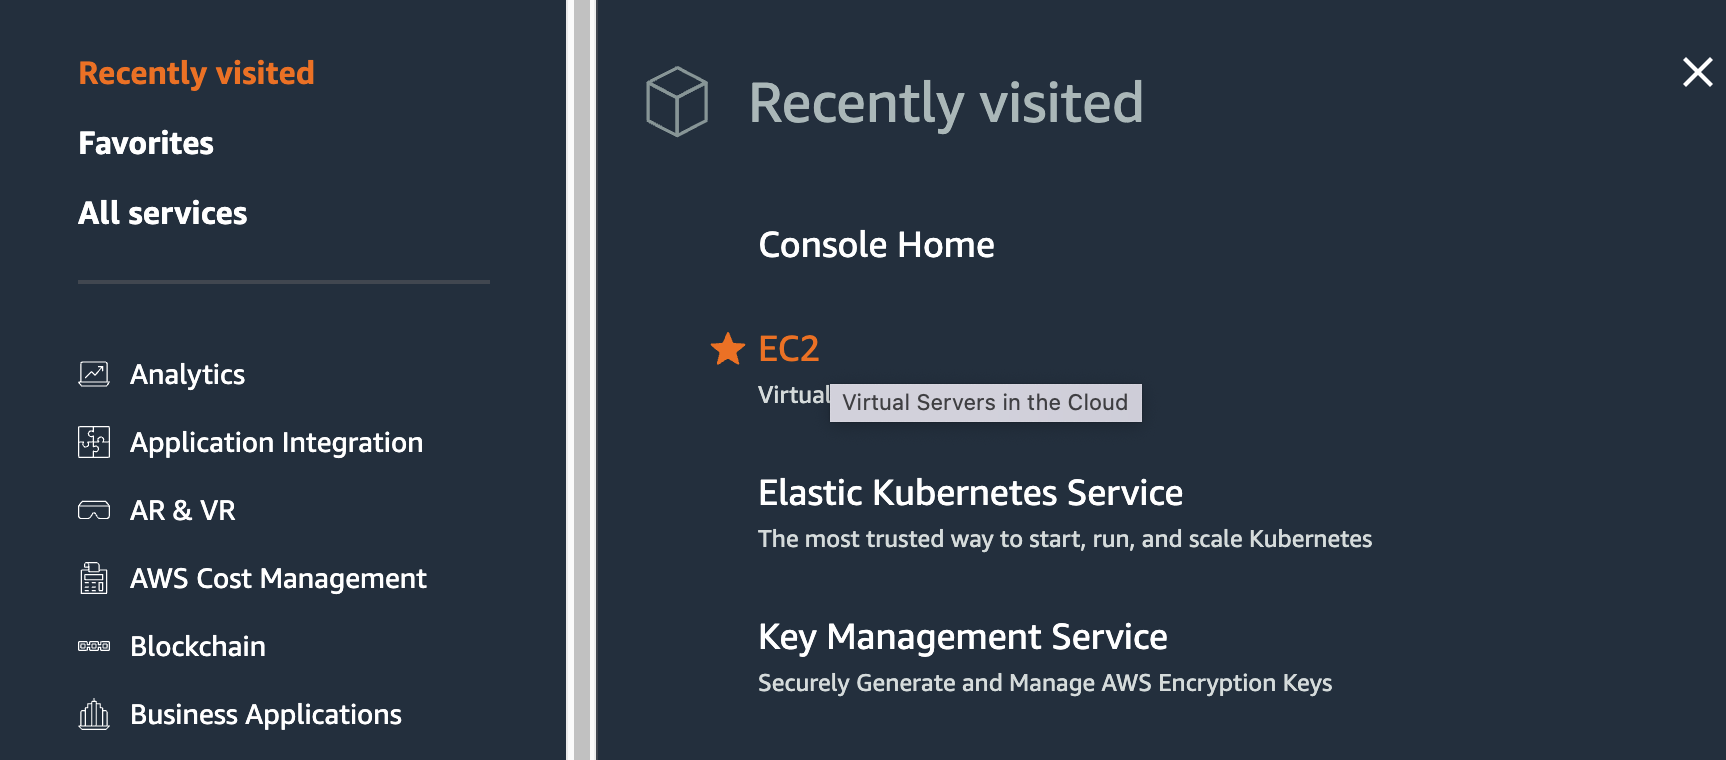
Select Services -> EC2.
Select Instances, then from the upper right hand section Launch Instances->Launch Instances.

Set the Name and any additional tags.
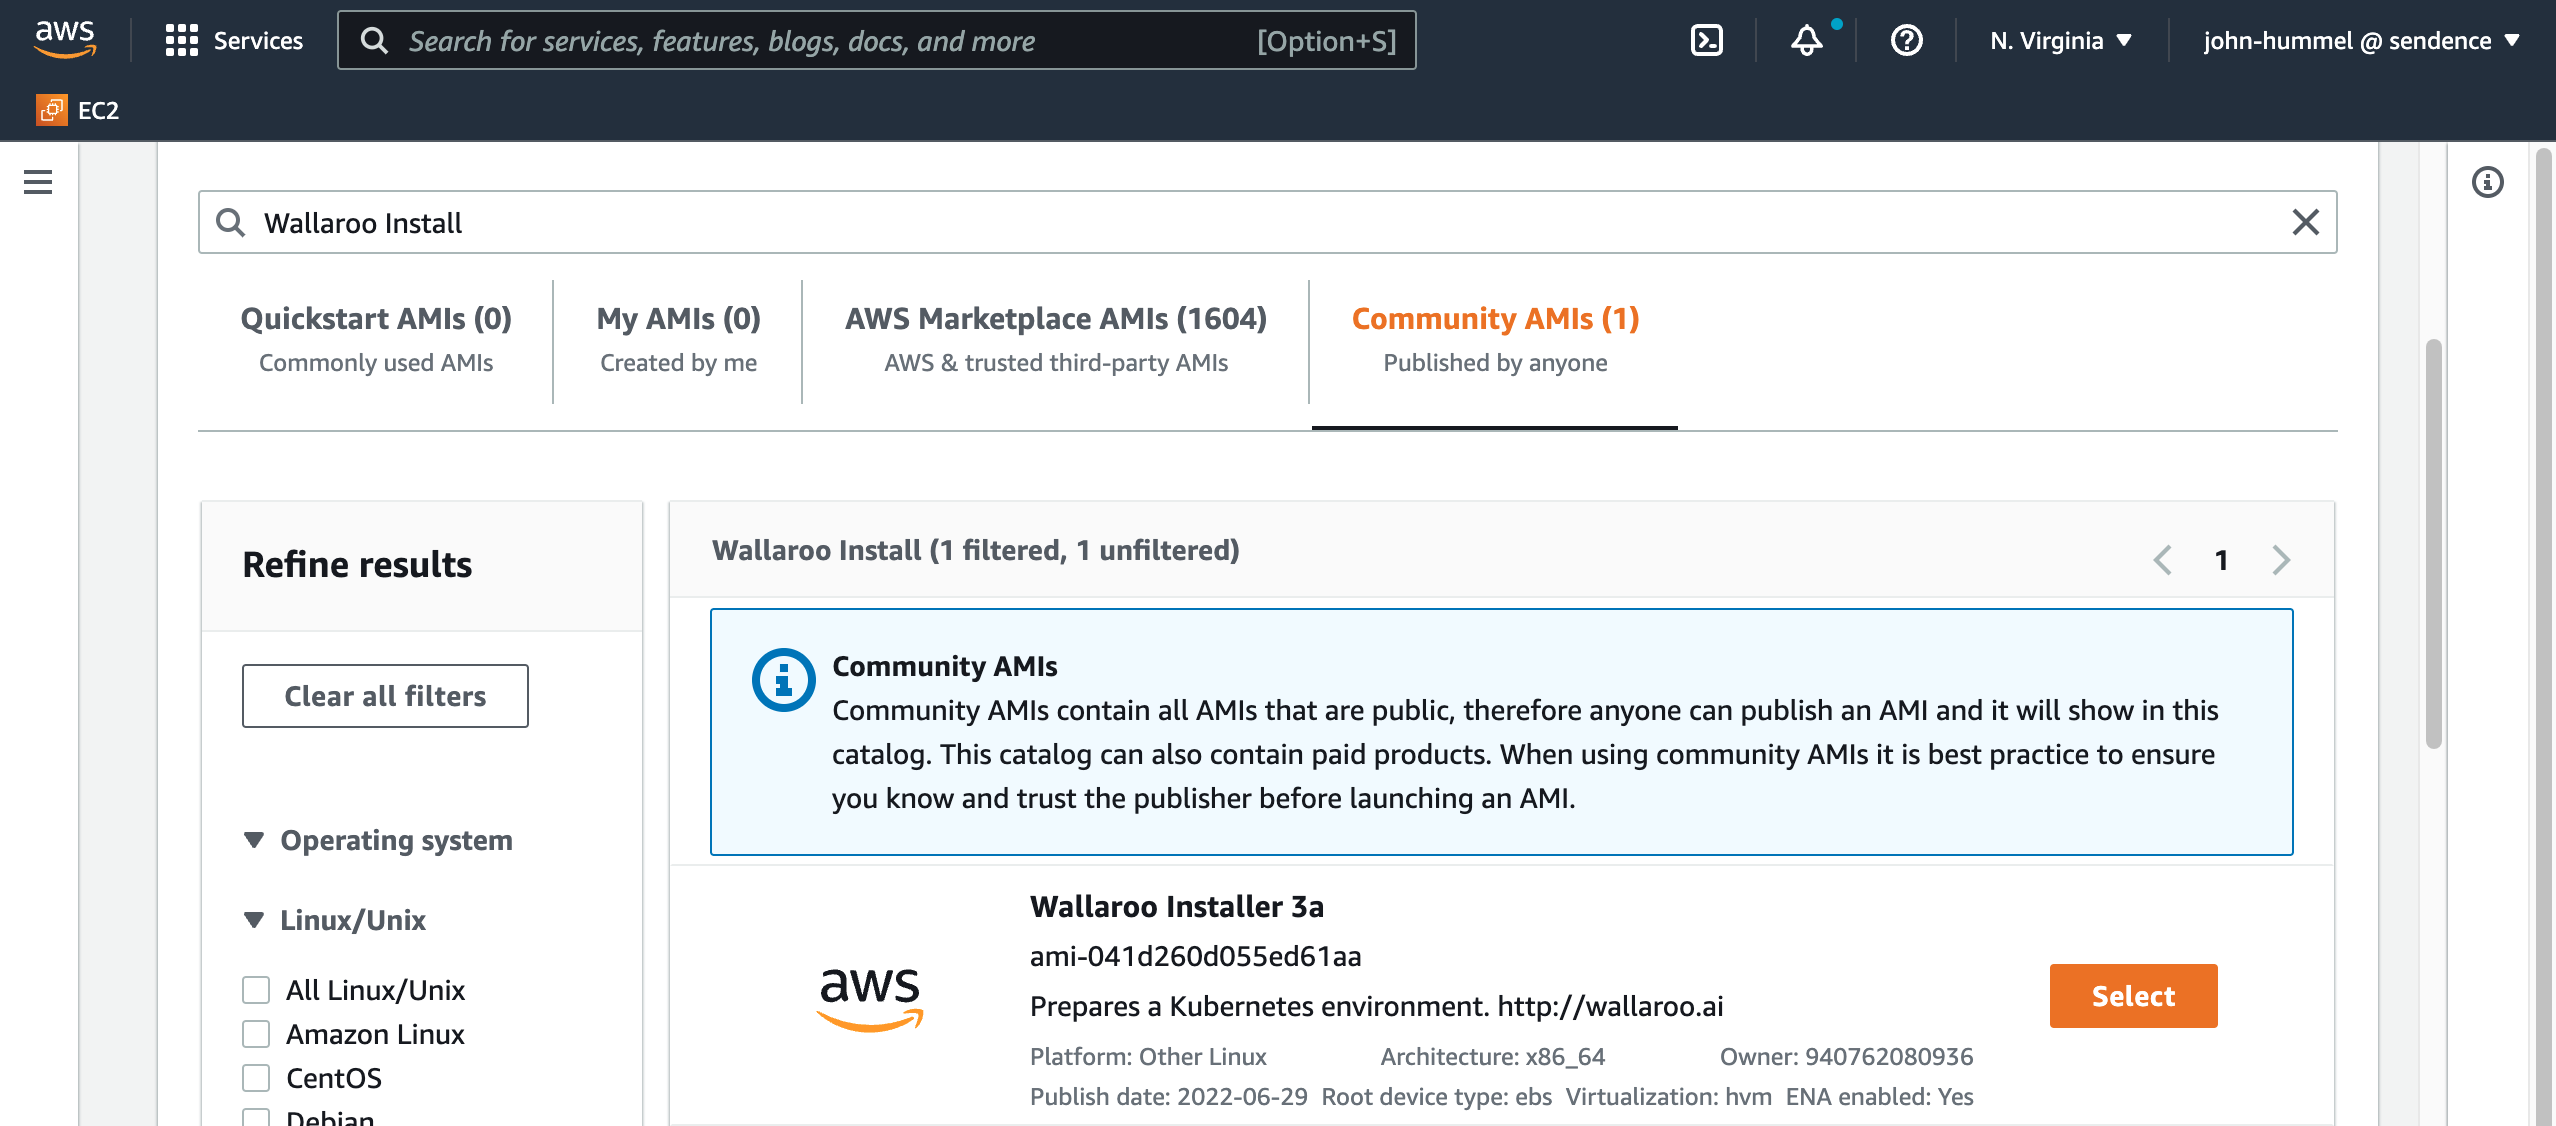
In Application and OS Images, enter
Wallaroo Installand pressEnter.From the search results, select Community AMIs and select Wallaroo Installer 3a.
Set the Instance Type as
c6i.8xlargeorc6a.8xlargeas the minimum machine type. This provides 32 cores with 60 GB memory.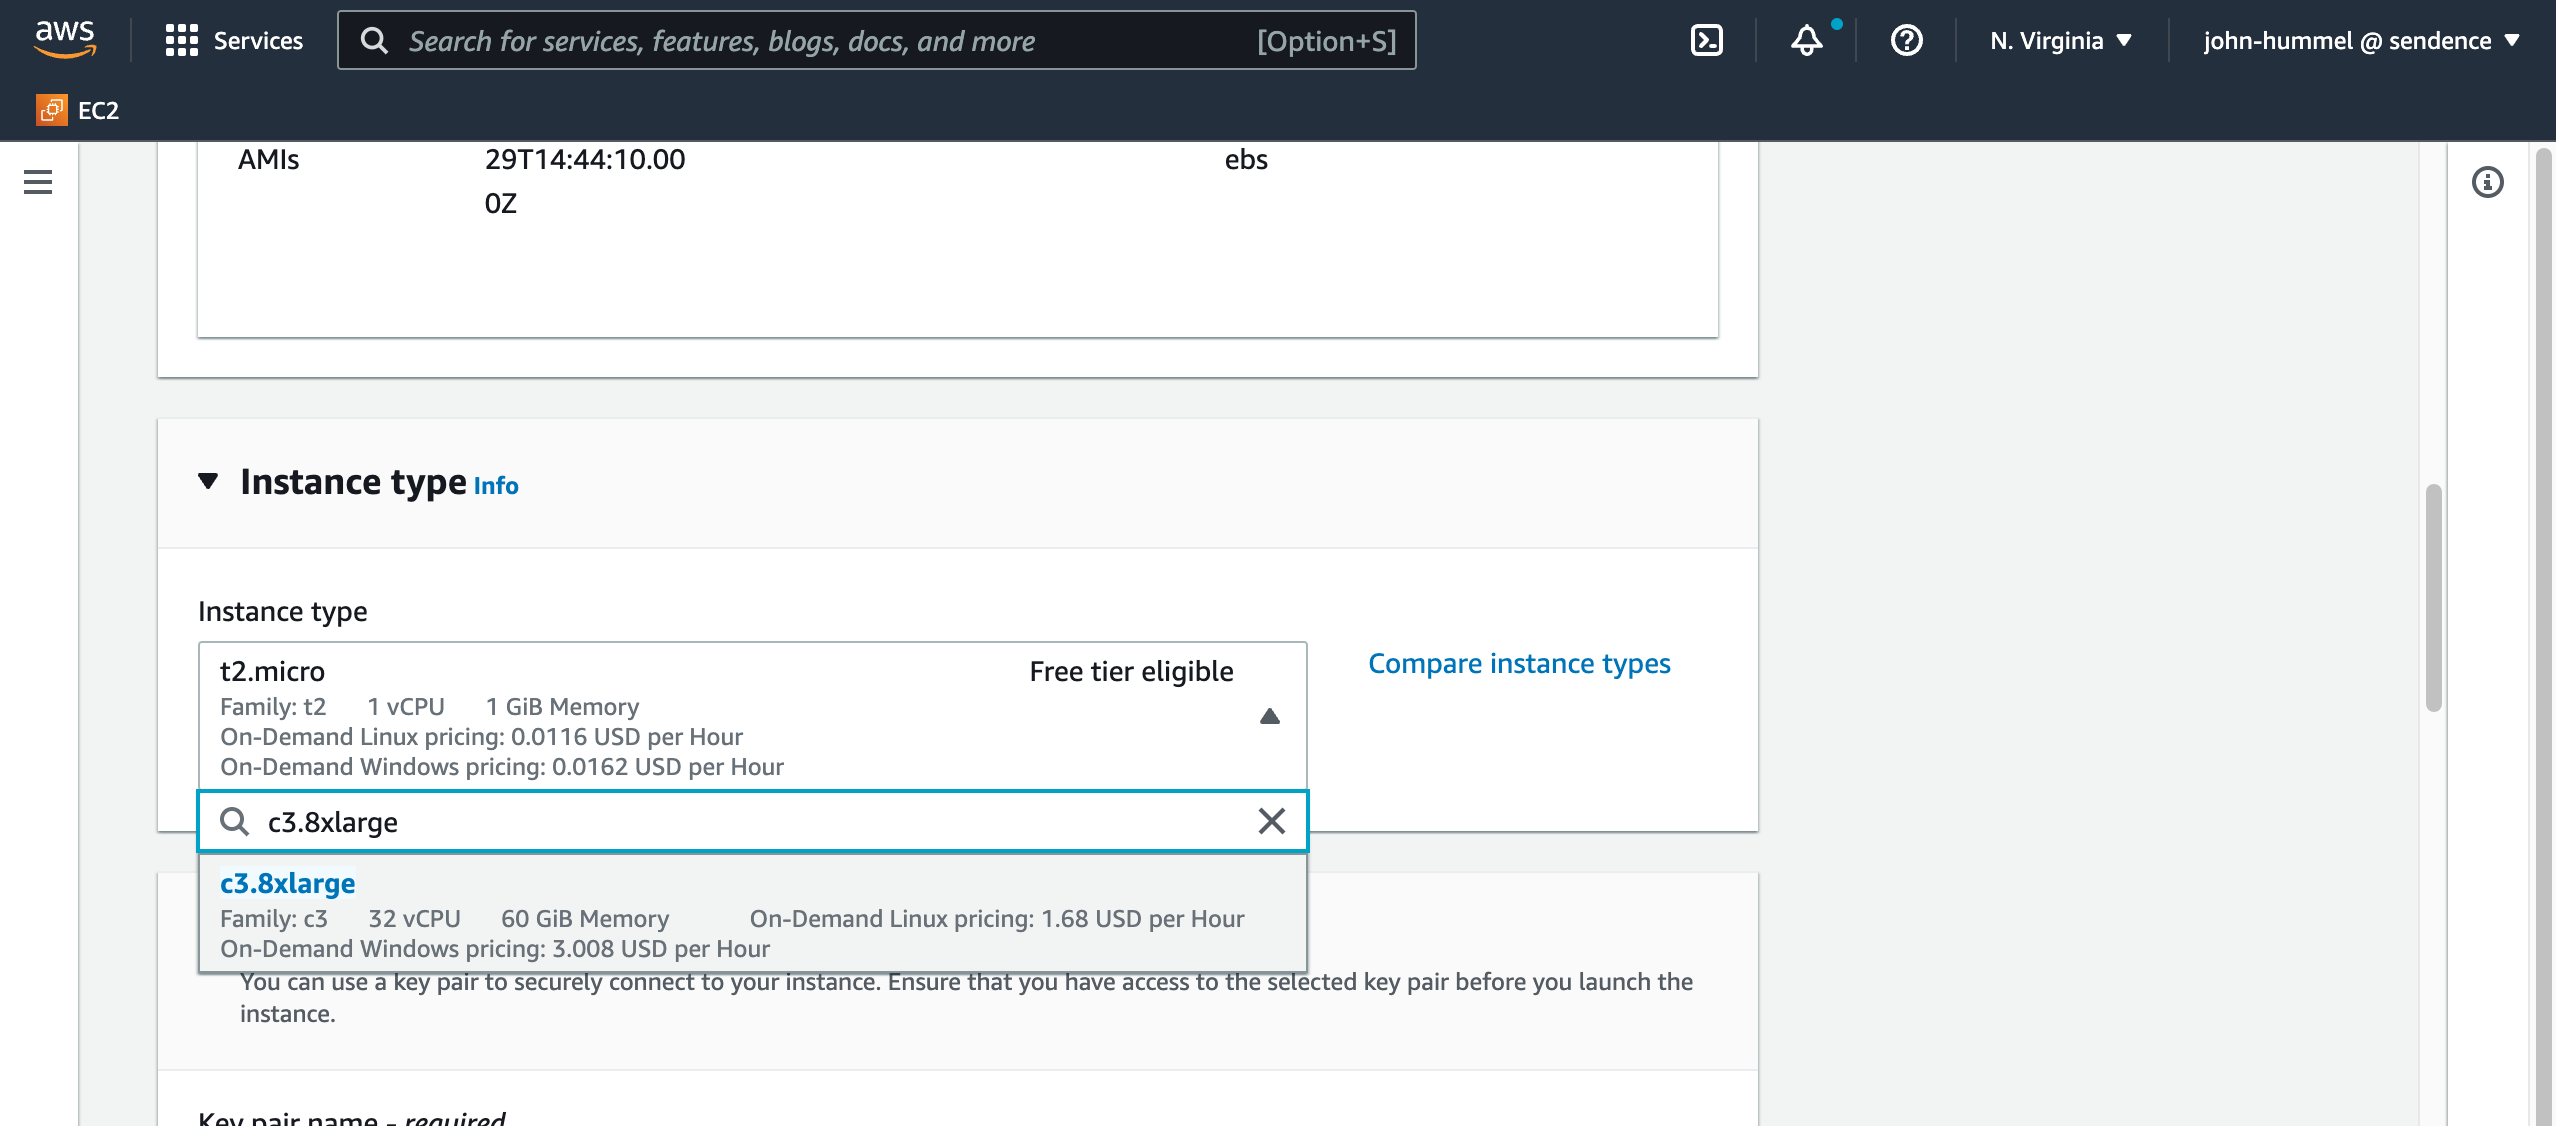
For Key pair (login) select one of the following:
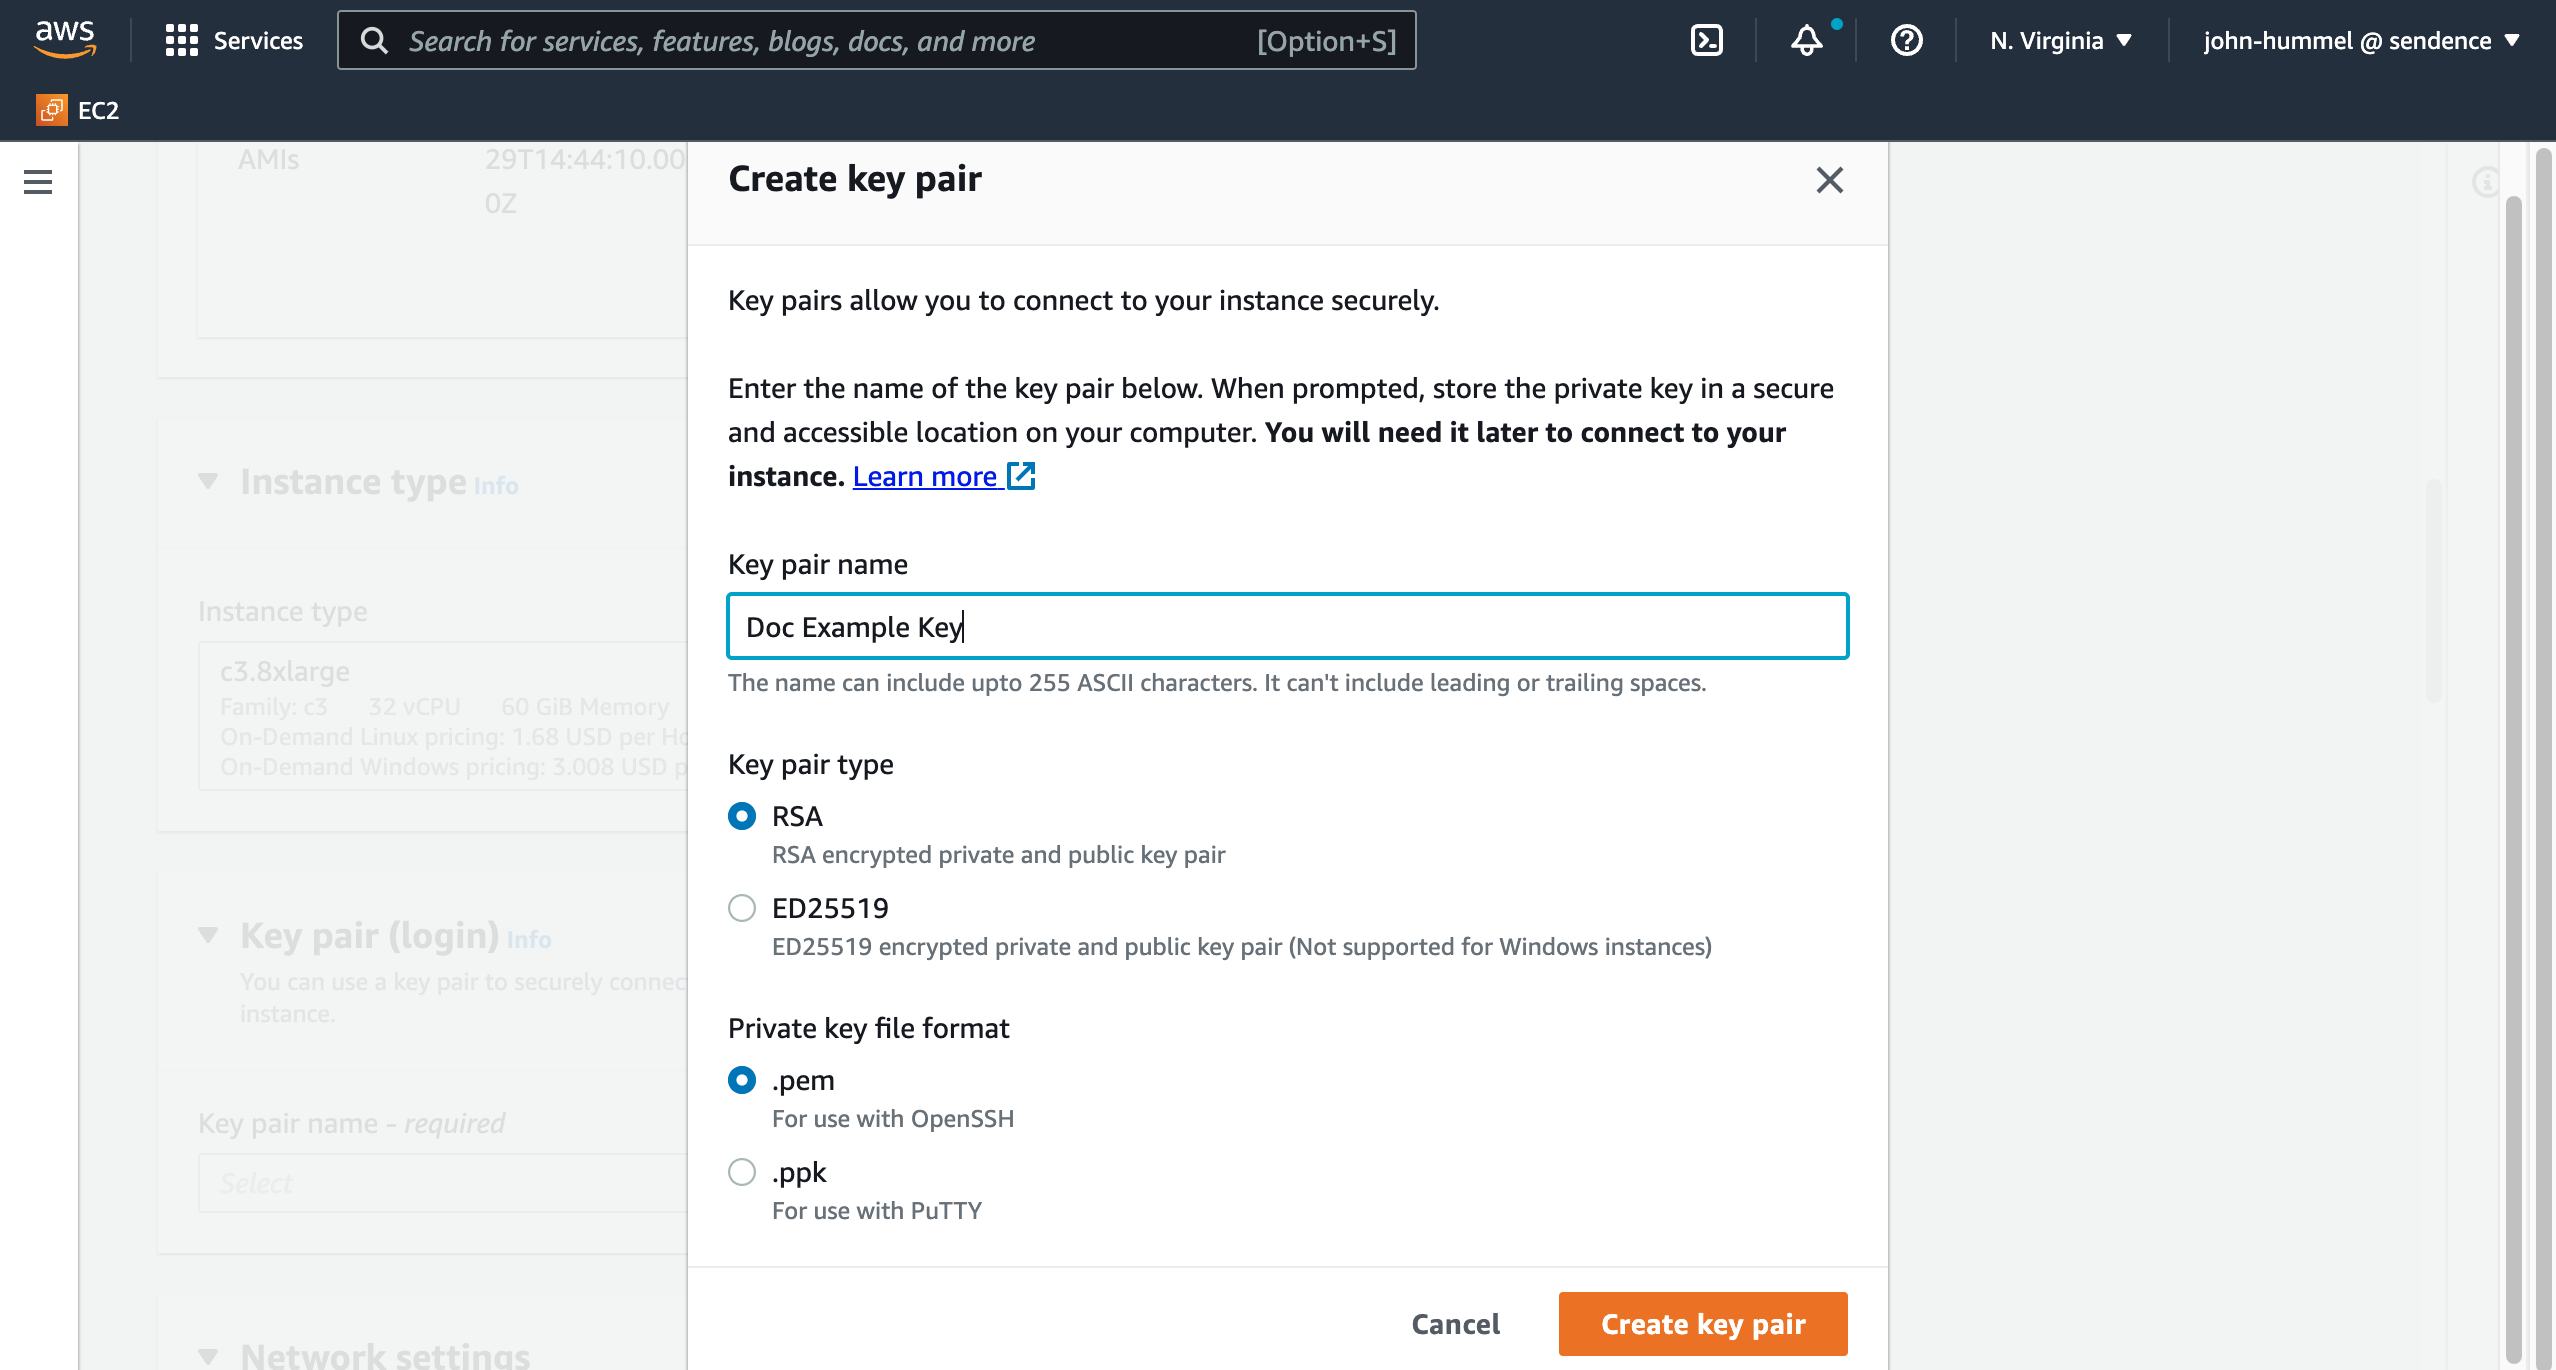
- Select an existing Key pair name
- Select Create new key pair and set the following:
- Name: The name of the new key pair.
- Key pair type: Select either
RSAorED25519. - Private key file format: Select either
.pemor.ppk. These instructions are based on the.pemfile. - Select Create key pair when complete.
Set the following for Network settings:
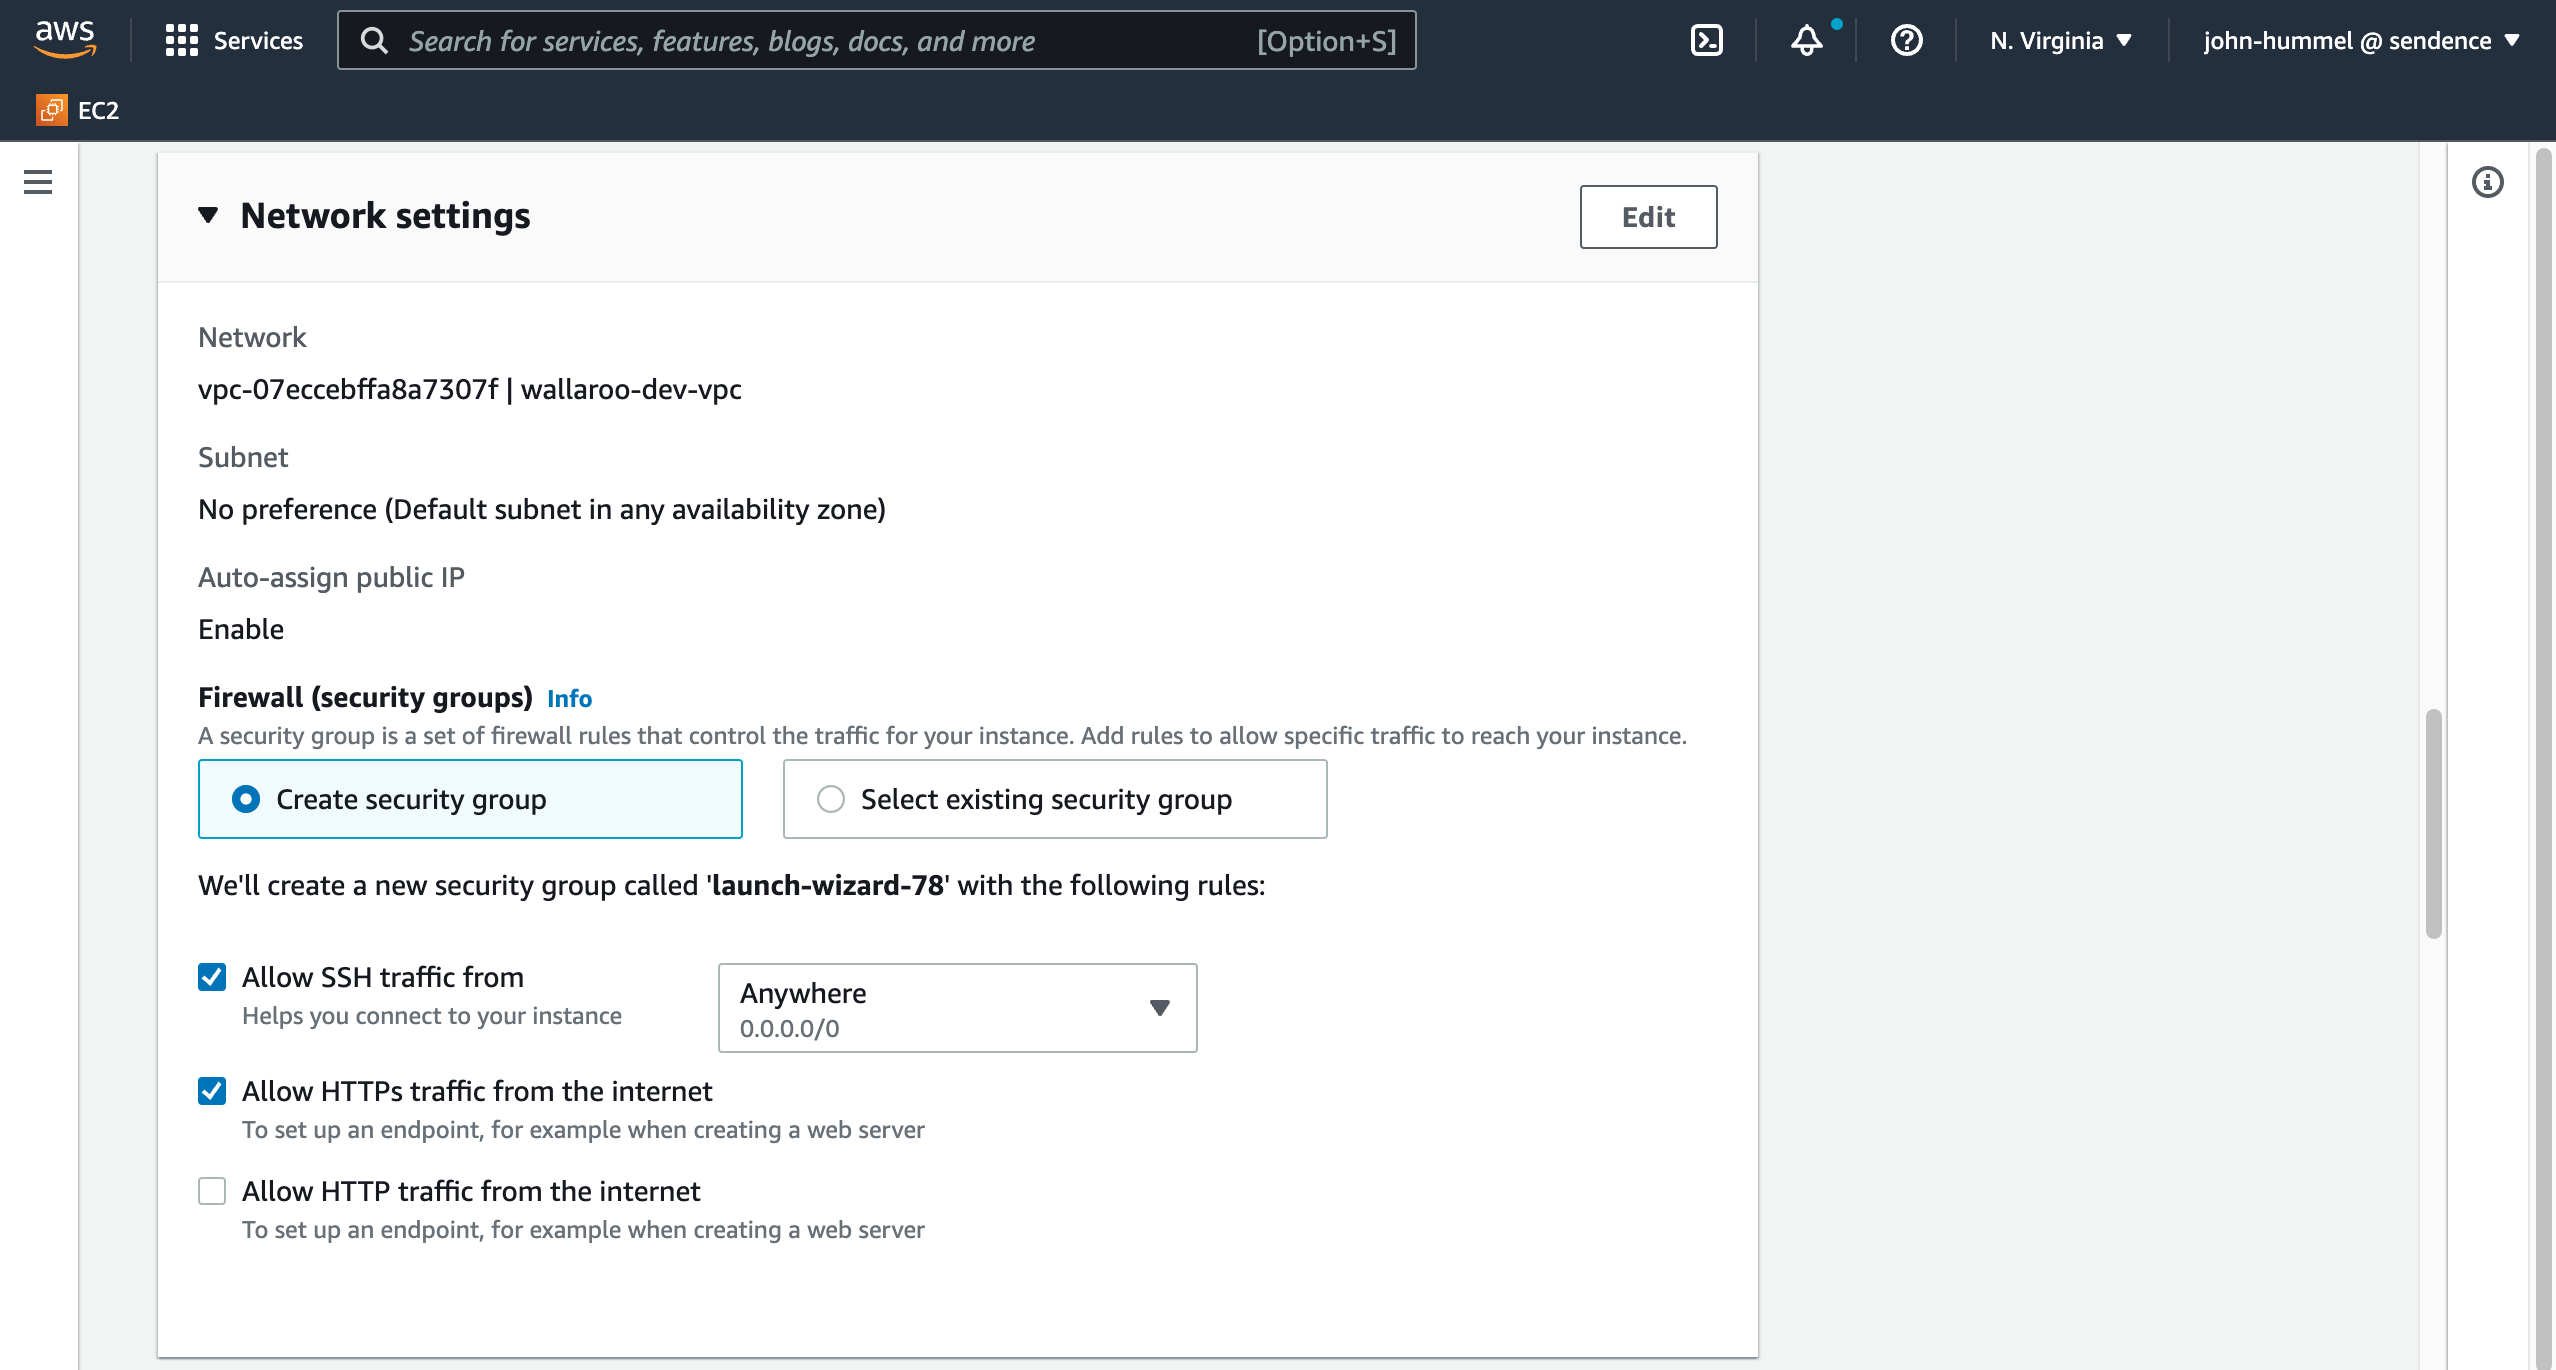
- Firewall: Select Create security group or select from an existing one that best fits your organization.
- Allow SSH traffic from: Set to Enabled and Anywhere 0.0.0.0/0.
- Allow HTTPs traffic from the internet: Set to Enabled.
Set the following for Configure Storage:
- Set Root volume to at least
400 GiB, typestandard.
- Set Root volume to at least
Review the Summary and verify the following:
- Number of instances: 1
- Virtual server type: Matches the minimum requirement listed above.
- Verify the other settings are accurate.
Select Launch Instance.
It is recommended to give the instance time to complete its setup process. This typically takes 20 minutes.
- Verify the Setup
To verify the environment is setup for Wallaroo:
From the EC2 Dashboard, select the virtual machine created for your Wallaroo instance.
Note the Public IPv4 DNS address.
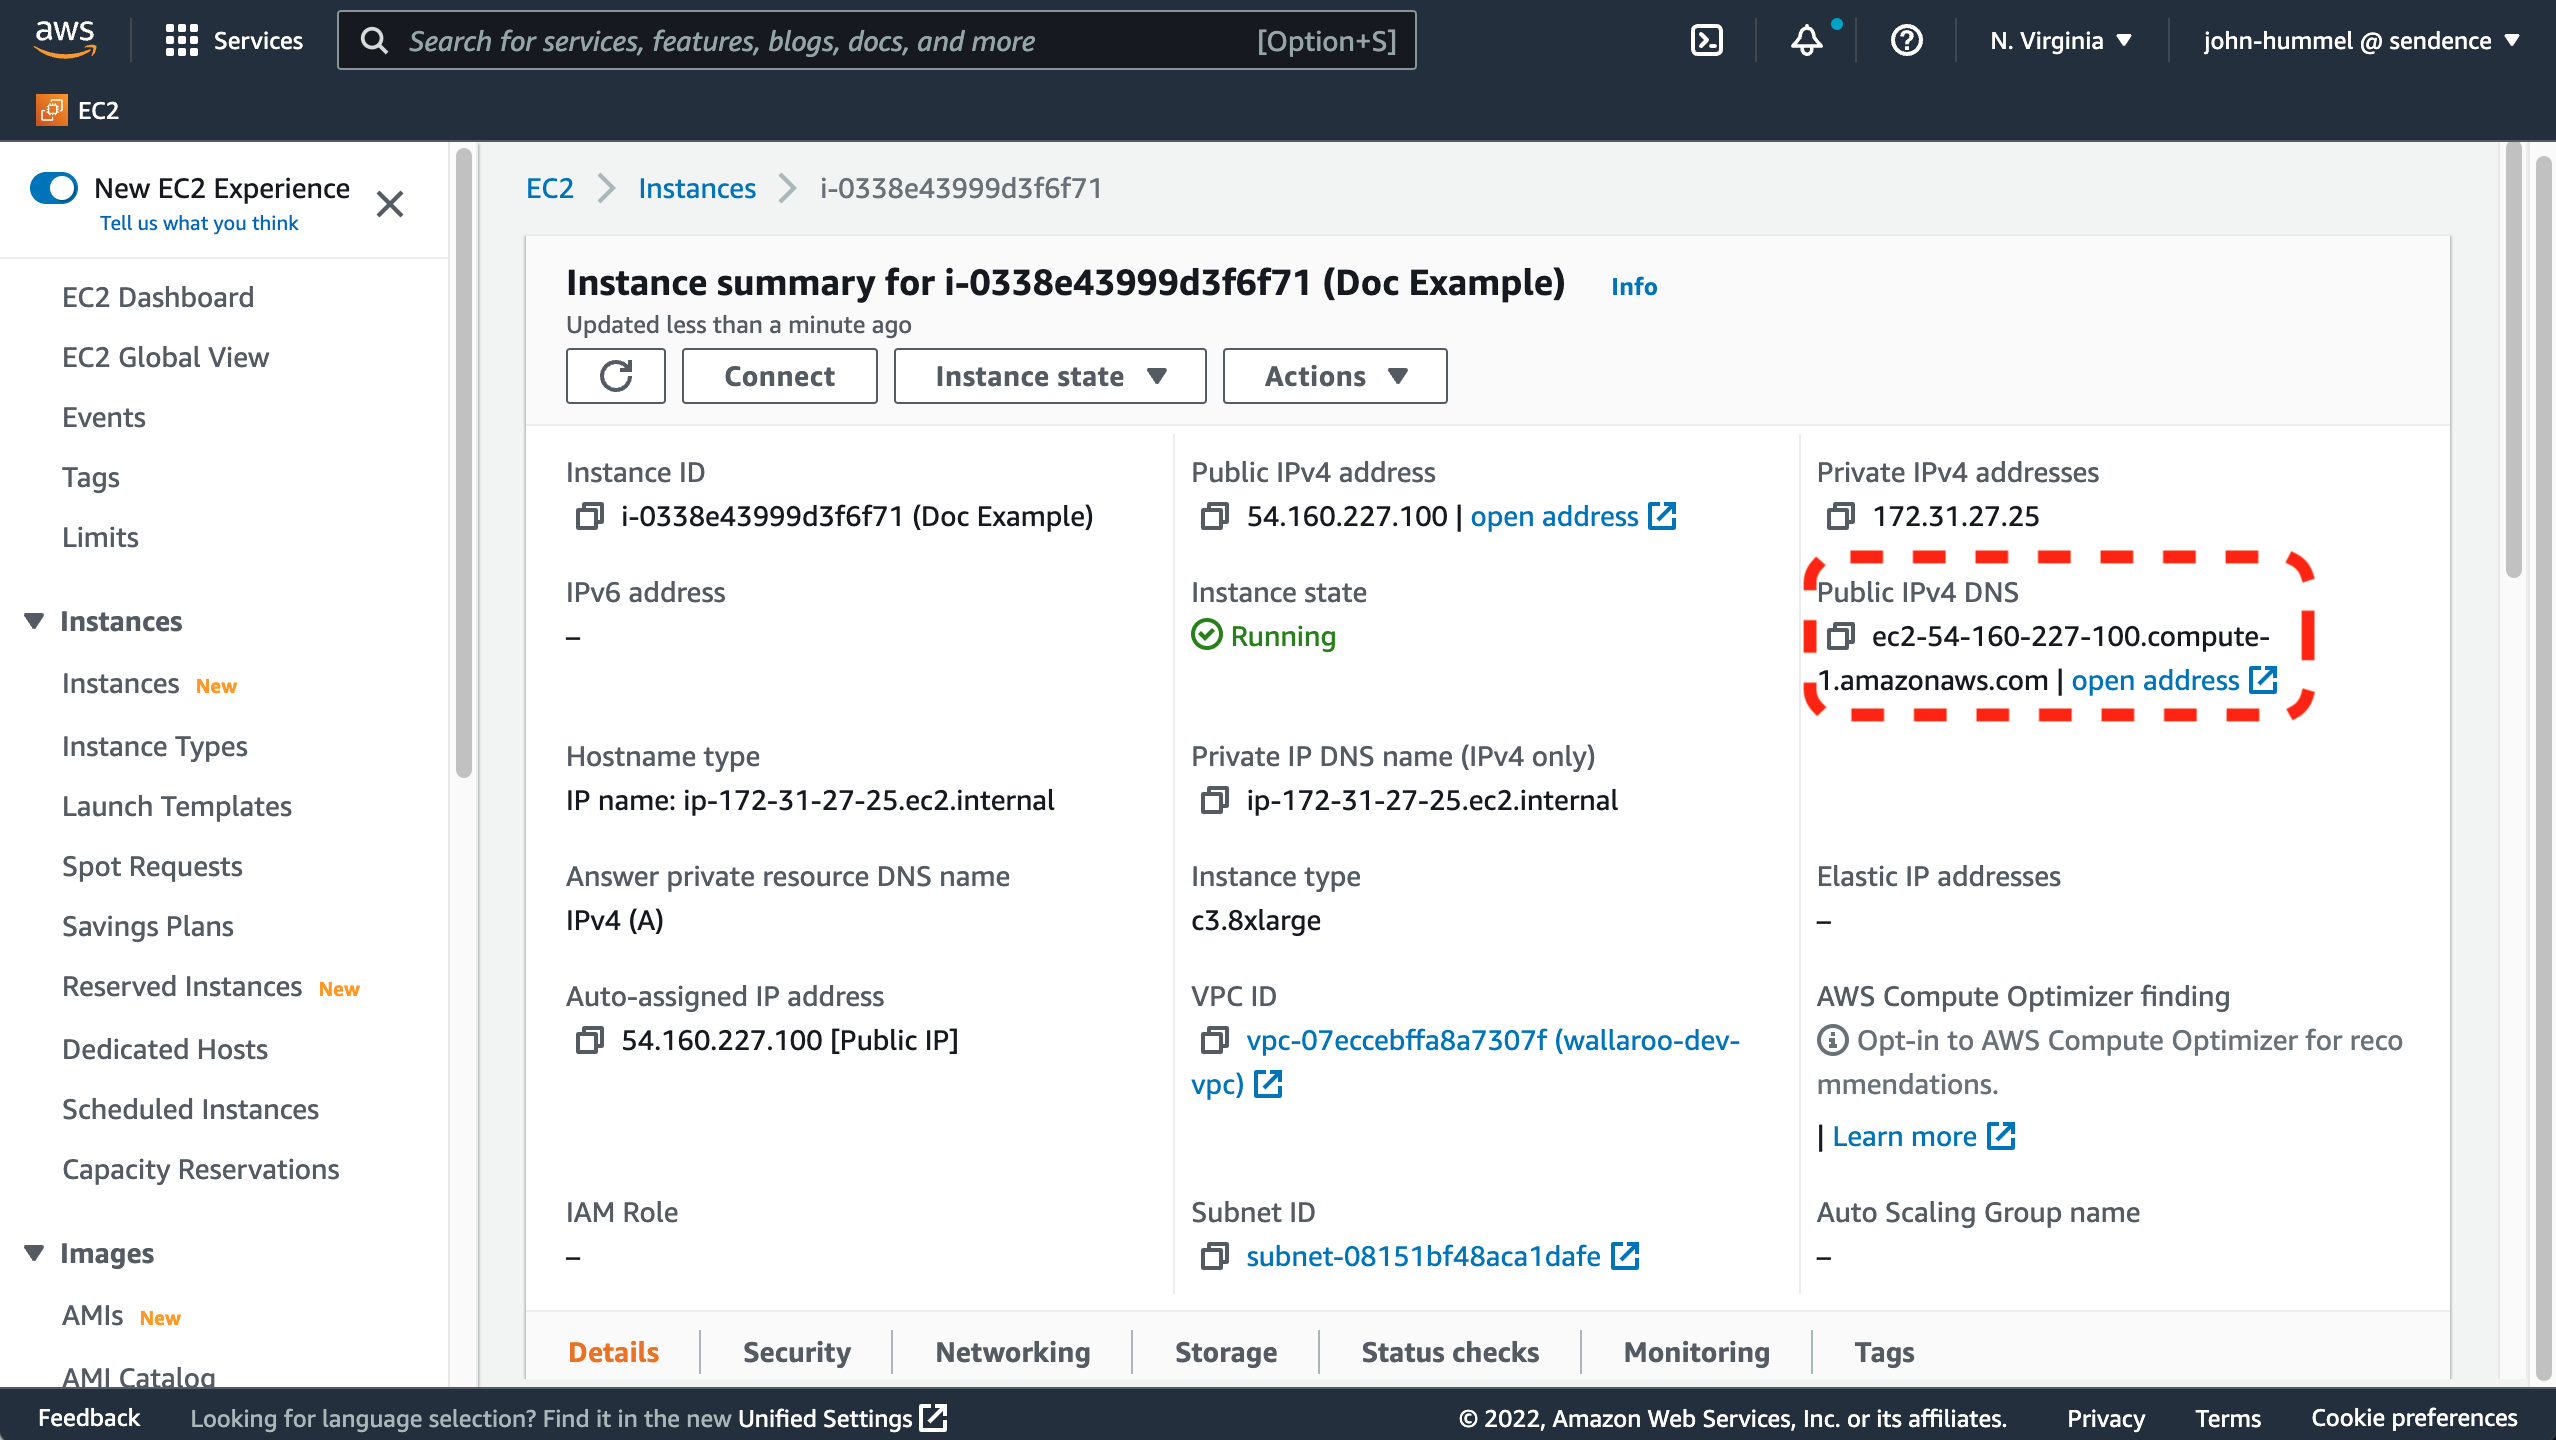
From a terminal, run
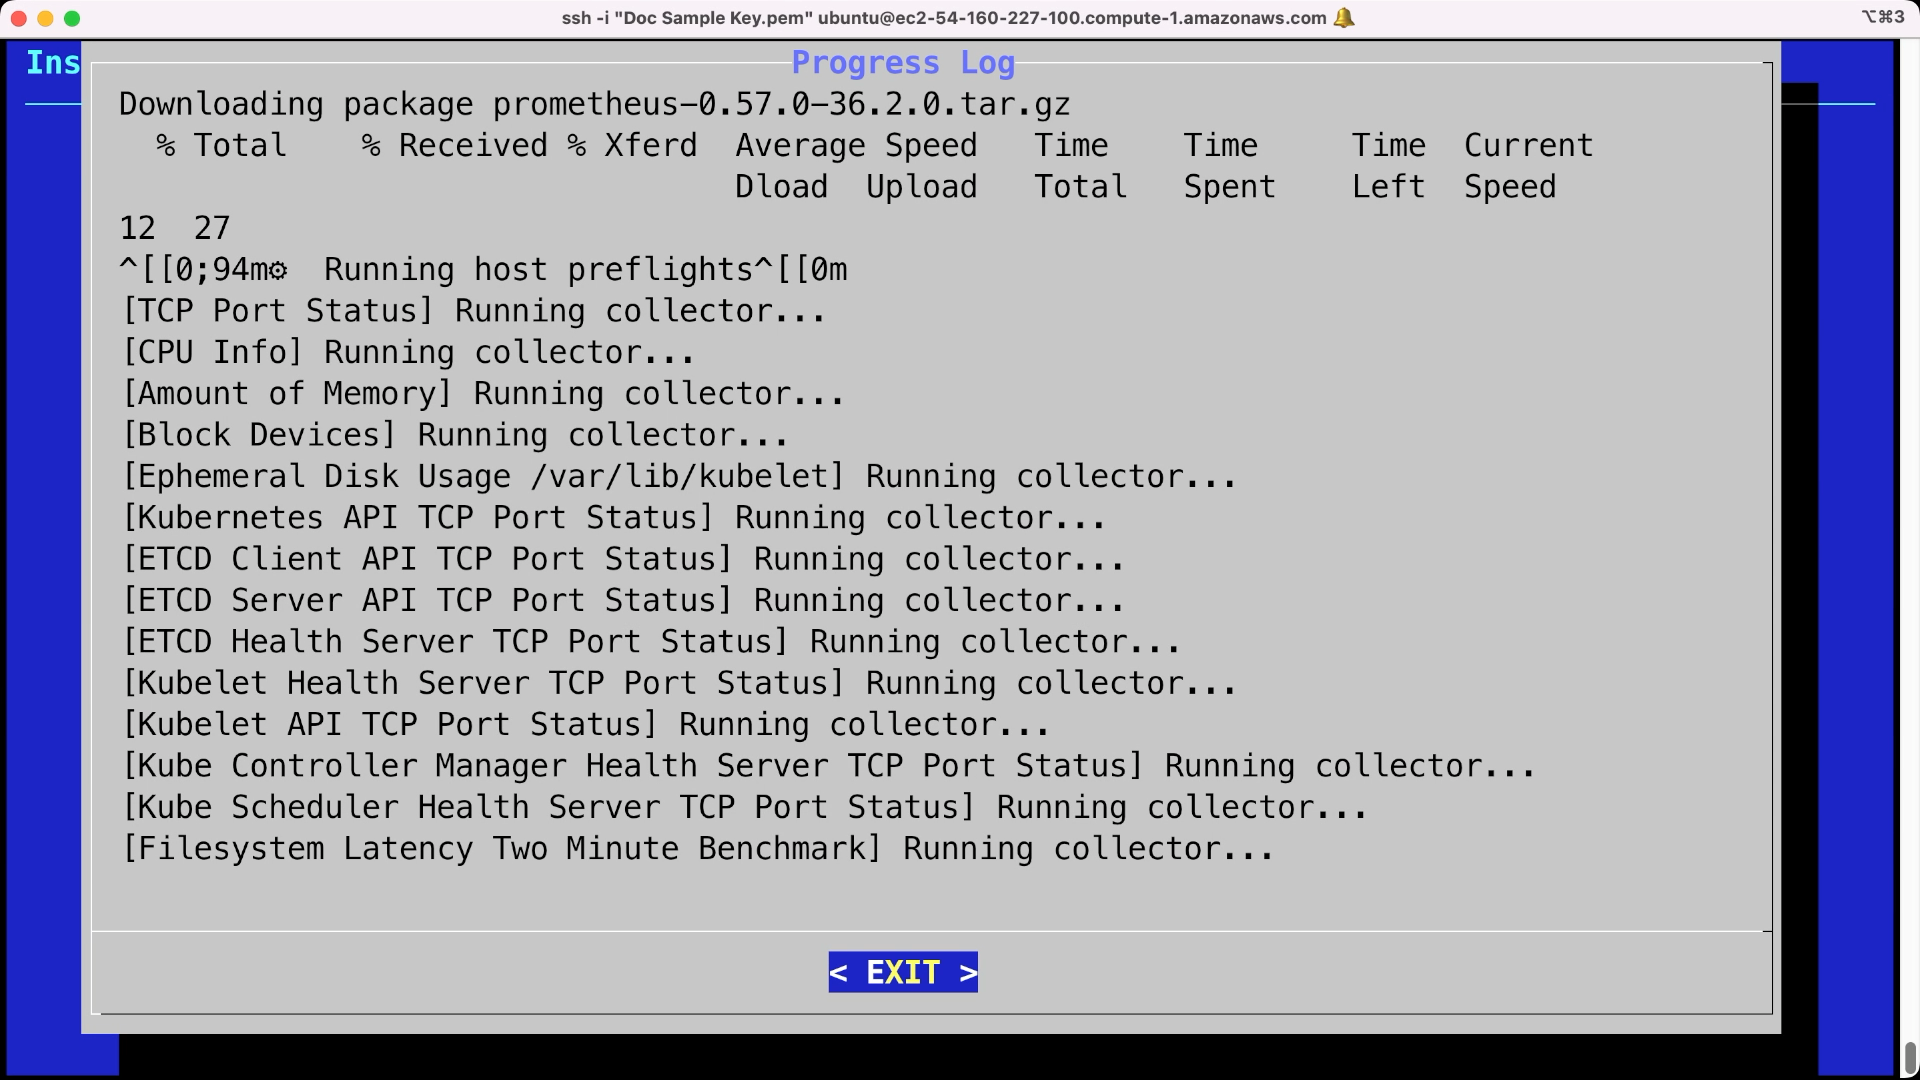
sshto connect to your virtual machine. The installation requires access to port8800and the private key selected or created in the instructions above.The
sshcommand format for connecting to your virtual machine uses the following format, replacing the$keyfile,$VM_DNSwith your private key file and the DNS address to your Amazon VM:ssh -i "$keyfile" ubuntu@$VM_DNS -L8800:localhost:8800For example, a
$keyfileofDoc Sample Key.pemand$VM_DNSofec2-54-160-227-100.compute-1.amazonaws.comwould be as follows:ssh -i "Doc Sample Key.pem" ubuntu@ec2-54-160-227-100.compute-1.amazonaws.com -L8800:localhost:8800If the Kubernetes setup is still installing, wait until complete and when prompted select EXIT to complete the process. This process may take up to 20 to 30 minutes.
- Cost Saving Tips The following tips can be used to save costs on your AWS EC2 instance.
- Stop Instances When Not In Use
One cost saving measure is to stop instances when not in use. If you intend to stop an instance, register it with static IP address so when it is turned back on your services will continue to function without interruption.

Reference: How do I associate a static public IP address with my EC2 Windows or Linux instance?.
- Troubleshooting
- I keep seeing the errors such as connect failed. Is this a problem?
- Sometimes you may see an error such as
channel 3: open failed: connect failed: Connection refused. This is the ssh port forwarding attempting to connect to port 8800 during the installation, and can be ignored.
- Sometimes you may see an error such as
- When Launching JupyterHub, I get a Server 500 error.
If you shut down and restart a Wallaroo instance in a new environment or change the IP address, some settings may not be updated. Run the following command to restart the deployment process and update the settings to match the current environment:
kubectl rollout restart deployment hub
- I keep seeing the errors such as connect failed. Is this a problem?
- Setup AWS EKS Environment for Wallaroo
The following instructions are made to assist users set up their Amazon Web Services (AWS) environment for running Wallaroo using AWS Elastic Kubernetes Service (EKS).
These represent a recommended setup, but can be modified to fit your specific needs.
If the prerequisites are already met, skip ahead to Install Wallaroo.
The following video demonstrates this process:
- AWS Prerequisites
To install Wallaroo in your AWS environment based on these instructions, the following prerequisites must be met:
- Register an AWS account: https://aws.amazon.com/ and assign the proper permissions according to your organization’s needs.
- The Kubernetes cluster must include the following minimum settings:
- Nodes must be OS type Linux with using the
containerddriver. - Role-based access control (RBAC) must be enabled.
- Minimum of 4 nodes, each node with a minimum of 8 CPU cores and 16 GB RAM. 50 GB will be allocated per node for a total of 625 GB for the entire cluster.
- RBAC is enabled.
- Recommended Aws Machine type:
c5.4xlarge. For more information, see the AWS Instance Types.
- Nodes must be OS type Linux with using the
- Installed eksctl version 0.101.0 and above.
- If the cluster will utilize autoscaling, install the Cluster Autoscaler on AWS.
- AWS Cluster Recommendations
The following recommendations will assist in reducing the cost of a cloud based Kubernetes Wallaroo cluster.
Turn off the cluster when not in use. An AWS EKS (Elastic Kubernetes Services) cluster can be turn off when not in use, then turned back on again when needed. If organizations adopt this process, be aware of the following issues:
- IP Address Reassignment: The load balancer public IP address may be reassigned when the cluster is restarted by the cloud service unless a static IP address is assigned. For more information in Amazon Web Services see the Associate Elastic IP addresses with resources in your VPC user guide.
Assign to a Single Availability Zone: Clusters that span multiple availability zones may have issues accessing persistent volumes that were provisioned in another availability zone from the node when the node is restarted. The simple solution is to assign the entire cluster into a single availability zone. For more information in Amazon Web Services see the Regions and Zones guide.
The scripts and configuration files are set up to create the AWS environment for a Wallaroo instance are based on a single availability zone. Modify the script as required for your organization.
- Community Cluster Setup Instructions
The following is based on the requirements for Wallaroo Community. Note that Wallaroo Community does not use adaptive nodepools. Adapt the settings as required for your organization’s needs, as long as they meet the prerequisites listed above.
This sample YAML file can be downloaded from here:
wallaroo_community_aws_install.yaml
apiVersion: eksctl.io/v1alpha5
kind: ClusterConfig

metadata:
  # replace with the name of your server
  name: wallarooAWS
  # replace with your location
  region: us-east-1
  version: "1.25"

addons:
  - name: aws-ebs-csi-driver

iam:
  withOIDC: true

nodeGroups:
  - name: mainpool
    instanceType: m5.2xlarge
    desiredCapacity: 4
    containerRuntime: containerd
    amiFamily: AmazonLinux2
    availabilityZones:
      - us-east-1a
- Install AWS Command Line Tools
The following steps require the installation of the following Amazon Web Services command line tools:
AWS CLI: Complete both the AWS Command Line Installation Guide and the AWS CLI Quick Setup Guide to authenticate to your AWS account.
eksctl: A command line tool for managing Amazon EKS clusters from a configured YAML file. See the EKSCTL Install Guide for more details.kubectl: This interfaces with the Kubernetes server created in the Wallaroo environment.
kots Version: Used to manage software installed in a Kubernetes environment.
Create the Cluster
Create the cluster with the following command, which creates the environment and sets the correct Kubernetes version.
eksctl create cluster -f aws.yaml
During the process the Kuberntes credentials will be copied into the local environment. To verify the setup is complete, use the kubectl get nodes command to display the available nodes as in the following example:
kubectl get nodes
NAME                                           STATUS   ROLES    AGE     VERSION
ip-192-168-21-253.us-east-2.compute.internal   Ready    <none>   13m     v1.23.8-eks-9017834
ip-192-168-30-36.us-east-2.compute.internal    Ready    <none>   13m     v1.23.8-eks-9017834
ip-192-168-55-123.us-east-2.compute.internal   Ready    <none>   12m     v1.23.8-eks-9017834
ip-192-168-79-70.us-east-2.compute.internal    Ready    <none>   13m     v1.23.8-eks-9017834
- Setup Azure Environment for Wallaroo
The following instructions are made to assist users set up their Microsoft Azure Kubernetes environment for running Wallaroo Community. These represent a recommended setup, but can be modified to fit your specific needs.
If your prepared to install the environment now, skip to Setup Environment Steps.
There are two methods we’ve detailed here on how to setup your Kubernetes cloud environment in Azure:
- Quick Setup Script: Download a bash script to automatically set up the Azure environment through the Microsoft Azure command line interface
az. - Manual Setup Guide: A list of the
azcommands used to create the environment through manual commands.
The following video demonstrates the manual guide:
- Azure Prerequisites
To install Wallaroo in your Microsoft Azure environment, the following prerequisites must be met:
- Register a Microsoft Azure account: https://azure.microsoft.com/.
- Install the Microsoft Azure CLI and complete the Azure CLI Get Started Guide to connect your
azapplication to your Microsoft Azure account. - The Kubernetes cluster must include the following minimum settings:
- Nodes must be OS type Linux the
containerddriver as the default. - Role-based access control (RBAC) must be enabled.
- Minimum of 4 nodes, each node with a minimum of 8 CPU cores and 16 GB RAM. 50 GB will be allocated per node for a total of 625 GB for the entire cluster.
- RBAC is enabled.
- Minimum machine type is set to to
Standard_D8s_v4.
- Nodes must be OS type Linux the
- Azure Cluster Recommendations
The following recommendations will assist in reducing the cost of a cloud based Kubernetes Wallaroo cluster.
Turn off the cluster when not in use. An Azure Kubernetes Service (AKS) cluster can be turn off when not in use, then turned back on again when needed to save on costs. For more information on starting and stopping an AKS cluster, see the Stop and Start an Azure Kubernetes Service (AKS) cluster guide.
If organizations adopt this process, be aware of the following issues:
- IP Address Reassignment: The load balancer public IP address may be reassigned when the cluster is restarted by the cloud service unless a static IP address is assigned. For more information in Microsoft Azure see the Use a static public IP address and DNS label with the Azure Kubernetes Service (AKS) load balancer user guide.
Assign to a Single Availability Zone: Clusters that span multiple availability zones may have issues accessing persistent volumes that were provisioned in another availability zone from the node when the cluster is restarted. The simple solution is to assign the entire cluster into a single availability zone. For more information in Microsoft Azure see the Create an Azure Kubernetes Service (AKS) cluster that uses availability zones guide.
The scripts and configuration files are set up to create the Azure environment for a Wallaroo instance are based on a single availability zone. Modify the script as required for your organization.
- Setup Environment Steps
Standard Setup Variables
The following variables are used in the Quick Setup Script and the Manual Setup Guide. Modify them as best fits your organization.
| Variable Name | Default Value | Description |
|---|---|---|
| WALLAROO_RESOURCE_GROUP | wallaroocegroup | The Azure Resource Group used for the Kubernetes environment. |
| WALLAROO_GROUP_LOCATION | eastus | The region that the Kubernetes environment will be installed to. |
| WALLAROO_CONTAINER_REGISTRY | wallarooceacr | The Azure Container Registry used for the Kubernetes environment. |
| WALLAROO_CLUSTER | wallarooceaks | The name of the Kubernetes cluster that Wallaroo is installed to. |
| WALLAROO_SKU_TYPE | Base | The Azure Kubernetes Service SKU type. |
| WALLAROO_NODEPOOL | wallaroocepool | The main nodepool for the Kubernetes cluster. |
| WALLAROO_VM_SIZE | Standard_D8s_v4 | The VM type used for the standard Wallaroo cluster nodes. |
| WALLAROO_CLUSTER_SIZE | 4 | The number of nodes in the cluster. |
- Quick Setup Script
The following sample script creates an Azure Kubernetes environment ready for use with Wallaroo Community. This script requires the following prerequisites listed above.
Modify the installation file to fit for your organization. The only parts that require modification are the variables listed in the beginning as follows:
The following script is available for download: wallaroo_community_azure_install.bash
The following steps are geared towards a standard Linux or macOS system that supports the prerequisites listed above. Modify these steps based on your local environment.
Download the script above.
In a terminal window set the script status as
executewith the commandchmod +x wallaroo_community_azure_install.bash.Modify the script variables listed above based on your requirements.
Run the script with either
bash wallaroo_community_azure_install.bashor./wallaroo_community_azure_install.bashfrom the same directory as the script.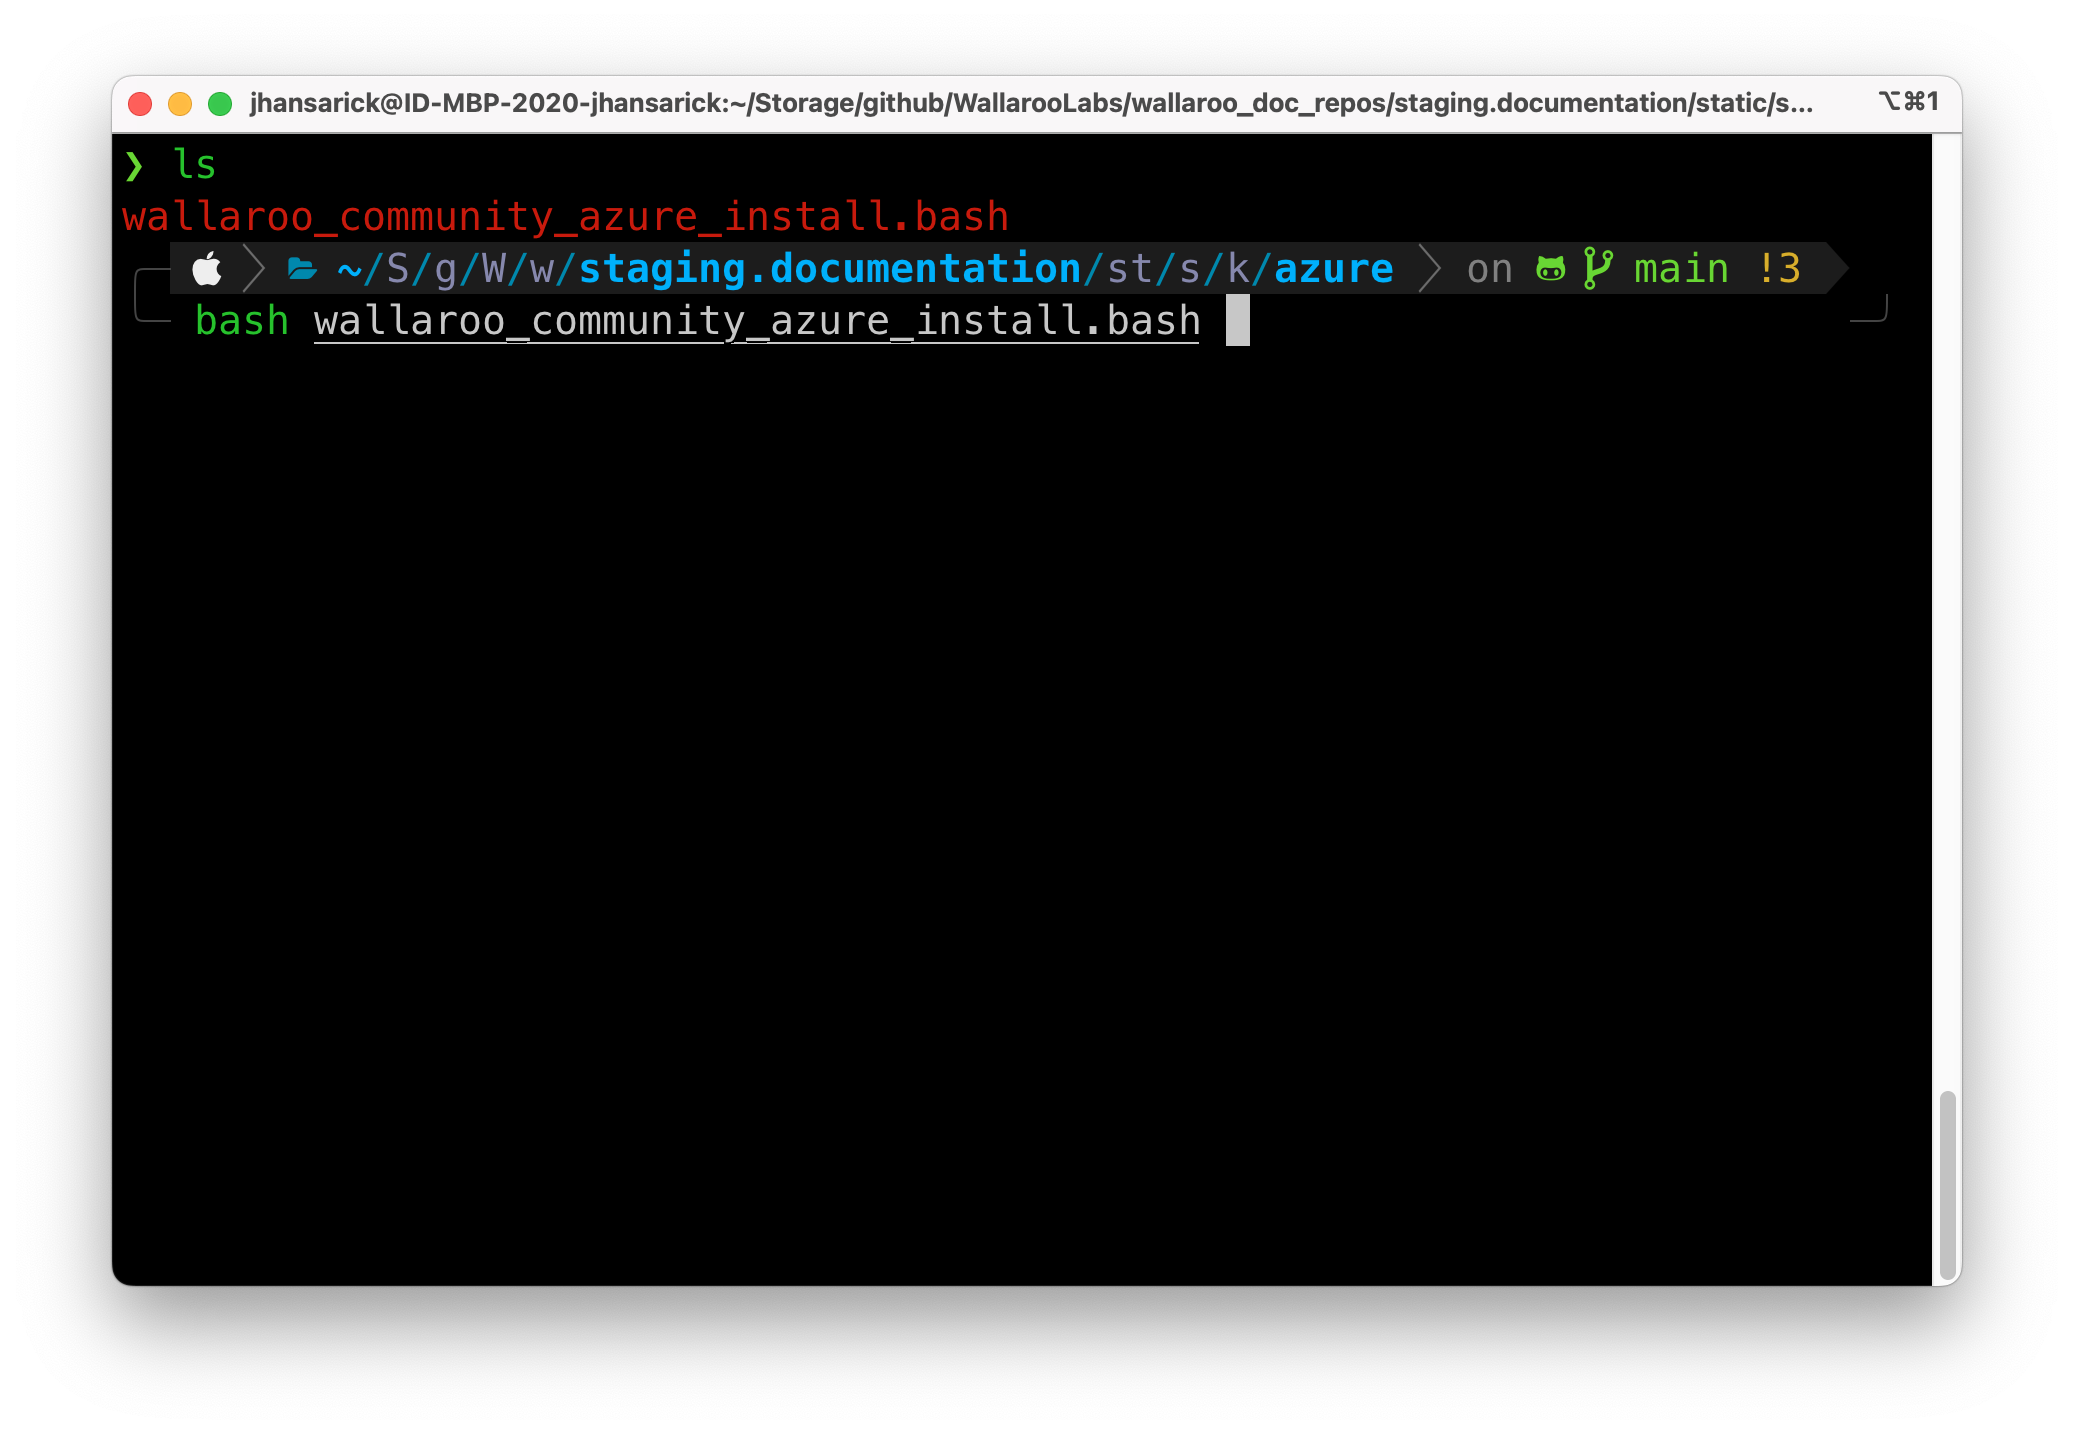
- Manual Setup Guide
The following steps are guidelines to assist new users in setting up their Azure environment for Wallaroo. Feel free to replace these with commands with ones that match your needs.
See the Azure Command-Line Interface for full details on commands and settings.
The following are used for the example commands below. Replace them with your specific environment settings:
- Azure Resource Group:
wallarooCEGroup - Azure Resource Group Location:
eastus - Azure Container Registry:
wallarooCEAcr - Azure Kubernetes Cluster:
wallarooCEAKS - Azure Container SKU type:
Base - Azure Nodepool Name:
wallarooCEPool
Setting up an Azure AKS environment is based on the Azure Kubernetes Service tutorial, streamlined to show the minimum steps in setting up your own Wallaroo environment in Azure.
This follows these major steps:
Create an Azure Resource Group
Create an Azure Container Registry
Create the Azure Kubernetes Environment
Set Variables
The following are the variables used in the environment setup process. Modify them as best fits your organization’s needs.
WALLAROO_RESOURCE_GROUP=wallaroocegroupdocs
WALLAROO_GROUP_LOCATION=eastus
WALLAROO_CONTAINER_REGISTRY=wallarooceacrdocs
WALLAROO_CLUSTER=wallarooceaksdocs
WALLAROO_SKU_TYPE=Base
WALLAROO_NODEPOOL=wallaroocepool
WALLAROO_VM_SIZE=Standard_D8s_v4
WALLAROO_CLUSTER_SIZE=4
- Create an Azure Resource Group
To create an Azure Resource Group for Wallaroo in Microsoft Azure, use the following template:
az group create --name $WALLAROO_RESOURCE_GROUP --location $WALLAROO_GROUP_LOCATION
(Optional): Set the default Resource Group to the one recently created. This allows other Azure commands to automatically select this group for commands such as az aks list, etc.
az configure --defaults group=$WALLAROO_RESOURCE_GROUP
- Create an Azure Container Registry
An Azure Container Registry(ACR) manages the container images for services includes Kubernetes. The template for setting up an Azure ACR that supports Wallaroo is the following:
az acr create -n $WALLAROO_CONTAINER_REGISTRY -g $WALLAROO_RESOURCE_GROUP --sku $WALLAROO_SKU_TYPE --location $WALLAROO_GROUP_LOCATION
- Create an Azure Kubernetes Services
And now we can create our Kubernetes service in Azure that will host our Wallaroo that meet the prerequisites. Modify the settings to meet your organization’s needs. This creates a 4 node cluster with a total of 32 cores.
az aks create \
--resource-group $WALLAROO_RESOURCE_GROUP \
--name $WALLAROO_CLUSTER \
--node-count $WALLAROO_CLUSTER_SIZE \
--generate-ssh-keys \
--vm-set-type VirtualMachineScaleSets \
--load-balancer-sku standard \
--node-vm-size $WALLAROO_VM_SIZE \
--nodepool-name $WALLAROO_NODEPOOL \
--nodepool-name mainpool \
--attach-acr $WALLAROO_CONTAINER_REGISTRY \
--kubernetes-version=1.23.8 \
--zones 1 \
--location $WALLAROO_GROUP_LOCATION
- Download Wallaroo Kubernetes Configuration
Once the Kubernetes environment is complete, associate it with the local Kubernetes configuration by importing the credentials through the following template command:
az aks get-credentials --resource-group $WALLAROO_RESOURCE_GROUP --name $WALLAROO_CLUSTER
Verify the cluster is available through the kubectl get nodes command.
kubectl get nodes

NAME                               STATUS   ROLES   AGE   VERSION
aks-mainpool-37402055-vmss000000   Ready    agent   81m   v1.23.8
aks-mainpool-37402055-vmss000001   Ready    agent   81m   v1.23.8
aks-mainpool-37402055-vmss000002   Ready    agent   81m   v1.23.8
aks-mainpool-37402055-vmss000003   Ready    agent   81m   v1.23.8
- Setup GCP Environment for Wallaroo
The following instructions are made to assist users set up their Google Cloud Platform (GCP) Kubernetes environment for running Wallaroo. These represent a recommended setup, but can be modified to fit your specific needs. In particular, these instructions will provision a GKE cluster with 32 CPUs in total. Please ensure that your project’s resource limits support that.
- Quick Setup Guide: Download a bash script to automatically set up the GCP environment through the Google Cloud Platform command line interface
gcloud. - Manual Setup Guide: A list of the
gcloudcommands used to create the environment through manual commands.
The following video demonstrates the manual guide:
- GCP Prerequisites
Organizations that wish to run Wallaroo in their Google Cloud Platform environment must complete the following prerequisites:
- Register a Google Cloud Account: https://cloud.google.com/
- Create a Google Cloud project: https://cloud.google.com/resource-manager/docs/creating-managing-projects
- Install
gcloudand rungcloud initorgcloud init–console on the local system used to set up your environment: https://cloud.google.com/sdk/docs/install - Enable the Google Compute Engine(GCE): https://cloud.google.com/endpoints/docs/openapi/enable-api
- Enable the Google Kubernetes Engine(GKE) on your project: https://console.cloud.google.com/apis/enableflow?apiid=container.googleapis.com
- Select a default Computer Engine region and zone: https://cloud.google.com/compute/docs/regions-zones.
- GCP Cluster Recommendations
The following recommendations will assist in reducing the cost of a cloud based Kubernetes Wallaroo cluster.
Turn off the cluster when not in use. A GCP Google Kubernetes Engine (GKE) cluster can be turn off when not in use, then turned back on again when needed. If organizations adopt this process, be aware of the following issues:
- IP Address Reassignment: The load balancer public IP address may be reassigned when the cluster is restarted by the cloud service unless a static IP address is assigned. For more information in Google Cloud Platform see the Configuring domain names with static IP addresses user guide.
Assign to a Single Availability Zone: Clusters that span multiple availability zones may have issues accessing persistent volumes that were provisioned in another availability zone from the node when the cluster is restarted. The simple solution is to assign the entire cluster into a single availability zone. For more information in Google Cloud Platform see the Regions and zones guide.
The scripts and configuration files are set up to create the GCP environment for a Wallaroo instance are based on a single availability zone. Modify the script as required for your organization.
- Standard Setup Variables
The following variables are used in the Quick Setup Script and the Manual Setup Guide. Modify them as best fits your organization.
| Variable Name | Default Value | Description |
|---|---|---|
| WALLAROO_GCP_PROJECT | wallaroo-ce | The name of the Google Project used for the Wallaroo instance. |
| WALLAROO_CLUSTER | wallaroo-ce | The name of the Kubernetes cluster for the Wallaroo instance. |
| WALLAROO_GCP_REGION | us-central1 | The region the Kubernetes environment is installed to. Update this to your GCP Computer Engine region. |
| WALLAROO_NODE_LOCATION | us-central1-f | The location the Kubernetes nodes are installed to. Update this to your GCP Compute Engine Zone. |
| WALLAROO_GCP_NETWORK_NAME | wallaroo-network | The Google network used with the Kubernetes environment. |
| WALLAROO_GCP_SUBNETWORK_NAME | wallaroo-subnet-1 | The Google network subnet used with the Kubernetes environment. |
| WALLAROO_GCP_MACHINE_TYPE | e2-standard-8 | Recommended VM size per GCP node. |
| WALLAROO_CLUSTER_SIZE | 4 | Number of nodes installed into the cluster. 4 nodes will create a 32 core cluster. |
- Quick Setup Script
A sample script is available here, and creates a Google Kubernetes Engine cluster ready for use with Wallaroo Community. This script requires the prerequisites listed above, and uses the variables as listed in Standard Setup Variables.
The following script is available for download: wallaroo_community_gcp_install.bash
The following steps are geared towards a standard Linux or macOS system that supports the prerequisites listed above. Modify these steps based on your local environment.
Download the script above.
In a terminal window set the script status as
executewith the commandchmod +x bash wallaroo_community_gcp_install.bash.Modify the script variables listed above based on your requirements.
Run the script with either
bash wallaroo_community_gcp_install.bashor./wallaroo_community_gcp_install.bashfrom the same directory as the script.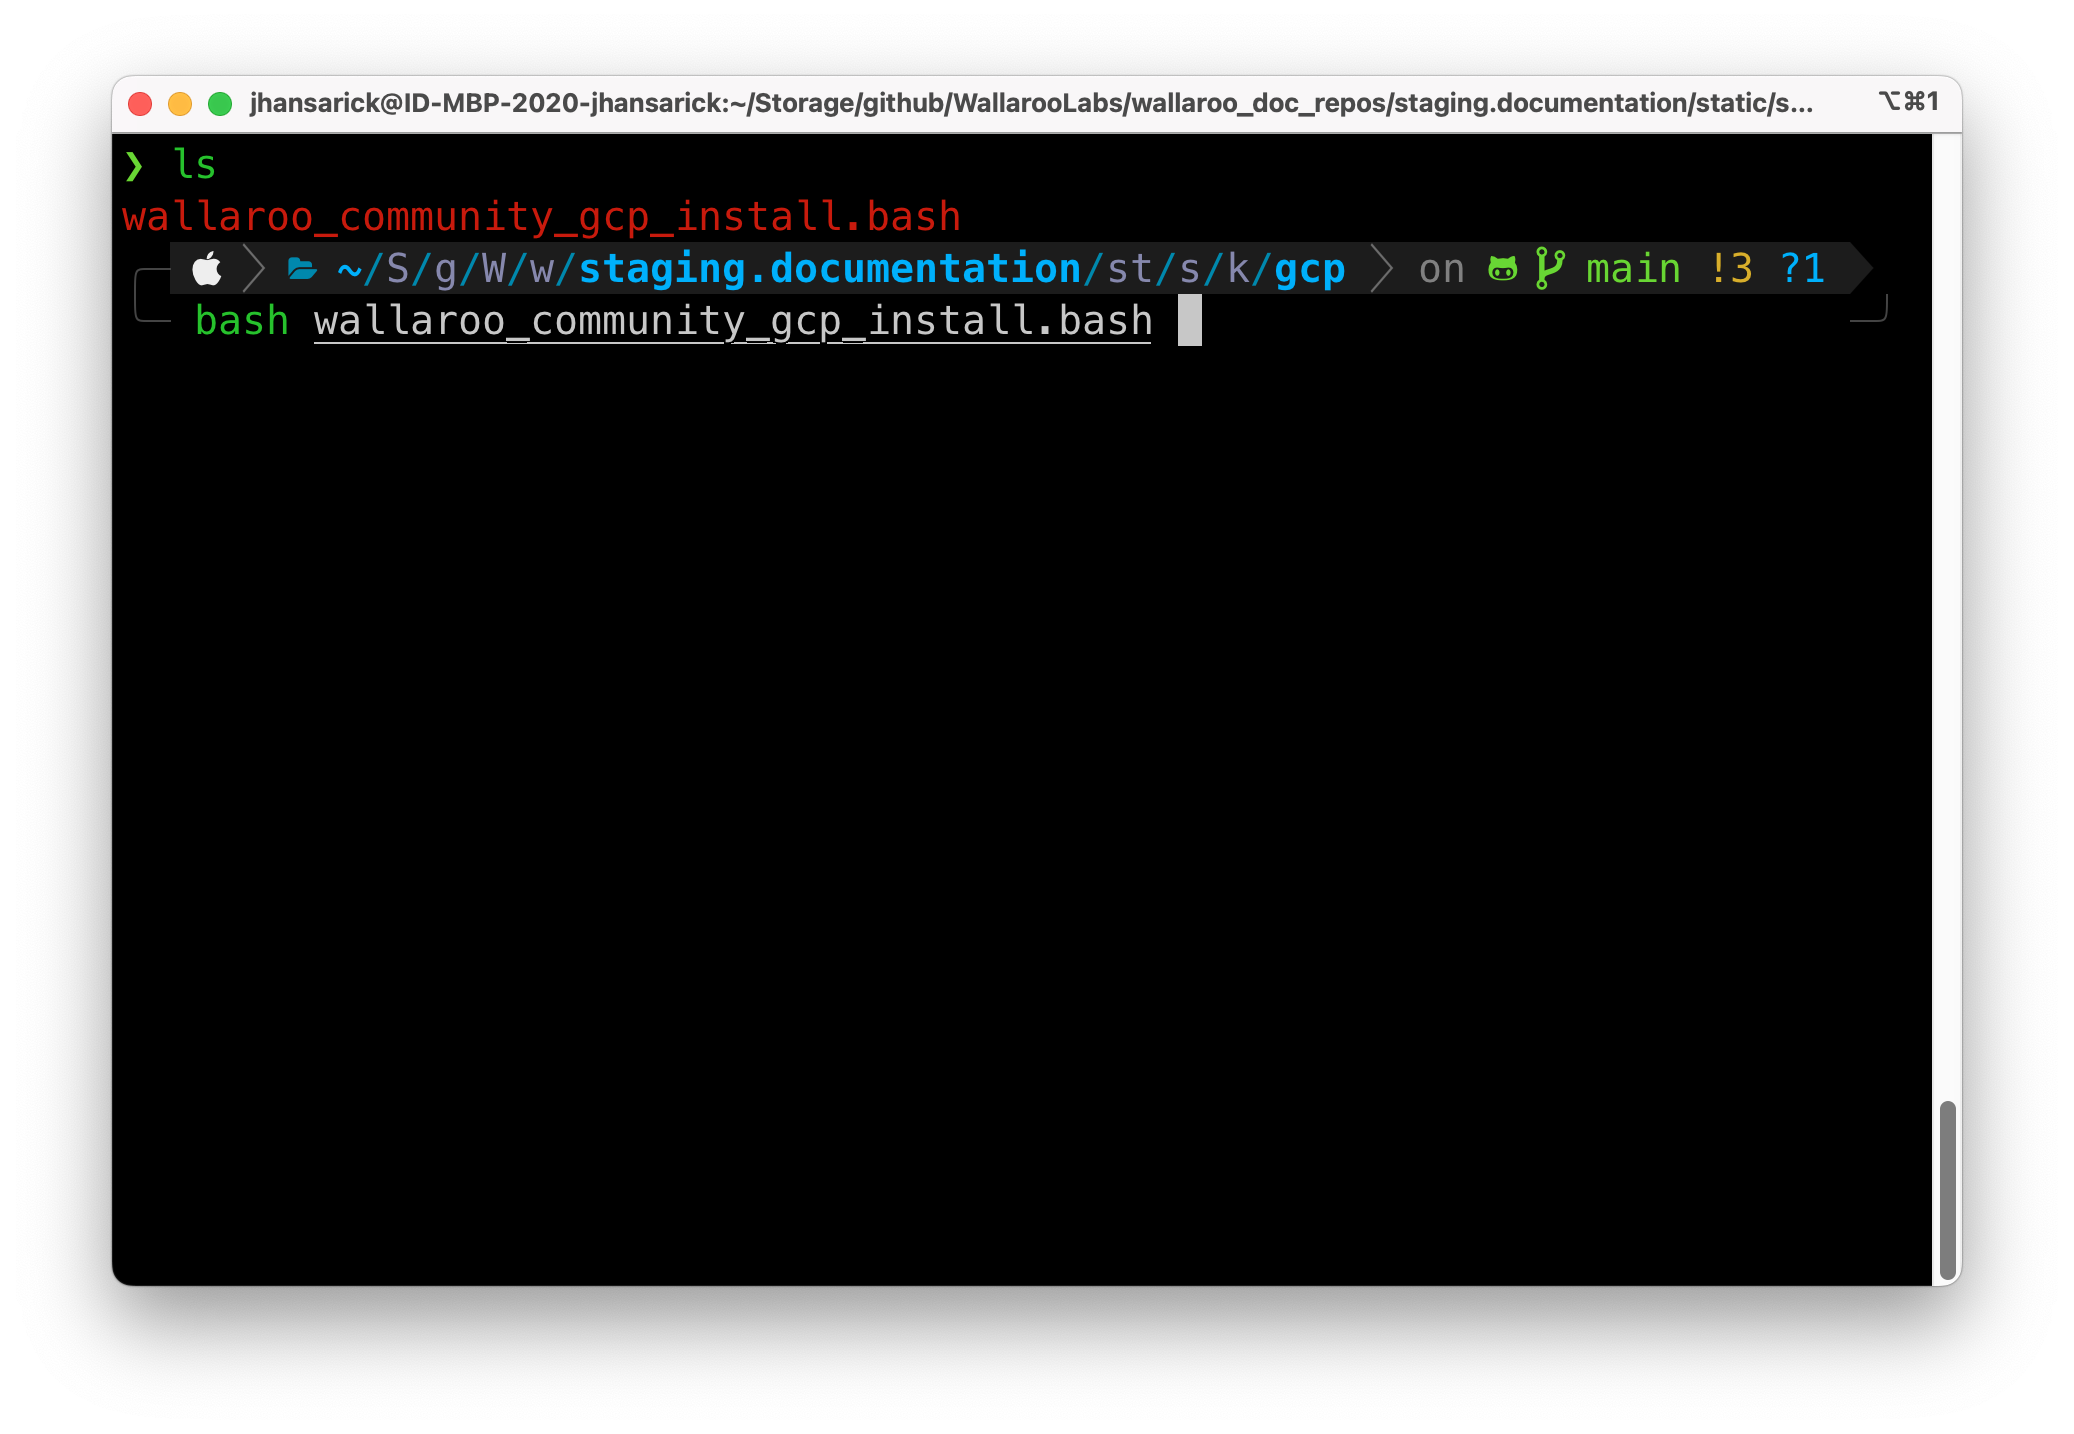
- Manual Setup Guide
The following steps are guidelines to assist new users in setting up their GCP environment for Wallaroo. Feel free to replace these with commands with ones that match your needs.
See the Google Cloud SDK for full details on commands and settings.
The commands below are set to meet the prerequisites listed above, and uses the variables as listed in Standard Setup Variables. Modify them as best fits your organization’s needs.
- Set Variables
The following are the variables used in the environment setup process. Modify them as best fits your organization’s needs.
WALLAROO_GCP_PROJECT=wallaroo-ce
WALLAROO_CLUSTER=wallaroo-ce
WALLAROO_GCP_REGION=us-central1
WALLAROO_NODE_LOCATION=us-central1-f
WALLAROO_GCP_NETWORK_NAME=wallaroo-network
WALLAROO_GCP_SUBNETWORK_NAME=wallaroo-subnet-1
WALLAROO_GCP_MACHINE_TYPE=e2-standard-8
WALLAROO_CLUSTER_SIZE=4
- Create a GCP Network
First create a GCP network that is used to connect to the cluster with the gcloud compute networks create command. For more information, see the gcloud compute networks create page.
gcloud compute networks \
create $WALLAROO_GCP_NETWORK_NAME \
--bgp-routing-mode regional \
--subnet-mode custom
Verify it’s creation by listing the GCP networks:
gcloud compute networks list
- Create the GCP Wallaroo Cluster
Once the network is created, the gcloud container clusters create command is used to create a cluster. For more information see the gcloud container clusters create page.
Note that three nodes are created by default, so one more is added with the --num-nodes setting to meet the Wallaroo prerequisites. For Google GKE, containerd is enabled by default and so does not need to be specified during the setup procedure: (https://cloud.google.com/kubernetes-engine/docs/concepts/using-containerd)[https://cloud.google.com/kubernetes-engine/docs/concepts/using-containerd].
gcloud container clusters \
create $WALLAROO_CLUSTER \
--region $WALLAROO_GCP_REGION \
--node-locations $WALLAROO_NODE_LOCATION \
--machine-type $WALLAROO_GCP_MACHINE_TYPE \
--num-nodes $WALLAROO_CLUSTER_SIZE \
--network $WALLAROO_GCP_NETWORK_NAME \
--create-subnetwork name=$WALLAROO_GCP_SUBNETWORK_NAME \
--enable-ip-alias \
--cluster-version=1.23
The command can take several minutes to complete based on the size and complexity of the clusters. Verify the process is complete with the clusters list command:
gcloud container clusters list
- Retrieving Kubernetes Credentials
Once the GCP cluster is complete, the Kubernetes credentials can be installed into the local administrative system with the the gcloud container clusters get-credentials (https://cloud.google.com/sdk/gcloud/reference/container/clusters/get-credentials) command:
gcloud container clusters \
get-credentials $WALLAROO_CLUSTER \
--region $WALLAROO_GCP_REGION
To verify the Kubernetes credentials for your cluster have been installed locally, use the kubectl get nodes command. This will display the nodes in the cluster as demonstrated below:
kubectl get nodes
NAME                                         STATUS   ROLES    AGE   VERSION
gke-wallaroo-ce-default-pool-863f02db-7xd4   Ready    <none>   39m   v1.21.6-gke.1503
gke-wallaroo-ce-default-pool-863f02db-8j2d   Ready    <none>   39m   v1.21.6-gke.1503
gke-wallaroo-ce-default-pool-863f02db-hn06   Ready    <none>   39m   v1.21.6-gke.1503
gke-wallaroo-ce-default-pool-3946eaca-4l3s   Ready    <none>   39m   v1.21.6-gke.1503
- Troubleshooting
- What does the error ‘Insufficient project quota to satisfy request: resource “CPUS_ALL_REGIONS”’ mean?
Make sure that the Compute Engine Zone and Region are properly set based on your organization’s requirements. The instructions above default to us-central1, so change that zone to install your Wallaroo instance in the correct location.
In the case of the script, this would mean changing the region and location from:
WALLAROO_GCP_REGION=us-central1
WALLAROO_NODE_LOCATION=us-central1-f
WALLAROO_GCP_REGION={Your Region}
WALLAROO_NODE_LOCATION={Your Location}
Install Wallaroo Community
Wallaroo Community can be installed into a Kubernetes cloud environment, or into a Kubernetes environment that meets the Wallaroo Prerequisites Guide. Organizations that use the Wallaroo Community AWS EC2 Setup procedure do not have to set up a Kubernetes environment, as it is already configured for them.
If the prerequisites are already configured, jump to Install Wallaroo to start installing.
This video demonstrates that procedure:
The procedure assumes at least a basic knowledge of Kubernetes and how to use the kubectl and kots version 1.91.3 applications.
The procedure involves the following major steps:
- Prerequisites
- Download License File: This is detailed above in the process Register Your Wallaroo Community Account above.
- Install Wallaroo
Prerequisites
Local Software Requirements
Before starting, verify that all local system requirements are complete as detailed in the Wallaroo Community Local System Prerequisites guide:
kubectl: This interfaces with the Kubernetes server created in the Wallaroo environment.
- kots Version
1.91.3
- Cloud Kubernetes environment has been prepared.
- You have downloaded your Wallaroo Community License file.
Install Wallaroo
The environment is ready, the tools are installed - let’s install Wallaroo! The following will use kubectl and kots through the following procedure:
Install the Wallaroo Community Edition using
kots install wallaroo/ce, specifying the namespace to install. For example, ifwallaroois the namespace, then the command is:kubectl kots install wallaroo/ce --namespace wallarooWallaroo Community Edition will be downloaded and installed into your Kubernetes environment in the namespace specified. When prompted, set the default password for the Wallaroo environment. When complete, Wallaroo Community Edition will display the URL for the Admin Console, and how to end the Admin Console from running.
• Deploying Admin Console
• Creating namespace ✓
• Waiting for datastore to be ready ✓
    Enter a new password to be used for the Admin Console: •••••••••••••
  • Waiting for Admin Console to be ready ✓

• Press Ctrl+C to exit
• Go to http://localhost:8800 to access the Admin Console
Wallaroo Community edition will continue to run until terminated. To relaunch in the future, use the following command:
kubectl-kots admin-console --namespace wallaroo
Initial Configuration and License Upload Procedure
Once Wallaroo Community edition has been installed for the first time, we can perform initial configuration and load our Wallaroo Community license file through the following process:
If Wallaroo Community Edition has not started, launch it with the following command:
❯ kubectl-kots admin-console --namespace wallaroo
  • Press Ctrl+C to exit
  • Go to http://localhost:8800 to access the Admin Console
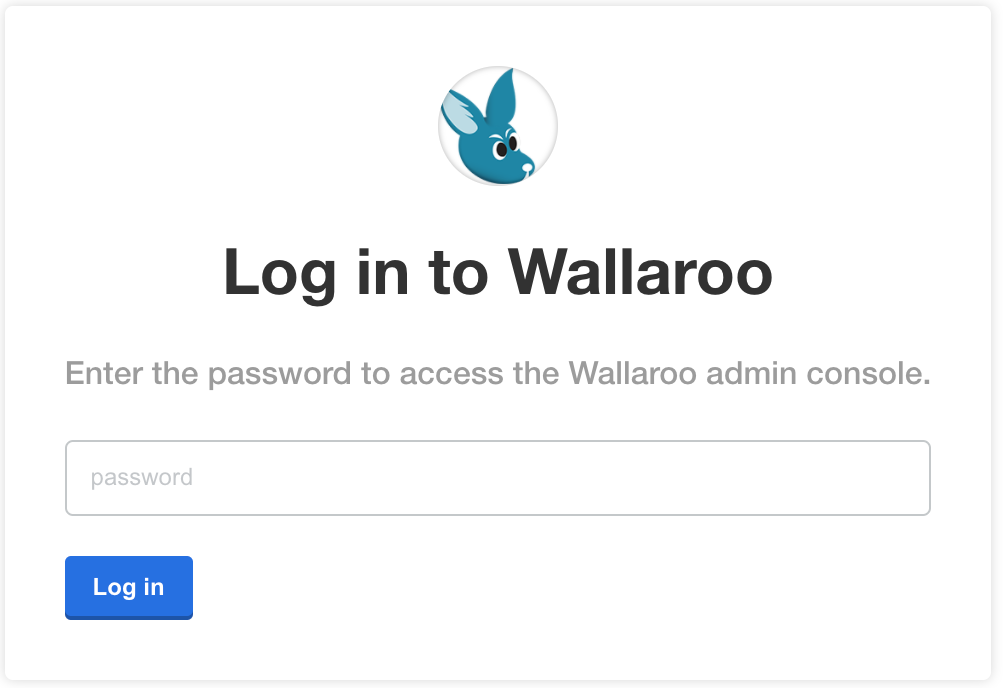
Enter the Wallaroo Community Admin Console address into a browser. You will be prompted for the default password as set in the step above. Enter it and select Log in.
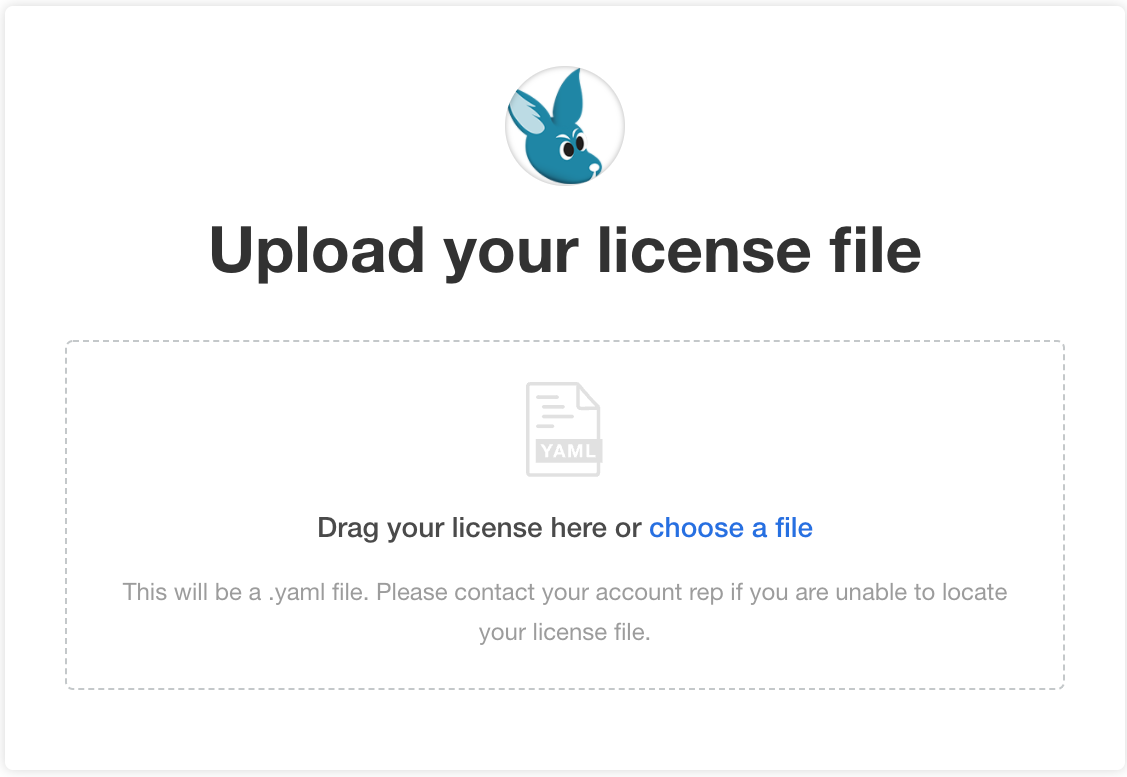
Upload your license file.
The Configure Wallaroo Community page will be displayed which allows you to customize your Wallaroo environment. For now, scroll to the bottom and select Continue. These settings can be customized at a later date.
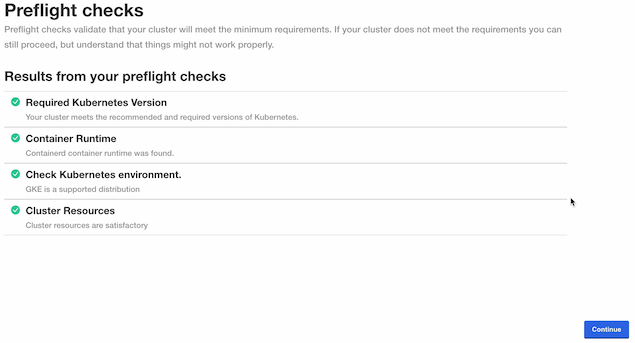
The Wallaroo Community Admin Console will run the preflight checks to verify that all of the minimum requirements are not met. This may take a few minutes. If there are any issues, Wallaroo can still be launched but may not function properly. When ready, select Continue.
The Wallaroo Community Dashboard will be displayed. There may be additional background processes that are completing their setup procedures, so there may be a few minute wait until those are complete. If everything is ready, then the Wallaroo Dashboard will show a green Ready.
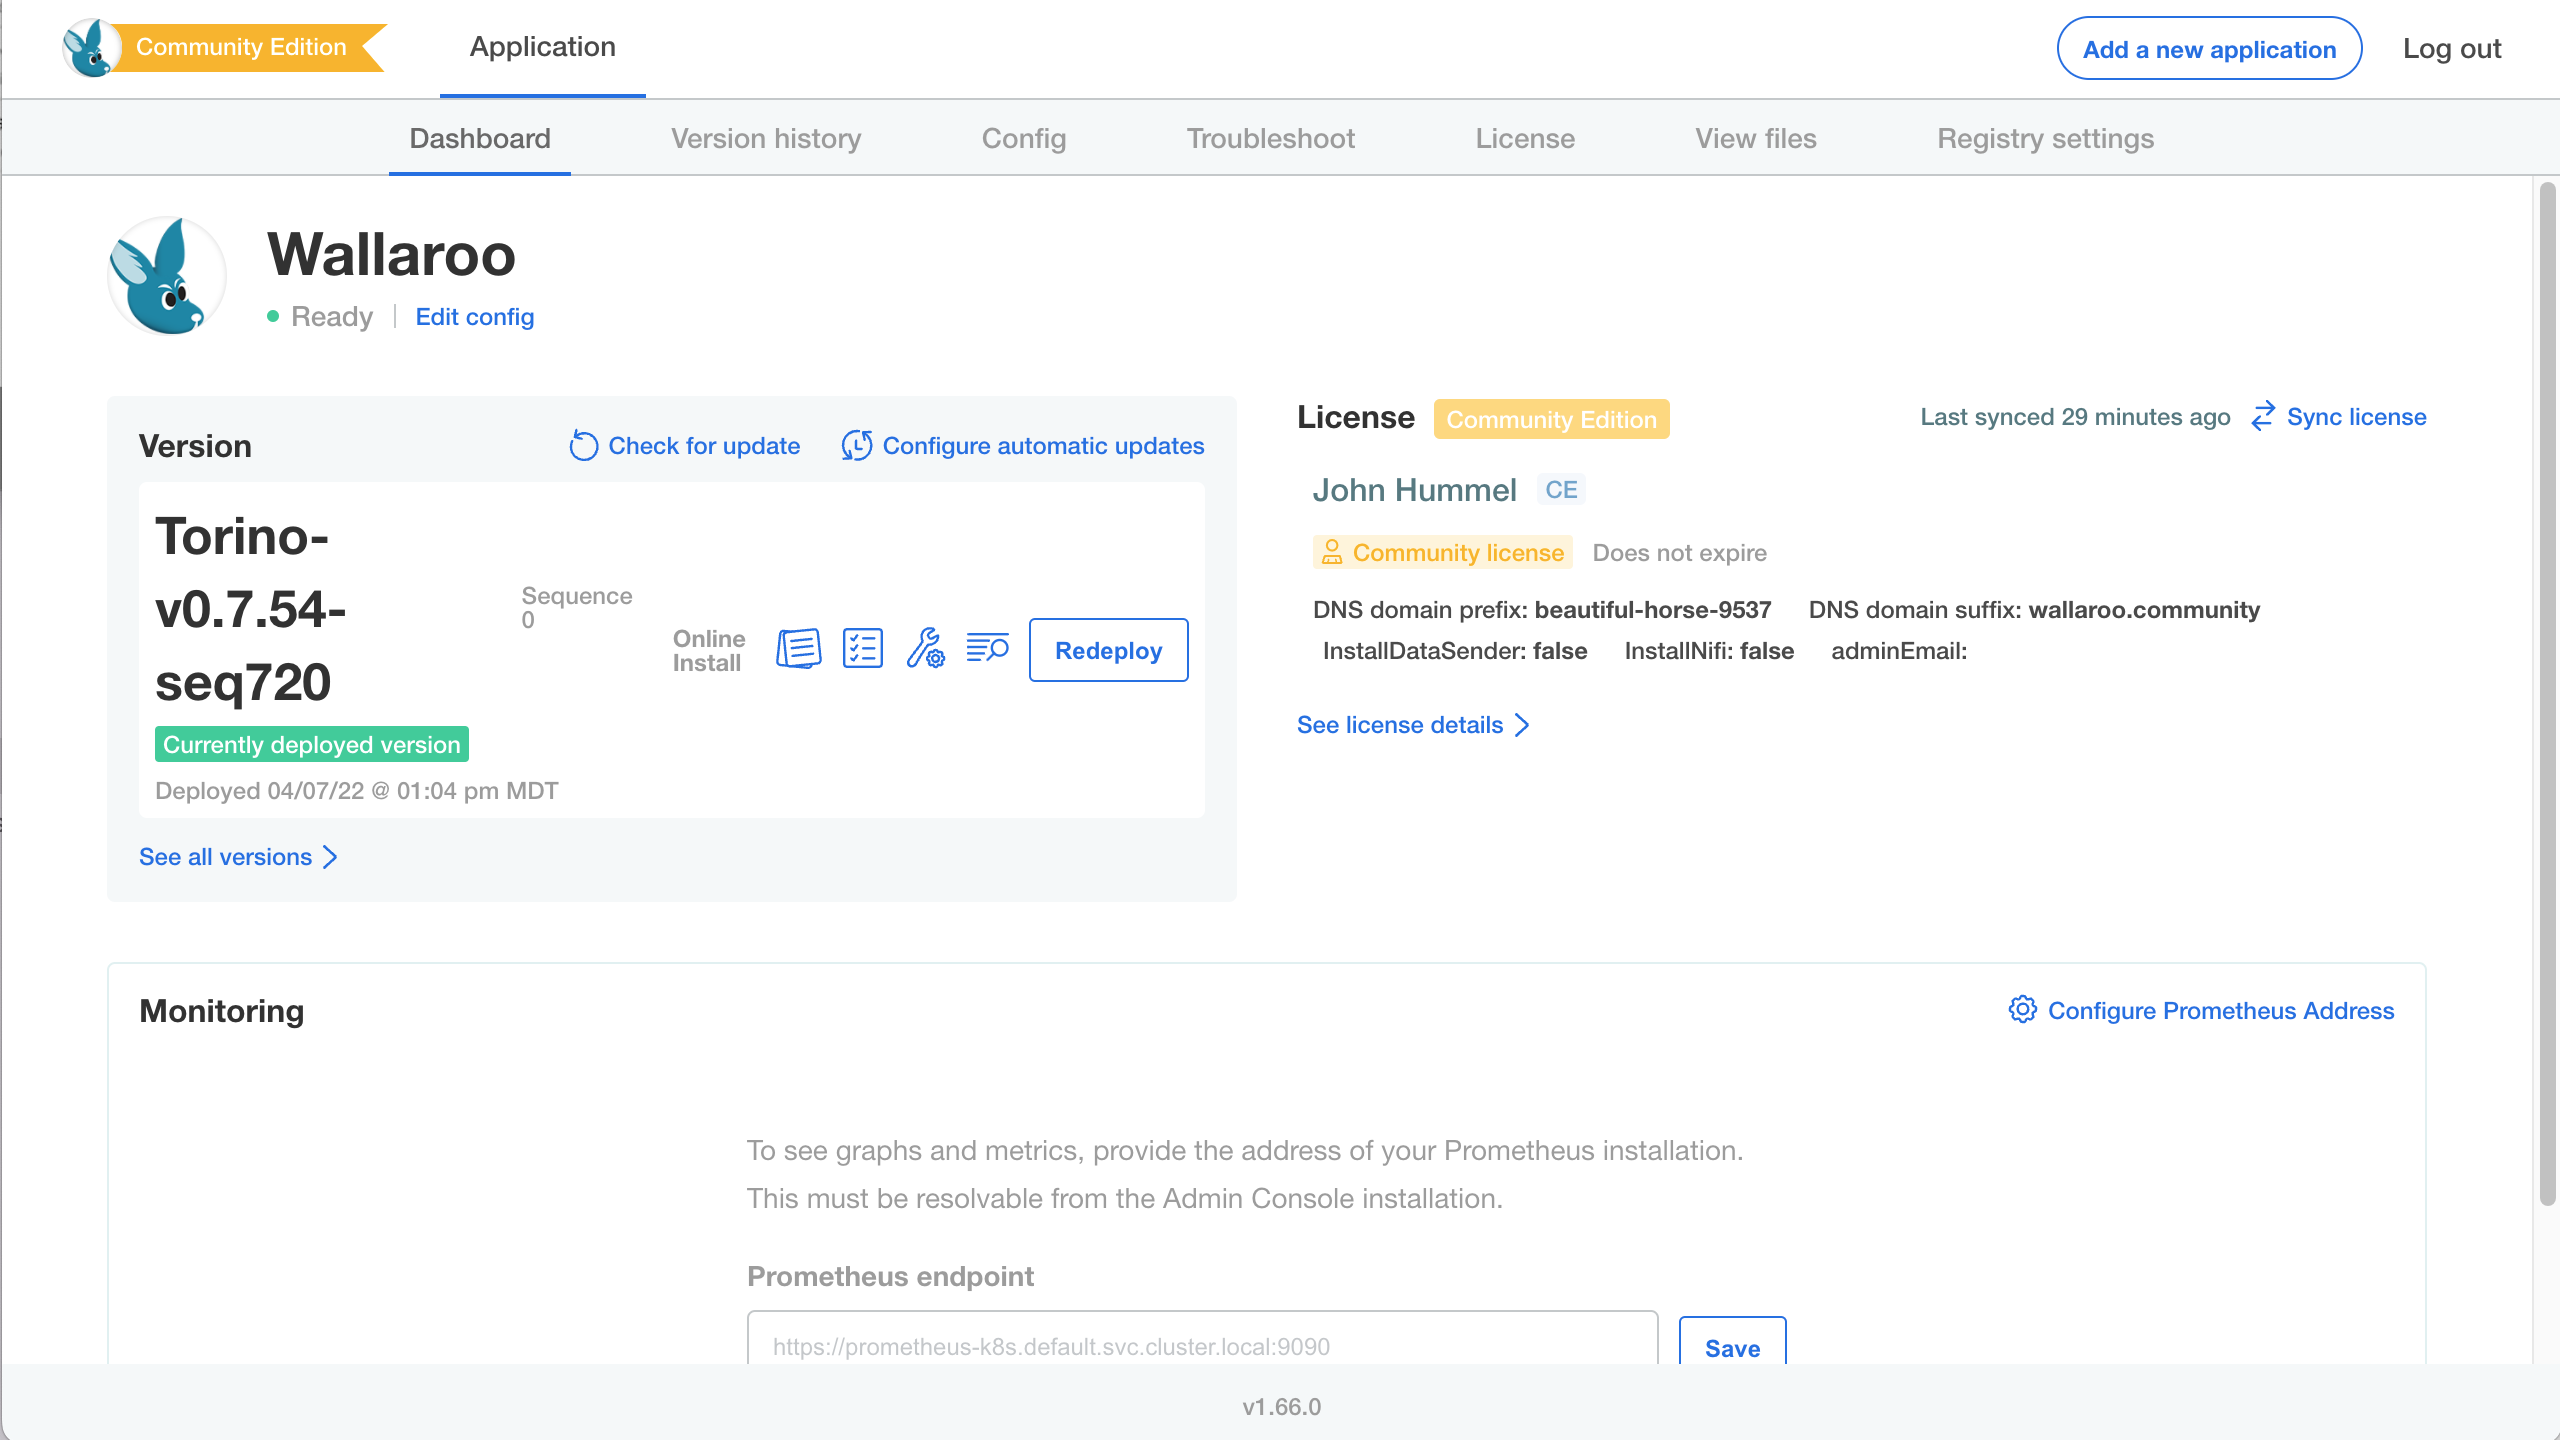
Under the license information is the DNS entry for your Wallaroo instance. This is where you and other users of your Wallaroo instance can log in. In this example, the URL will be
https://beautiful-horse-9537.wallaroo.community. Note that it may take a few minutes for the DNS entries to propagate and this URL to be available.
You will receive an email invitation for the email address connected to this URL with a temporary password and a link to this Wallaroo instance’s URL. Either enter the URL for your Wallaroo instance or use the link in the email.
To login to your new Wallaroo instance, enter the email address and temporary password associated with the license.
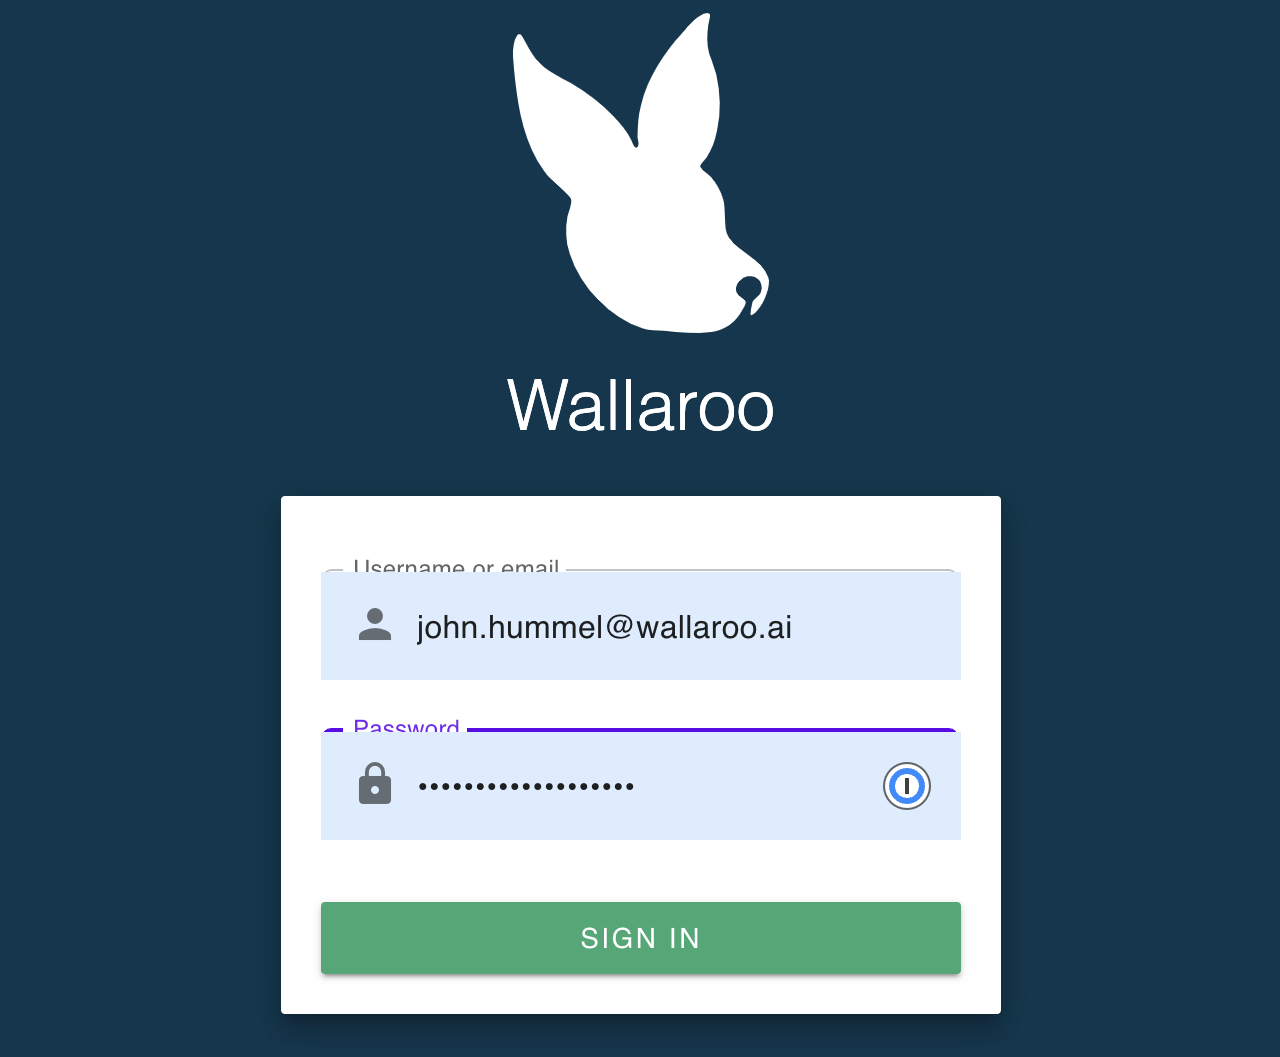
With that, Wallaroo Community edition is launched and ready for use! You can end the Admin Console from your terminal session above. From this point on you can just use the Wallaroo instance URL.
Now that your Wallaroo Community edition has been installed, let’s work with some sample models to show off what you can do. Check out either the Wallaroo 101 if this is your first time using Wallaroo, or for more examples of how to use Wallaroo see the Wallaroo Tutorials.
Troubleshooting
Issue
If you see an error similar to failed to deploy admin console: failed to wait for {some node}: timeout waiting for {some node}, it may be because the connection between your local system and the cloud service is slow, or related issues.
If this occurs, adding the option --wait-duration 5m give enough time for nodes to finish starting.